Figure 48. Saving Motion Detection Settings
6.Select an option as follows, and then press the Enter button.
•Select All: Enables motion detection for the entire screen.
•Deselect All: Disables motion detection for the entire screen.
•Save & Exit: Saves the motion detection regions as you have set them up.
•Cancel: Removes all new selections and retains the current motion detection regions.
7.Repeat these steps for each remaining camera.
8.Press the Return button until all menus are cleared. A message appears stating that the settings are being saved. The settings take effect immediately.
SETTING UP ALARM-BASED RECORDING
Setting up
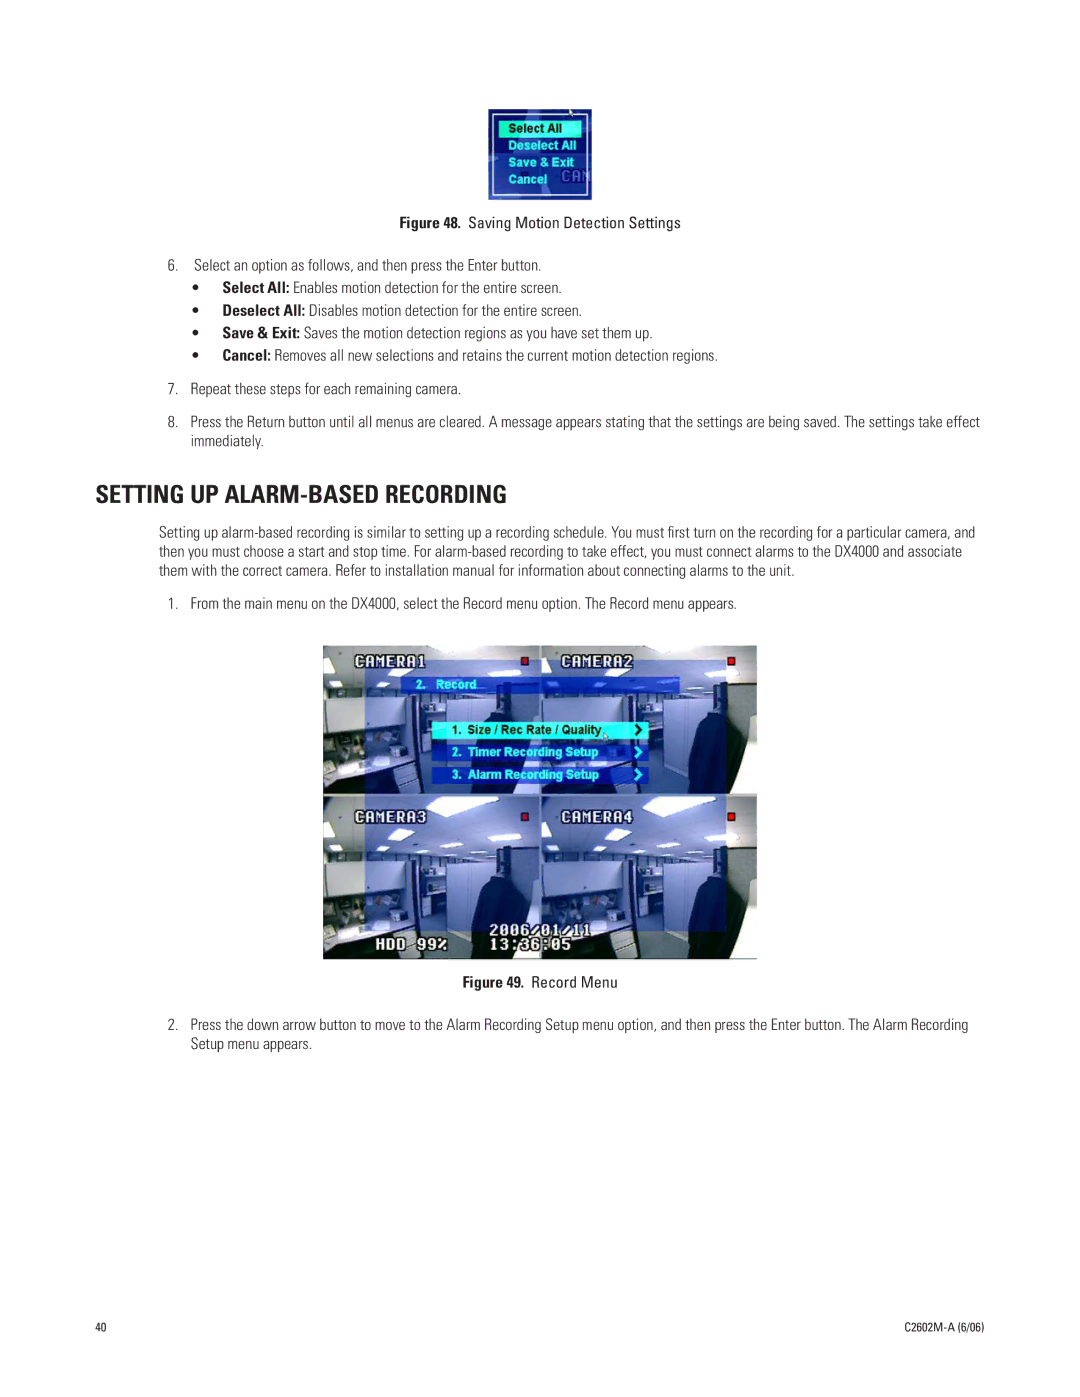
1. From the main menu on the DX4000, select the Record menu option. The Record menu appears.
Figure 49. Record Menu
2.Press the down arrow button to move to the Alarm Recording Setup menu option, and then press the Enter button. The Alarm Recording Setup menu appears.
40 |
|