To set up recording schedules
1. From the remote agent application main screen, click the Setup button | if the Settings screen is not open. The Settings screen |
appears and the Remote Agent tab is displayed. |
|
2.Open the DVR System tab, and then click the Record tab.
3.Under the Timer Recording settings, configure the following information for each camera:
•Record: Set this to On or Off.
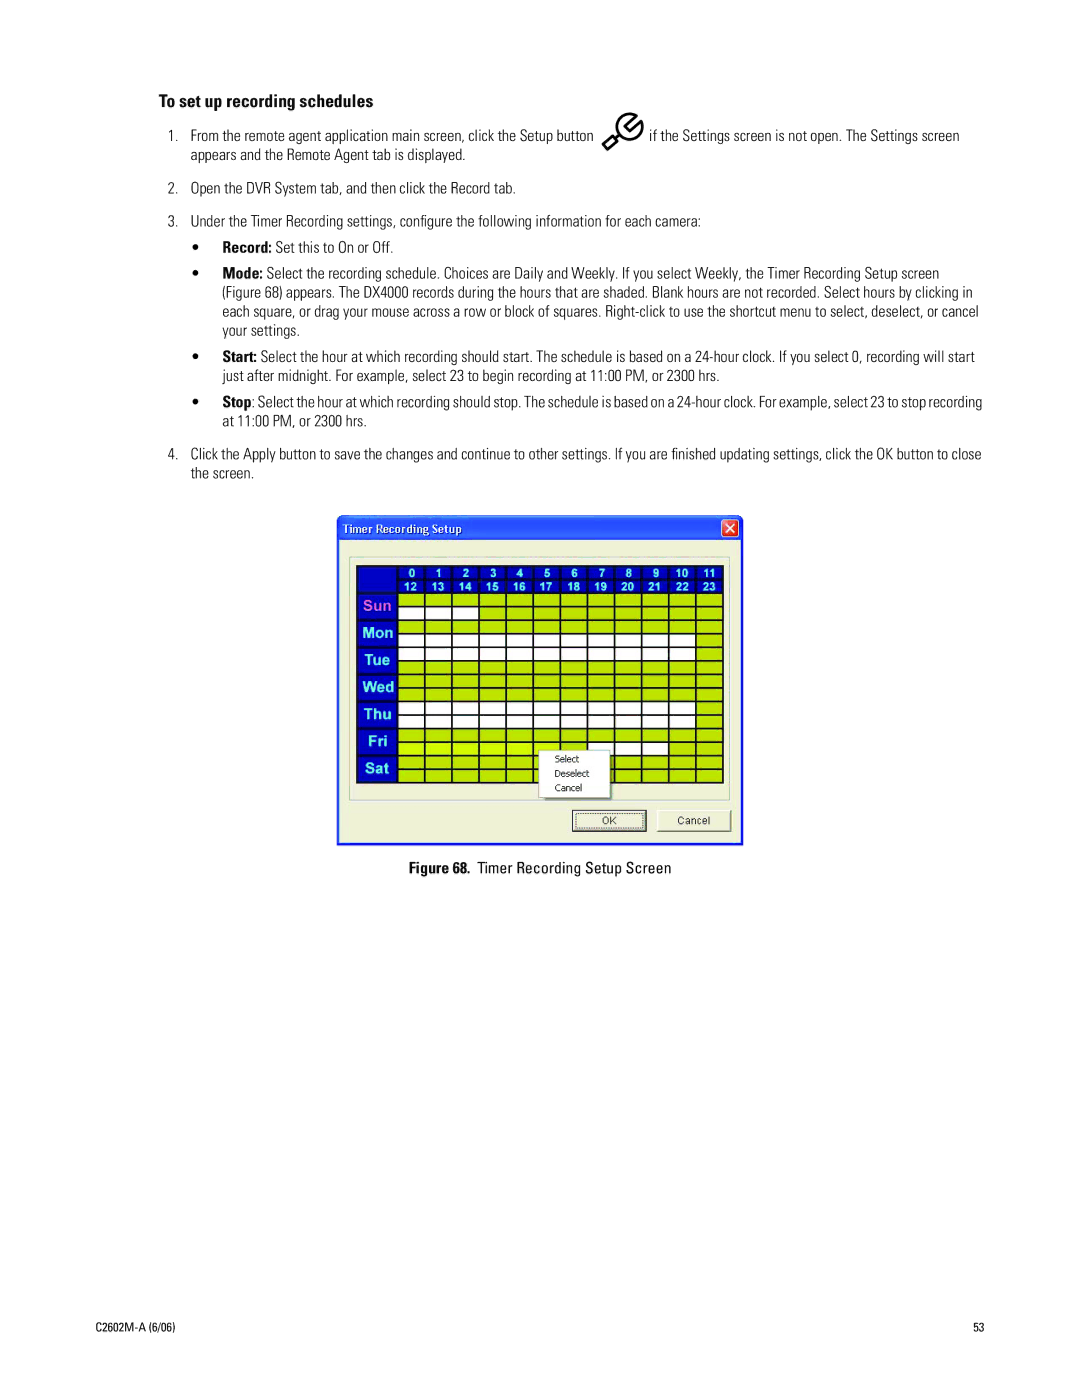
•Mode: Select the recording schedule. Choices are Daily and Weekly. If you select Weekly, the Timer Recording Setup screen (Figure 68) appears. The DX4000 records during the hours that are shaded. Blank hours are not recorded. Select hours by clicking in each square, or drag your mouse across a row or block of squares.
•Start: Select the hour at which recording should start. The schedule is based on a
•Stop: Select the hour at which recording should stop. The schedule is based on a
4.Click the Apply button to save the changes and continue to other settings. If you are finished updating settings, click the OK button to close the screen.
Figure 68. Timer Recording Setup Screen
| 53 |