UPS OPERATING INSTRUCTIONS
| 7.2.6 | Display Menu Operation | |
|
| Table | |
Table |
|
| |
|
|
|
|
Function | Subfunction |
| Operation |
|
|
|
|
Events |
|
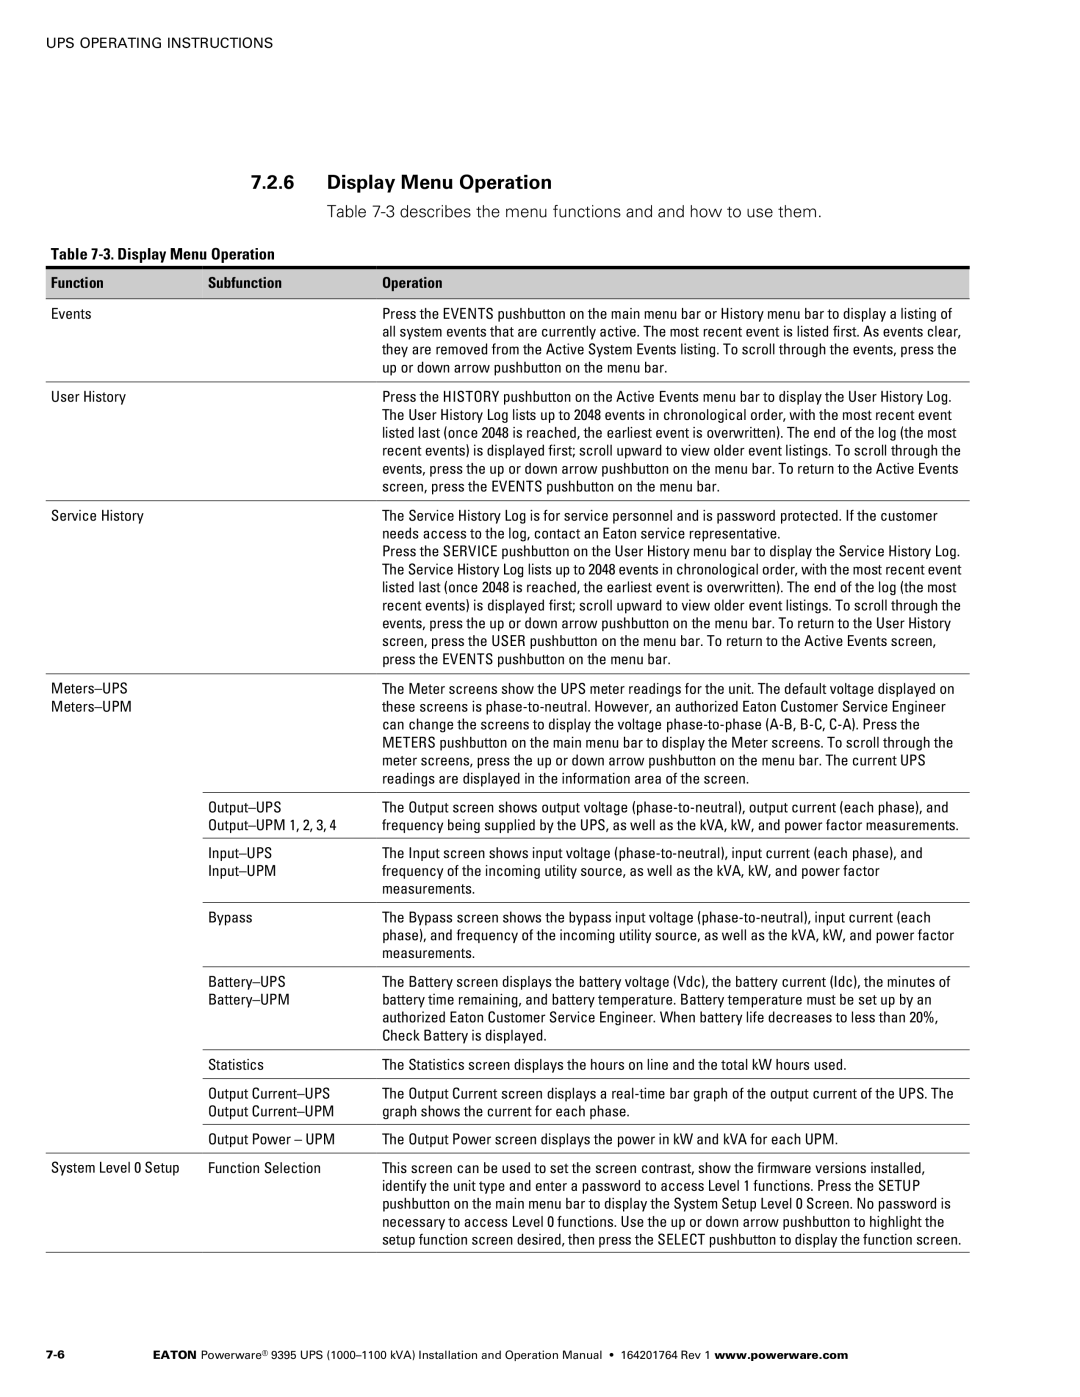
| Press the EVENTS pushbutton on the main menu bar or History menu bar to display a listing of |
|
|
| all system events that are currently active. The most recent event is listed first. As events clear, |
|
|
| they are removed from the Active System Events listing. To scroll through the events, press the |
|
|
| up or down arrow pushbutton on the menu bar. |
|
|
|
|
User History |
|
| Press the HISTORY pushbutton on the Active Events menu bar to display the User History Log. |
|
|
| The User History Log lists up to 2048 events in chronological order, with the most recent event |
|
|
| listed last (once 2048 is reached, the earliest event is overwritten). The end of the log (the most |
|
|
| recent events) is displayed first; scroll upward to view older event listings. To scroll through the |
|
|
| events, press the up or down arrow pushbutton on the menu bar. To return to the Active Events |
|
|
| screen, press the EVENTS pushbutton on the menu bar. |
|
|
|
|
Service History |
|
| The Service History Log is for service personnel and is password protected. If the customer |
|
|
| needs access to the log, contact an Eaton service representative. |
|
|
| Press the SERVICE pushbutton on the User History menu bar to display the Service History Log. |
|
|
| The Service History Log lists up to 2048 events in chronological order, with the most recent event |
|
|
| listed last (once 2048 is reached, the earliest event is overwritten). The end of the log (the most |
|
|
| recent events) is displayed first; scroll upward to view older event listings. To scroll through the |
|
|
| events, press the up or down arrow pushbutton on the menu bar. To return to the User History |
|
|
| screen, press the USER pushbutton on the menu bar. To return to the Active Events screen, |
|
|
| press the EVENTS pushbutton on the menu bar. |
|
|
|
|
|
| The Meter screens show the UPS meter readings for the unit. The default voltage displayed on | |
|
| these screens is phase−to−neutral. However, an authorized Eaton Customer Service Engineer | |
|
|
| can change the screens to display the voltage phase−to−phase (A−B, B−C, C−A). Press the |
|
|
| METERS pushbutton on the main menu bar to display the Meter screens. To scroll through the |
|
|
| meter screens, press the up or down arrow pushbutton on the menu bar. The current UPS |
|
|
| readings are displayed in the information area of the screen. |
|
|
|
|
|
| The Output screen shows output voltage | |
|
| frequency being supplied by the UPS, as well as the kVA, kW, and power factor measurements. | |
|
|
|
|
|
| The Input screen shows input voltage | |
|
| frequency of the incoming utility source, as well as the kVA, kW, and power factor | |
|
|
| measurements. |
|
|
|
|
| Bypass |
| The Bypass screen shows the bypass input voltage |
|
|
| phase), and frequency of the incoming utility source, as well as the kVA, kW, and power factor |
|
|
| measurements. |
|
|
|
|
|
| The Battery screen displays the battery voltage (Vdc), the battery current (Idc), the minutes of | |
|
| battery time remaining, and battery temperature. Battery temperature must be set up by an | |
|
|
| authorized Eaton Customer Service Engineer. When battery life decreases to less than 20%, |
|
|
| Check Battery is displayed. |
|
|
|
|
| Statistics |
| The Statistics screen displays the hours on line and the total kW hours used. |
|
|
| |
| Output | The Output Current screen displays a | |
| Output | graph shows the current for each phase. | |
|
|
| |
| Output Power – UPM | The Output Power screen displays the power in kW and kVA for each UPM. | |
|
|
|
|
System Level 0 Setup | Function Selection |
| This screen can be used to set the screen contrast, show the firmware versions installed, |
|
|
| identify the unit type and enter a password to access Level 1 functions. Press the SETUP |
|
|
| pushbutton on the main menu bar to display the System Setup Level 0 Screen. No password is |
|
|
| necessary to access Level 0 functions. Use the up or down arrow pushbutton to highlight the |
|
|
| setup function screen desired, then press the SELECT pushbutton to display the function screen. |
|
|
|
|
7−6 | EATON Powerware® 9395 UPS |
