Schedules can be set individually for each day. The cameras are default configured to be recording in both Motion Detection and Schedule recording 24/7 and will have full- length colored bars in the schedule window. Above each window is a
NOTE! When setting up your recording schedule for the first time, it is faster and easier to begin by selecting the mode’s schedule window and selecting Delete All to clear the schedule before making changes.
To create a new schedule;
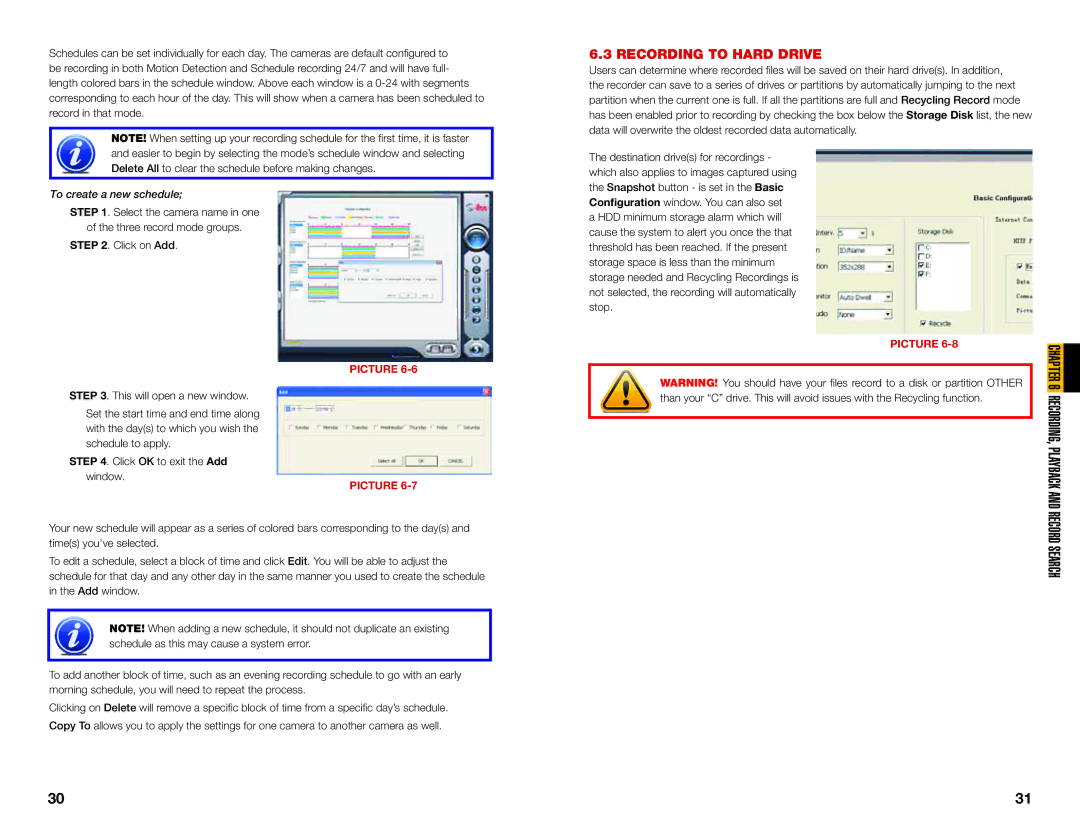
STEP 1. Select the camera name in one
of the three record mode groups. STEP 2. Click on Add.
PICTURE 6-6
STEP 3. This will open a new window.
Set the start time and end time along with the day(s) to which you wish the schedule to apply.
STEP 4. Click OK to exit the Add window.
PICTURE 6-7
Your new schedule will appear as a series of colored bars corresponding to the day(s) and time(s) you’ve selected.
To edit a schedule, select a block of time and click Edit. You will be able to adjust the schedule for that day and any other day in the same manner you used to create the schedule in the Add window.
NOTE! When adding a new schedule, it should not duplicate an existing schedule as this may cause a system error.
To add another block of time, such as an evening recording schedule to go with an early morning schedule, you will need to repeat the process.
Clicking on Delete will remove a specific block of time from a specific day’s schedule. Copy To allows you to apply the settings for one camera to another camera as well.
6.3 RECORDING TO HARD DRIVE
Users can determine where recorded files will be saved on their hard drive(s). In addition, the recorder can save to a series of drives or partitions by automatically jumping to the next partition when the current one is full. If all the partitions are full and Recycling Record mode has been enabled prior to recording by checking the box below the Storage Disk list, the new data will overwrite the oldest recorded data automatically.
The destination drive(s) for recordings - which also applies to images captured using the Snapshot button - is set in the Basic Configuration window. You can also set
a HDD minimum storage alarm which will cause the system to alert you once the that threshold has been reached. If the present storage space is less than the minimum storage needed and Recycling Recordings is not selected, the recording will automatically stop.
PICTURE 6-8
WARNING! You should have your files record to a disk or partition OTHER than your “C” drive. This will avoid issues with the Recycling function.
RECORDING, PLACHPTERYBACK6AND RECORD SEARCH
30 | 31 |
