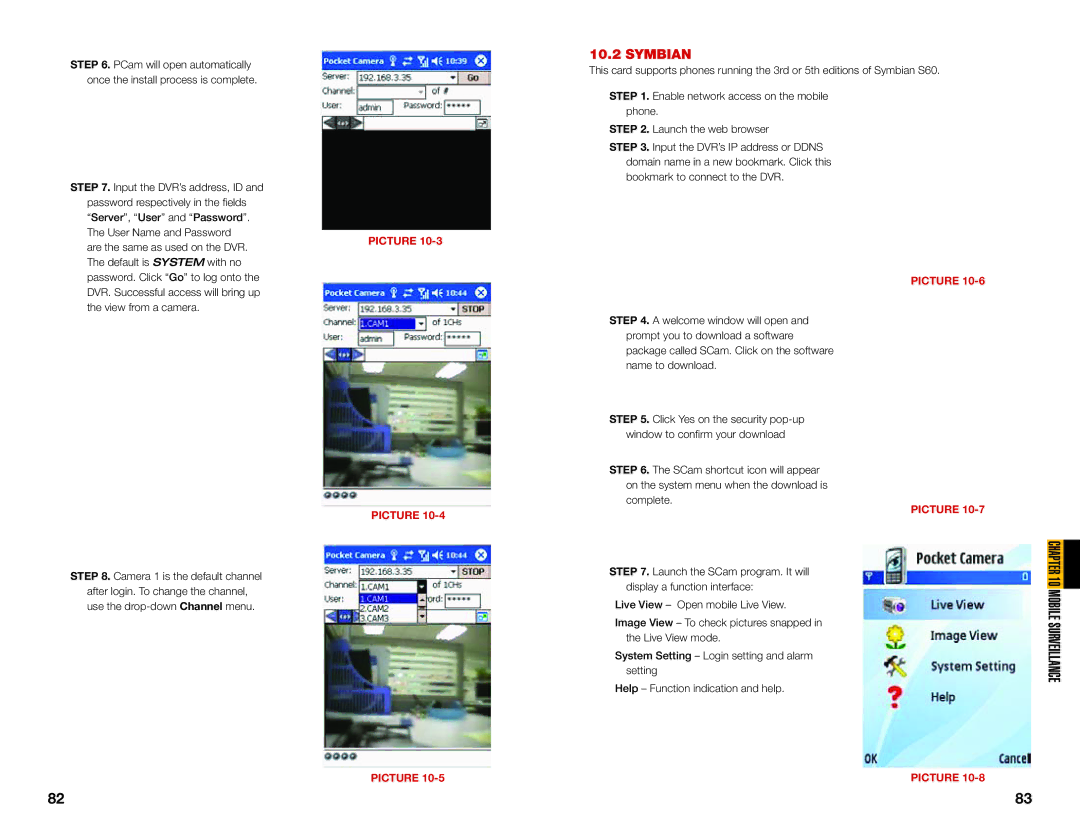
STEP 6. PCam will open automatically once the install process is complete.
STEP 7. Input the DVR’s address, ID and
password respectively in the fields “Server”, “User” and “Password”. The User Name and Password are the same as used on the DVR. The default is SYSTEM with no password. Click “Go” to log onto the DVR. Successful access will bring up the view from a camera.
PICTURE 10-3
10.2 SYMBIAN
This card supports phones running the 3rd or 5th editions of Symbian S60.
STEP 1. Enable network access on the mobile phone.
STEP 2. Launch the web browser
STEP 3. Input the DVR’s IP address or DDNS domain name in a new bookmark. Click this bookmark to connect to the DVR.
PICTURE 10-6
STEP 4. A welcome window will open and prompt you to download a software package called SCam. Click on the software name to download.
STEP 8. Camera 1 is the default channel after login. To change the channel, use the
PICTURE 10-4
PICTURE
STEP 5. Click Yes on the security
STEP 6. The SCam shortcut icon will appear on the system menu when the download is complete.
STEP 7. Launch the SCam program. It will display a function interface:
Live View – Open mobile Live View.
Image View – To check pictures snapped in the Live View mode.
System Setting – Login setting and alarm setting
Help – Function indication and help.
PICTURE 10-7
PICTURE
CHAPTER 10 MOBILE SURVEILLANCE
82 | 83 |
