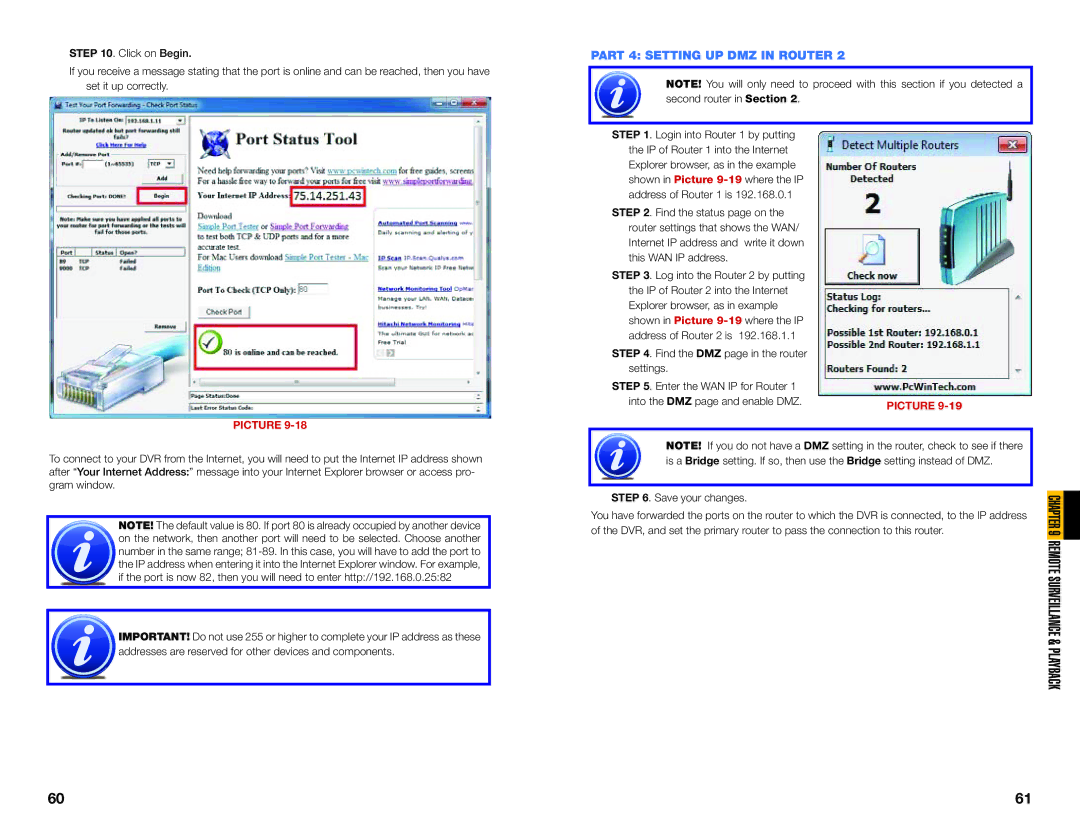
STEP 10. Click on Begin.
If you receive a message stating that the port is online and can be reached, then you have set it up correctly.
PICTURE 9-18
To connect to your DVR from the Internet, you will need to put the Internet IP address shown after “Your Internet Address:” message into your Internet Explorer browser or access pro- gram window.
NOTE! The default value is 80. If port 80 is already occupied by another device on the network, then another port will need to be selected. Choose another number in the same range;
![]() IMPORTANT! Do not use 255 or higher to complete your IP address as these
IMPORTANT! Do not use 255 or higher to complete your IP address as these ![]() addresses are reserved for other devices and components.
addresses are reserved for other devices and components.
PART 4: SETTING UP DMZ IN ROUTER 2
NOTE! You will only need to proceed with this section if you detected a second router in Section 2.
STEP 1. Login into Router 1 by putting the IP of Router 1 into the Internet Explorer browser, as in the example shown in Picture
STEP 2. Find the status page on the router settings that shows the WAN/ Internet IP address and write it down this WAN IP address.
STEP 3. Log into the Router 2 by putting
the IP of Router 2 into the Internet Explorer browser, as in example shown in Picture
STEP 4. Find the DMZ page in the router
settings. |
|
STEP 5. Enter the WAN IP for Router 1 |
|
into the DMZ page and enable DMZ. | PICTURE |
|
NOTE! If you do not have a DMZ setting in the router, check to see if there is a Bridge setting. If so, then use the Bridge setting instead of DMZ.
STEP 6. Save your changes.
You have forwarded the ports on the router to which the DVR is connected, to the IP address of the DVR, and set the primary router to pass the connection to this router.
CHAPTER 9 REMOTE SURVEILLANCE & PLAYBACK
60 | 61 |
