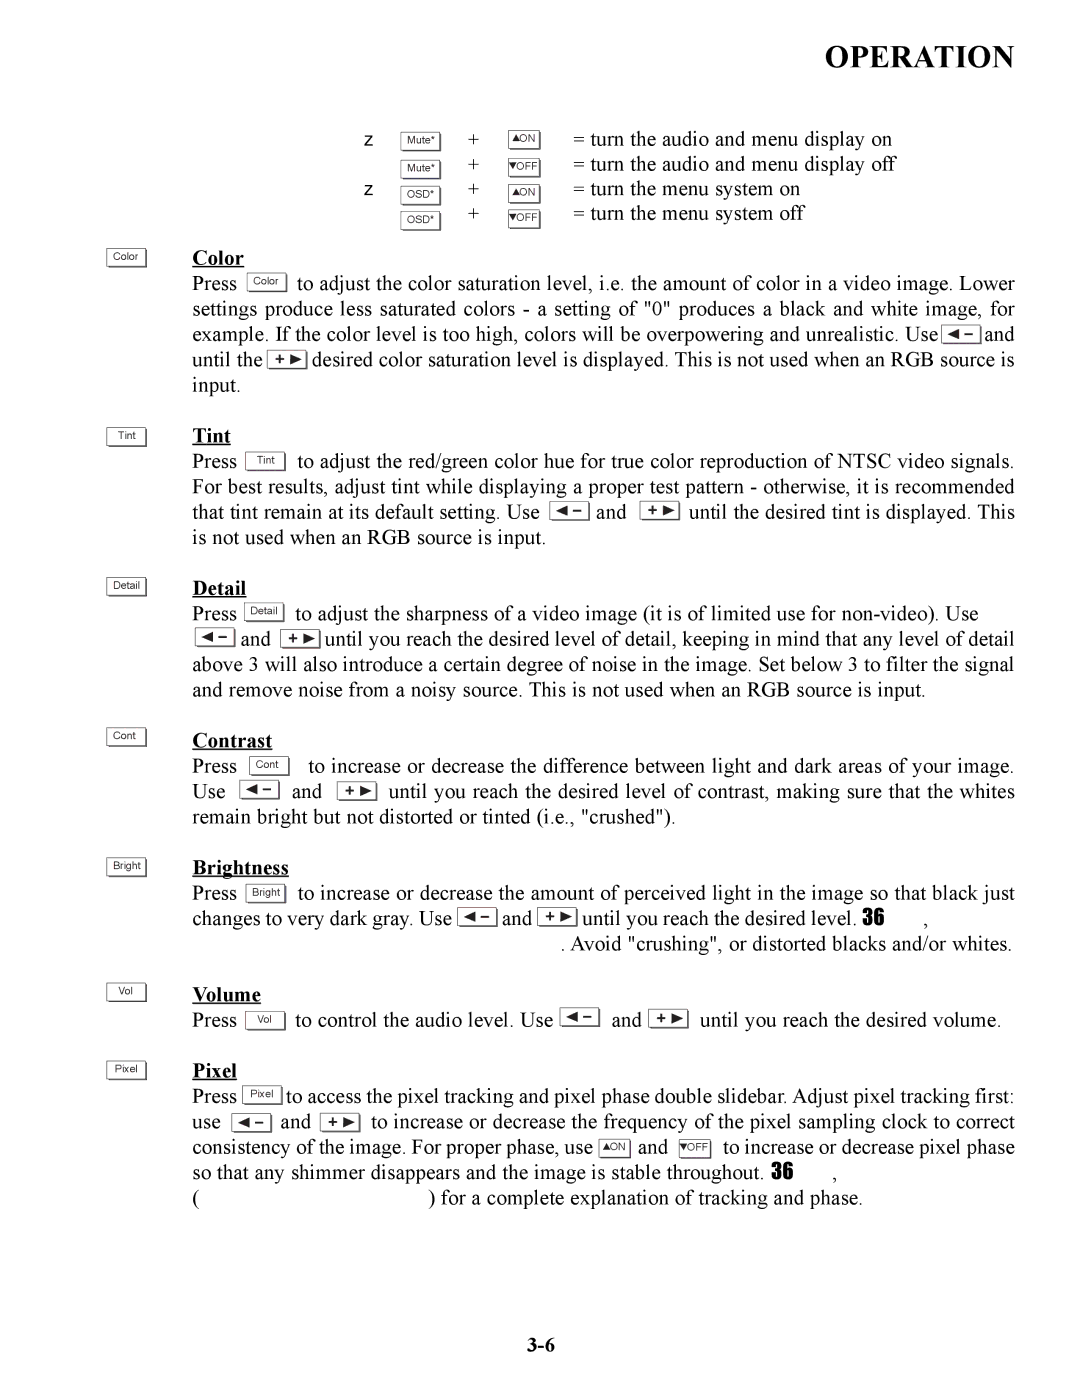
Color |
Tint |
Detail |
Cont |
Bright |
Vol |
Pixel |
OPERATION
Mute* | + | ON | = turn the audio and menu display on |
Mute* | + | OFF | = turn the audio and menu display off |
OSD* | + | ON | = turn the menu system on |
OSD* | + | OFF | = turn the menu system off |
Color
Press Color ![]()
![]() to adjust the color saturation level, i.e. the amount of color in a video image. Lower settings produce less saturated colors - a setting of "0" produces a black and white image, for
to adjust the color saturation level, i.e. the amount of color in a video image. Lower settings produce less saturated colors - a setting of "0" produces a black and white image, for
example. If the color level is too high, colors will be overpowering and unrealistic. Use ![]()
![]() and
and
until the ![]()
![]() desired color saturation level is displayed. This is not used when an RGB source is input.
desired color saturation level is displayed. This is not used when an RGB source is input.
Tint
Press Tint ![]()
![]() to adjust the red/green color hue for true color reproduction of NTSC video signals. For best results, adjust tint while displaying a proper test pattern - otherwise, it is recommended
to adjust the red/green color hue for true color reproduction of NTSC video signals. For best results, adjust tint while displaying a proper test pattern - otherwise, it is recommended
that tint remain at its default setting. Use ![]()
![]() and
and ![]()
![]() until the desired tint is displayed. This is not used when an RGB source is input.
until the desired tint is displayed. This is not used when an RGB source is input.
Detail |
|
|
|
|
|
|
| |||||||||
Press |
|
|
|
|
|
| to adjust the sharpness of a video image (it is of limited use for | |||||||||
Detail | ||||||||||||||||
|
|
|
|
|
| and |
|
|
|
|
|
|
|
| until you reach the desired level of detail, keeping in mind that any level of detail | |
above 3 will also introduce a certain degree of noise in the image. Set below 3 to filter the signal and remove noise from a noisy source. This is not used when an RGB source is input.
Contrast
Press Cont ![]()
![]() to increase or decrease the difference between light and dark areas of your image.
to increase or decrease the difference between light and dark areas of your image.
Use ![]()
![]() and
and ![]()
![]() until you reach the desired level of contrast, making sure that the whites remain bright but not distorted or tinted (i.e., "crushed").
until you reach the desired level of contrast, making sure that the whites remain bright but not distorted or tinted (i.e., "crushed").
Brightness
Press Bright ![]()
![]() to increase or decrease the amount of perceived light in the image so that black just
to increase or decrease the amount of perceived light in the image so that black just
changes to very dark gray. Use ![]()
![]() and
and ![]()
![]() until you reach the desired level. See 3.6, Adjusting the Image (Scaling Parameters subsection). Avoid "crushing", or distorted blacks and/or whites.
until you reach the desired level. See 3.6, Adjusting the Image (Scaling Parameters subsection). Avoid "crushing", or distorted blacks and/or whites.
Volume |
|
|
| |
Press | Vol | to control the audio level. Use | and | until you reach the desired volume. |
Pixel |
|
|
|
|
|
|
|
|
|
|
|
|
|
| ||
Press |
|
|
|
|
| to access the pixel tracking and pixel phase double slidebar. Adjust pixel tracking first: | ||||||||||
Pixel | ||||||||||||||||
use |
|
|
|
|
|
| and |
|
|
|
|
|
|
| to increase or decrease the frequency of the pixel sampling clock to correct | |
consistency of the image. For proper phase, use ![]()
![]() ON
ON ![]()
![]() and
and ![]() OFF
OFF ![]()
![]() to increase or decrease pixel phase so that any shimmer disappears and the image is stable throughout. See 3.6, Adjusting the Image (H & V Scaling subsections) for a complete explanation of tracking and phase.
to increase or decrease pixel phase so that any shimmer disappears and the image is stable throughout. See 3.6, Adjusting the Image (H & V Scaling subsections) for a complete explanation of tracking and phase.
