OPERATION
3.7 Adjusting System Parameters and Advanced Controls
Use the Installation, OSD Settings and Information menus to display and/or alter overall system parameters rather than those that affect a specific source or channel.
Use the Advanced menu whenever you need to work with or replace the lamp, select a test pat- tern, define a new color temperature, or access
Projector Configuration
Choose from Floor Front, Floor Rear, Ceiling Front, Ceiling Rear according to your installation. If the setting is incorrect, the image will be reversed and/or upside down.
OSD Language
Choose from English, French, Spanish, German and Italian language. The menus will change immediately upon selection.
OSD SETTINGS |
|
|
|
|
|
|
|
|
|
|
|
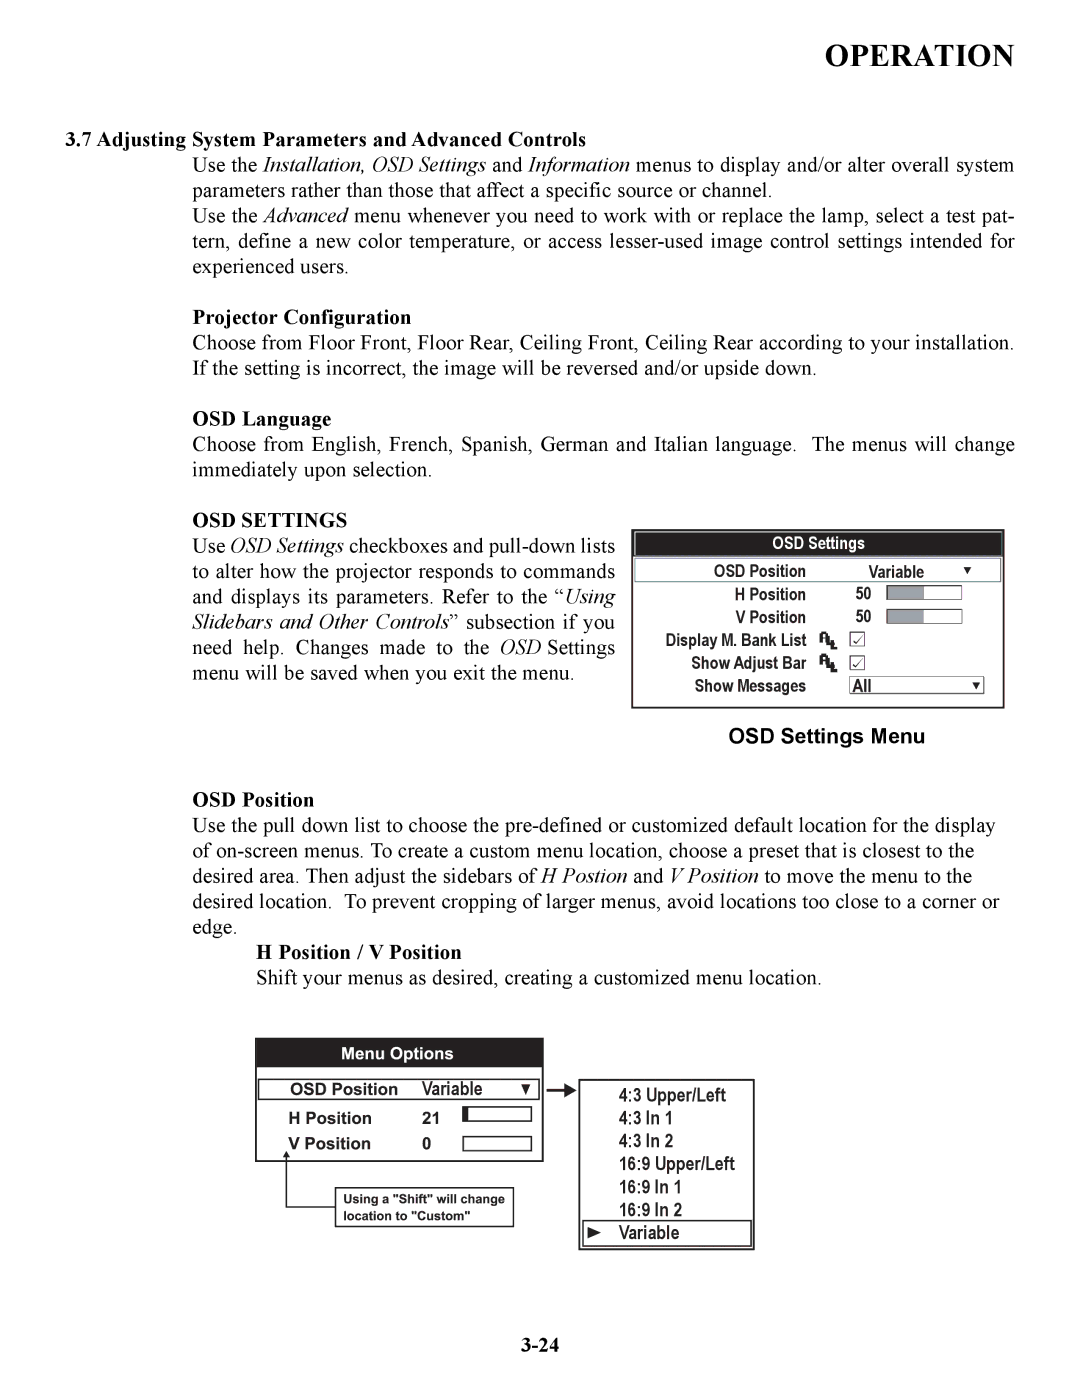
Use OSD Settings checkboxes and | OSD Settings |
|
| ||||||||
to alter how the projector responds to commands | OSD Position |
|
| Variable |
|
| |||||
and displays its parameters. Refer to the “Using | H Position | 50 |
|
|
|
|
|
| |||
|
|
|
|
|
| ||||||
|
|
|
|
|
| ||||||
Slidebars and Other Controls” subsection if you | V Position | 50 |
|
|
|
|
|
| |||
|
|
|
|
|
| ||||||
|
|
|
|
|
| ||||||
need help. Changes made to the OSD Settings | Display M. Bank List |
|
|
|
|
|
|
|
|
| |
|
|
|
|
|
|
|
|
| |||
|
|
|
|
|
|
|
|
| |||
menu will be saved when you exit the menu. | Show Adjust Bar |
|
|
|
|
|
|
|
|
| |
|
|
|
|
|
|
|
|
| |||
Show Messages |
|
|
|
|
|
|
|
|
|
| |
|
|
|
|
|
|
|
|
|
| ||
|
|
|
|
|
|
|
|
|
|
| |
| OSD Settings Menu |
|
| ||||||||
OSD Position
Use the pull down list to choose the
H Position / V Position
Shift your menus as desired, creating a customized menu location.
Variable
4:3 Upper/Left
4:3 In 1
4:3 In 2
16:9 Upper/Left
16:9 In 1
16:9 In 2
Variable