INSTALLATION AND SETUP
2.2Installing The Lens
A variety of lenses are available to accommodate different throw distances and specific types of installations. See page
NOTES: 1) You will need a 9/64”(3mm or 3.5mm) hex socket ball driver (supplied with projec- tor) or allen wrench for this procedure. 2) “Top” or “bottom” references assume a
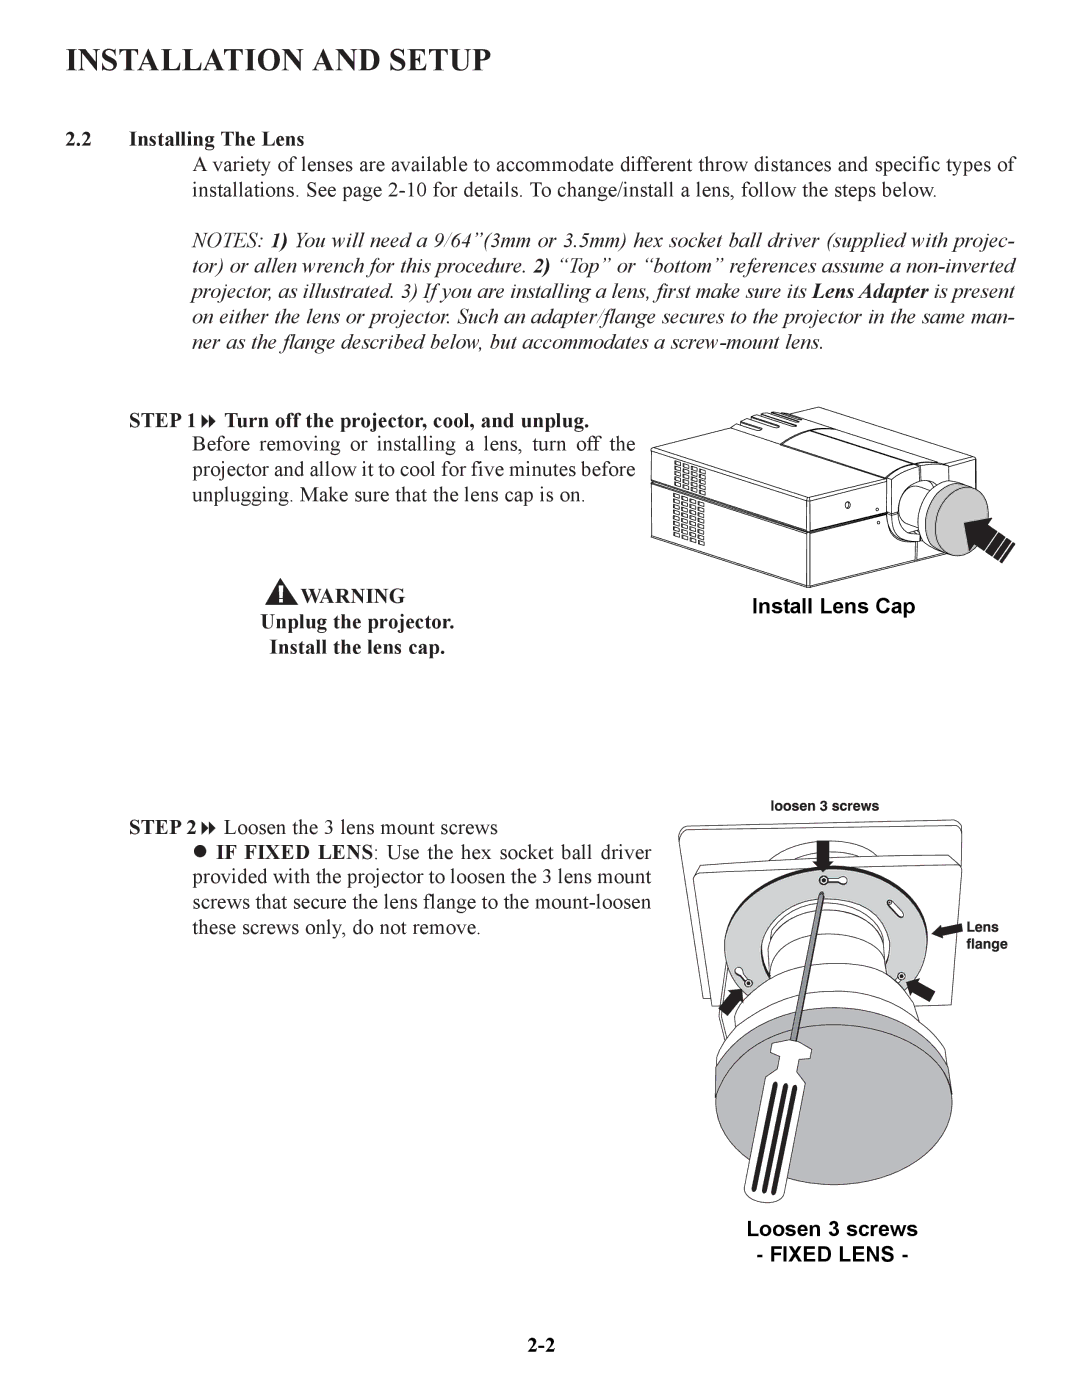
STEP 1 Turn off the projector, cool, and unplug. Before removing or installing a lens, turn off the projector and allow it to cool for five minutes before unplugging. Make sure that the lens cap is on.
! WARNING | Install Lens Cap | |
Unplug the projector. | ||
| ||
Install the lens cap. |
|
STEP 2 Loosen the 3 lens mount screws
IF FIXED LENS: Use the hex socket ball driver provided with the projector to loosen the 3 lens mount screws that secure the lens flange to the
Loosen 3 screws
- FIXED LENS -