Connecting an Audio/Video Input Cable
You can connect other audio/video equipment to your
Examples :
•You wish to copy a video cassette with the help of a second VCR.
•You wish to play and/or copy pictures taken with a camcorder.
•Make sure that both the external devices and the
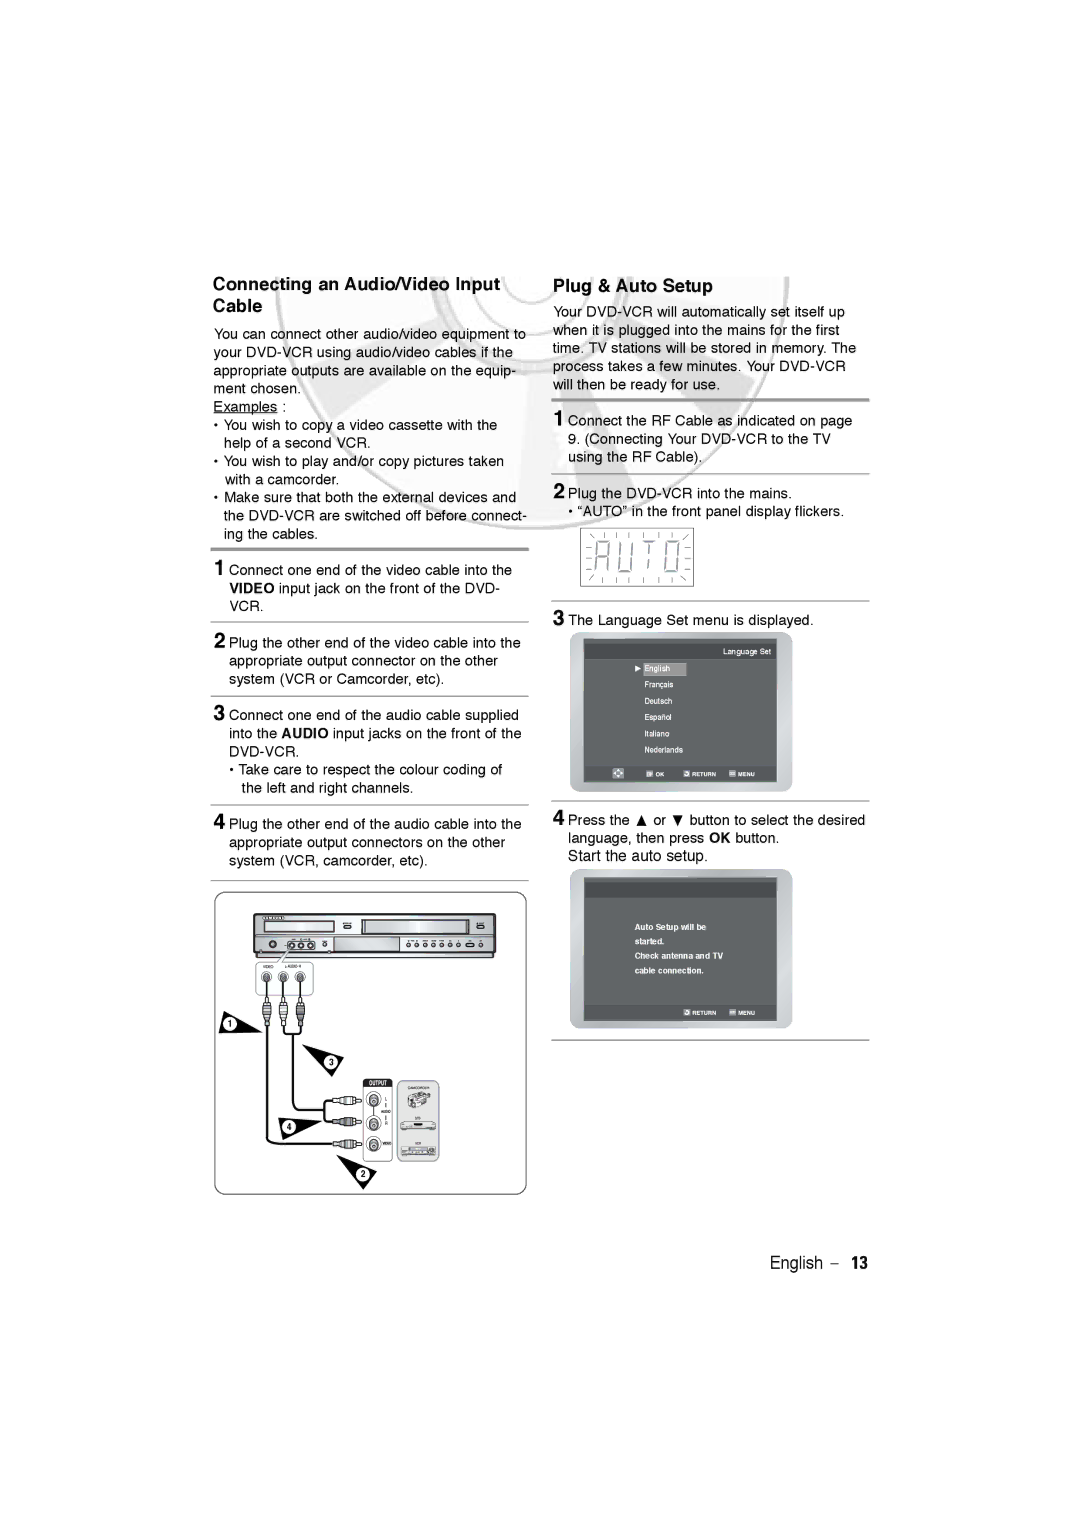
1 Connect one end of the video cable into the VIDEO input jack on the front of the DVD- VCR.
2 Plug the other end of the video cable into the appropriate output connector on the other system (VCR or Camcorder, etc).
3 Connect one end of the audio cable supplied into the AUDIO input jacks on the front of the
•Take care to respect the colour coding of the left and right channels.
4 Plug the other end of the audio cable into the
appropriate output connectors on the other system (VCR, camcorder, etc).
Plug & Auto Setup
Your
1 Connect the RF Cable as indicated on page
9.(Connecting Your
2 Plug the
• “AUTO” in the front panel display flickers.
3 The Language Set menu is displayed.
Language Set
$English Français Deutsch Español Italiano Nederlands
4 Press the " or # button to select the desired language, then press OK button.
Start the auto setup.
Auto Setup will be
started.
Check antenna and TV
cable connection.
1
3
4
2
English - 13