Unit 3: Installation
INTERFACE UPGRADE
The printer is typically ordered with a
Parallel Interface (IEEE1284) | (Optional or Bundled) |
Serial Interface (RS232C) | (Optional) |
USB Interface | (Optional) |
(Optional) | |
Wireless LAn 802.11b Interface | (Optioanl) |
(Optional( | |
EXT Connector (External Signal Interface) | (Optional) |
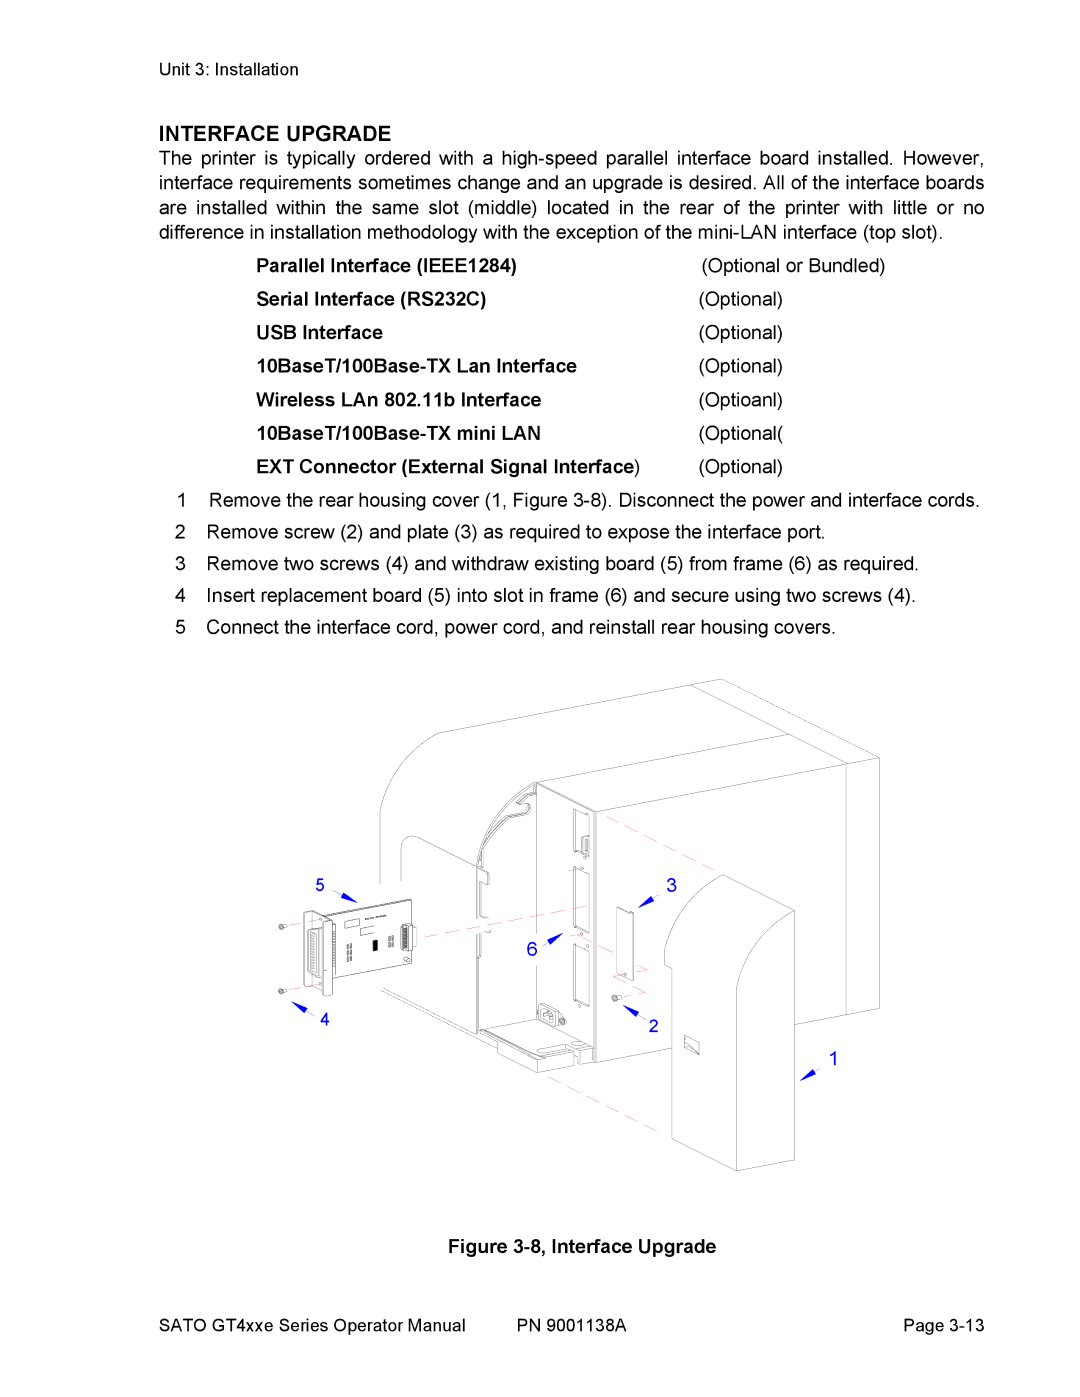
1Remove the rear housing cover (1, Figure
2 Remove screw (2) and plate (3) as required to expose the interface port.
3 Remove two screws (4) and withdraw existing board (5) from frame (6) as required. 4 Insert replacement board (5) into slot in frame (6) and secure using two screws (4). 5 Connect the interface cord, power cord, and reinstall rear housing covers.
5 | 3 |
6 ![]()
4 | 2 |
|
1
Figure 3-8, Interface Upgrade
SATO GT4xxe Series Operator Manual | PN 9001138A | Page |