2 |
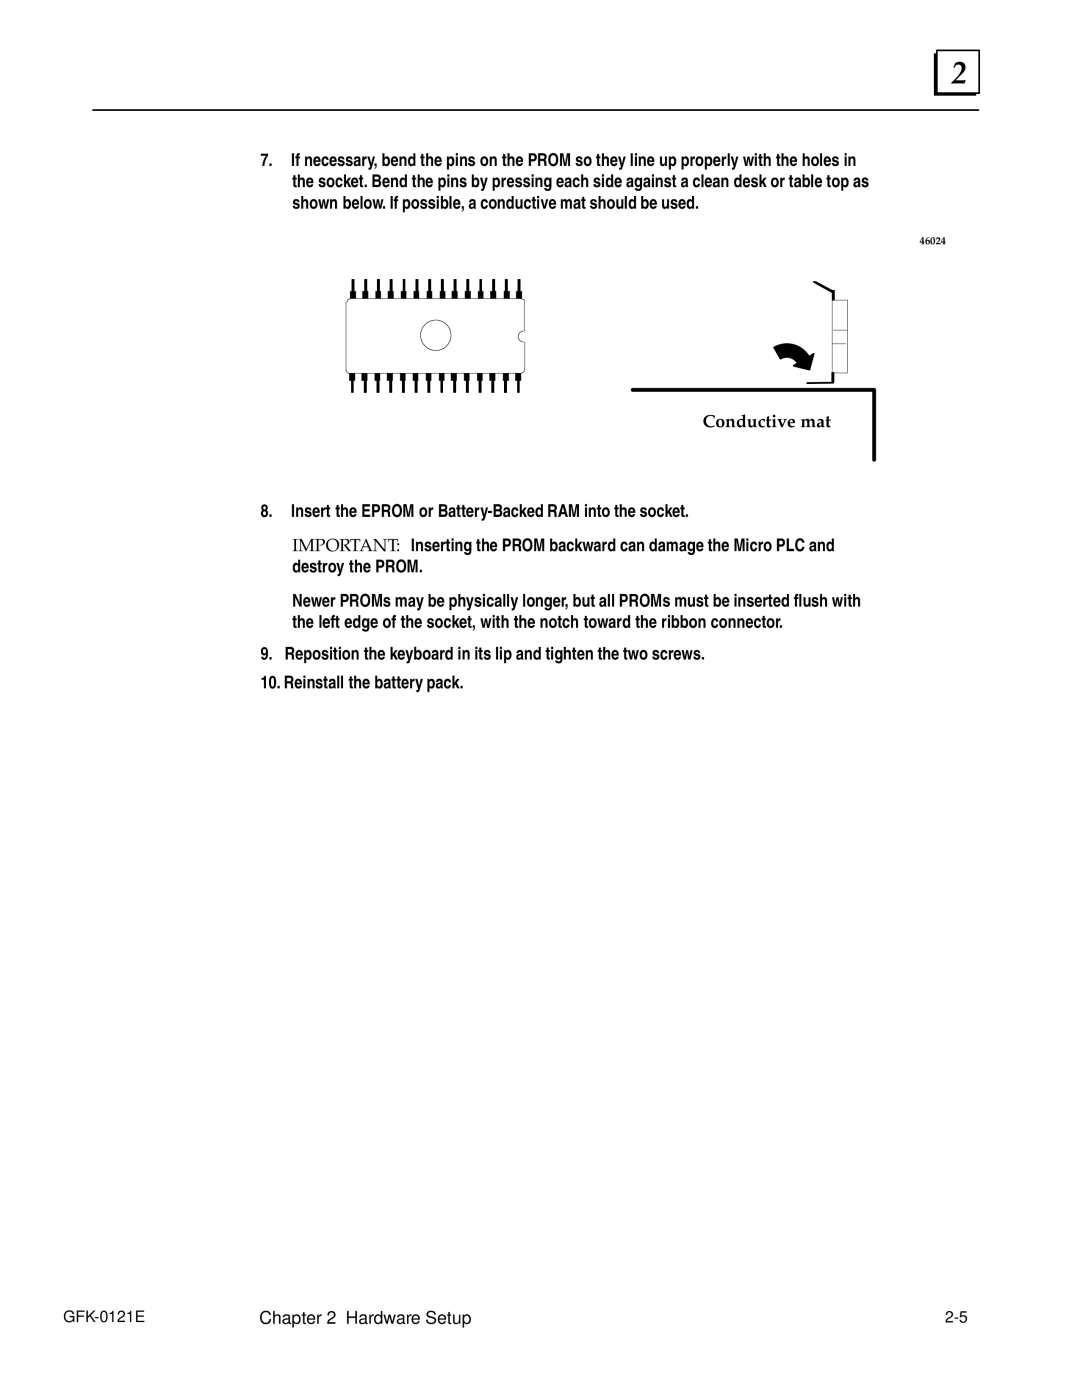
7.If necessary, bend the pins on the PROM so they line up properly with the holes in the socket. Bend the pins by pressing each side against a clean desk or table top as shown below. If possible, a conductive mat should be used.
46024
Conductive mat
8.Insert the EPROM or
IMPORTANT: Inserting the PROM backward can damage the Micro PLC and destroy the PROM.
Newer PROMs may be physically longer, but all PROMs must be inserted flush with the left edge of the socket, with the notch toward the ribbon connector.
9.Reposition the keyboard in its lip and tighten the two screws.
10.Reinstall the battery pack.
Chapter 2 Hardware Setup |
