Figure 3-6: Login and Command Line
3.A command line appears.
4.Type netconfig and press <Enter>.
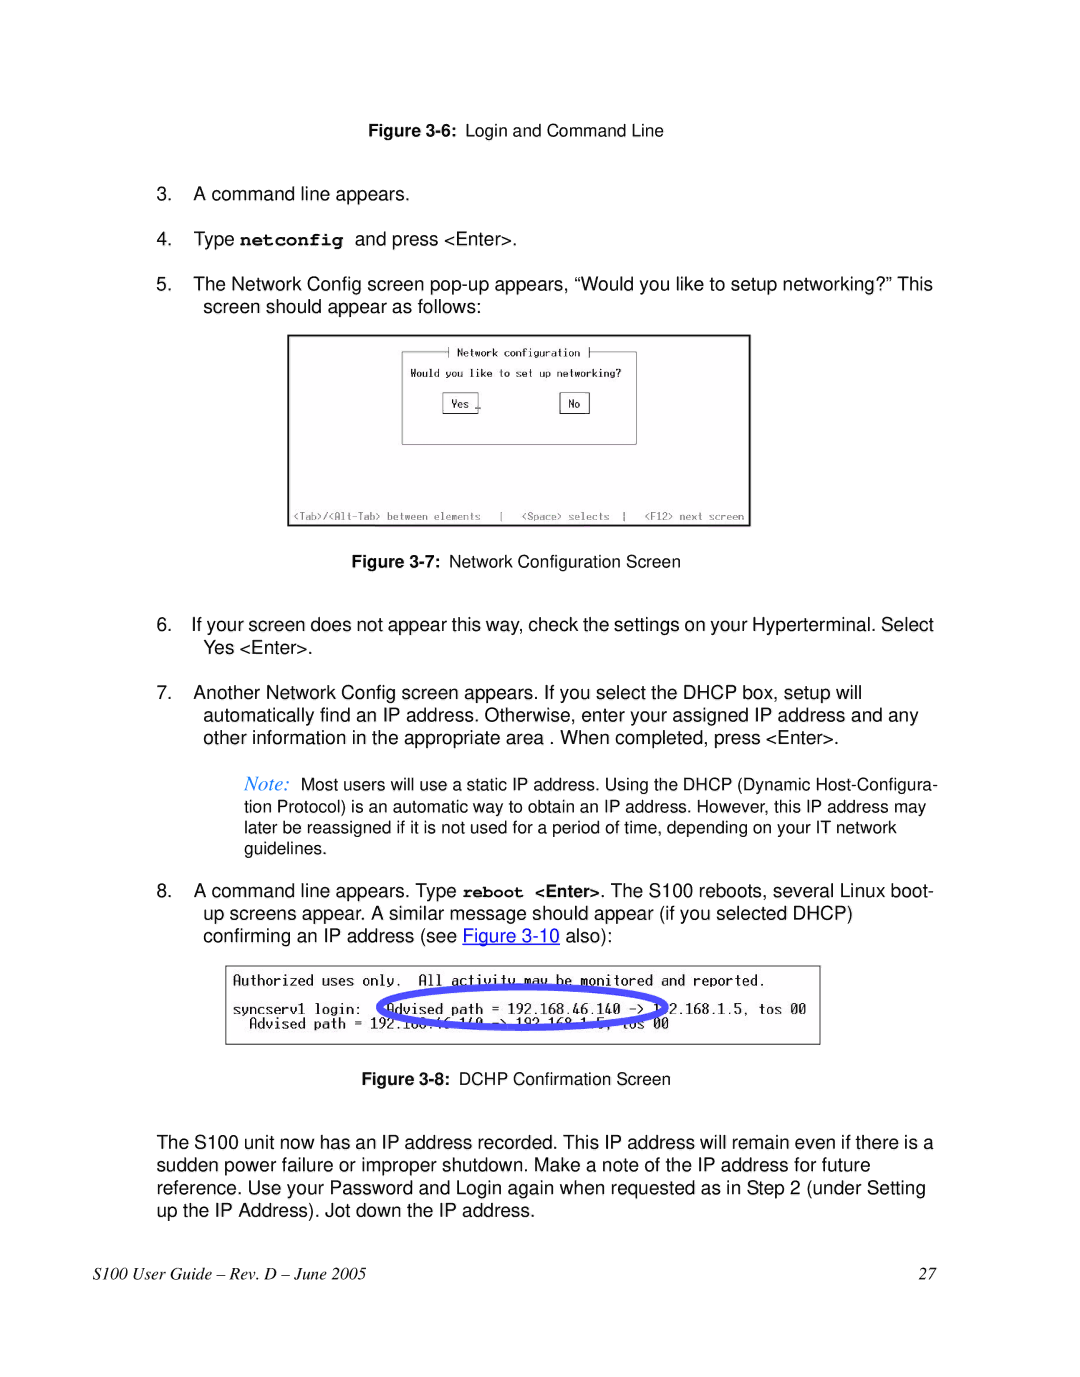
5.The Network Config screen
Figure 3-7: Network Configuration Screen
6.If your screen does not appear this way, check the settings on your Hyperterminal. Select Yes <Enter>.
7.Another Network Config screen appears. If you select the DHCP box, setup will automatically find an IP address. Otherwise, enter your assigned IP address and any other information in the appropriate area . When completed, press <Enter>.
Note: Most users will use a static IP address. Using the DHCP (Dynamic
8.A command line appears. Type reboot <Enter>. The S100 reboots, several Linux boot- up screens appear. A similar message should appear (if you selected DHCP) confirming an IP address (see Figure
Figure 3-8: DCHP Confirmation Screen
The S100 unit now has an IP address recorded. This IP address will remain even if there is a sudden power failure or improper shutdown. Make a note of the IP address for future reference. Use your Password and Login again when requested as in Step 2 (under Setting up the IP Address). Jot down the IP address.
S100 User Guide – Rev. D – June 2005 | 27 |