Making Measurements
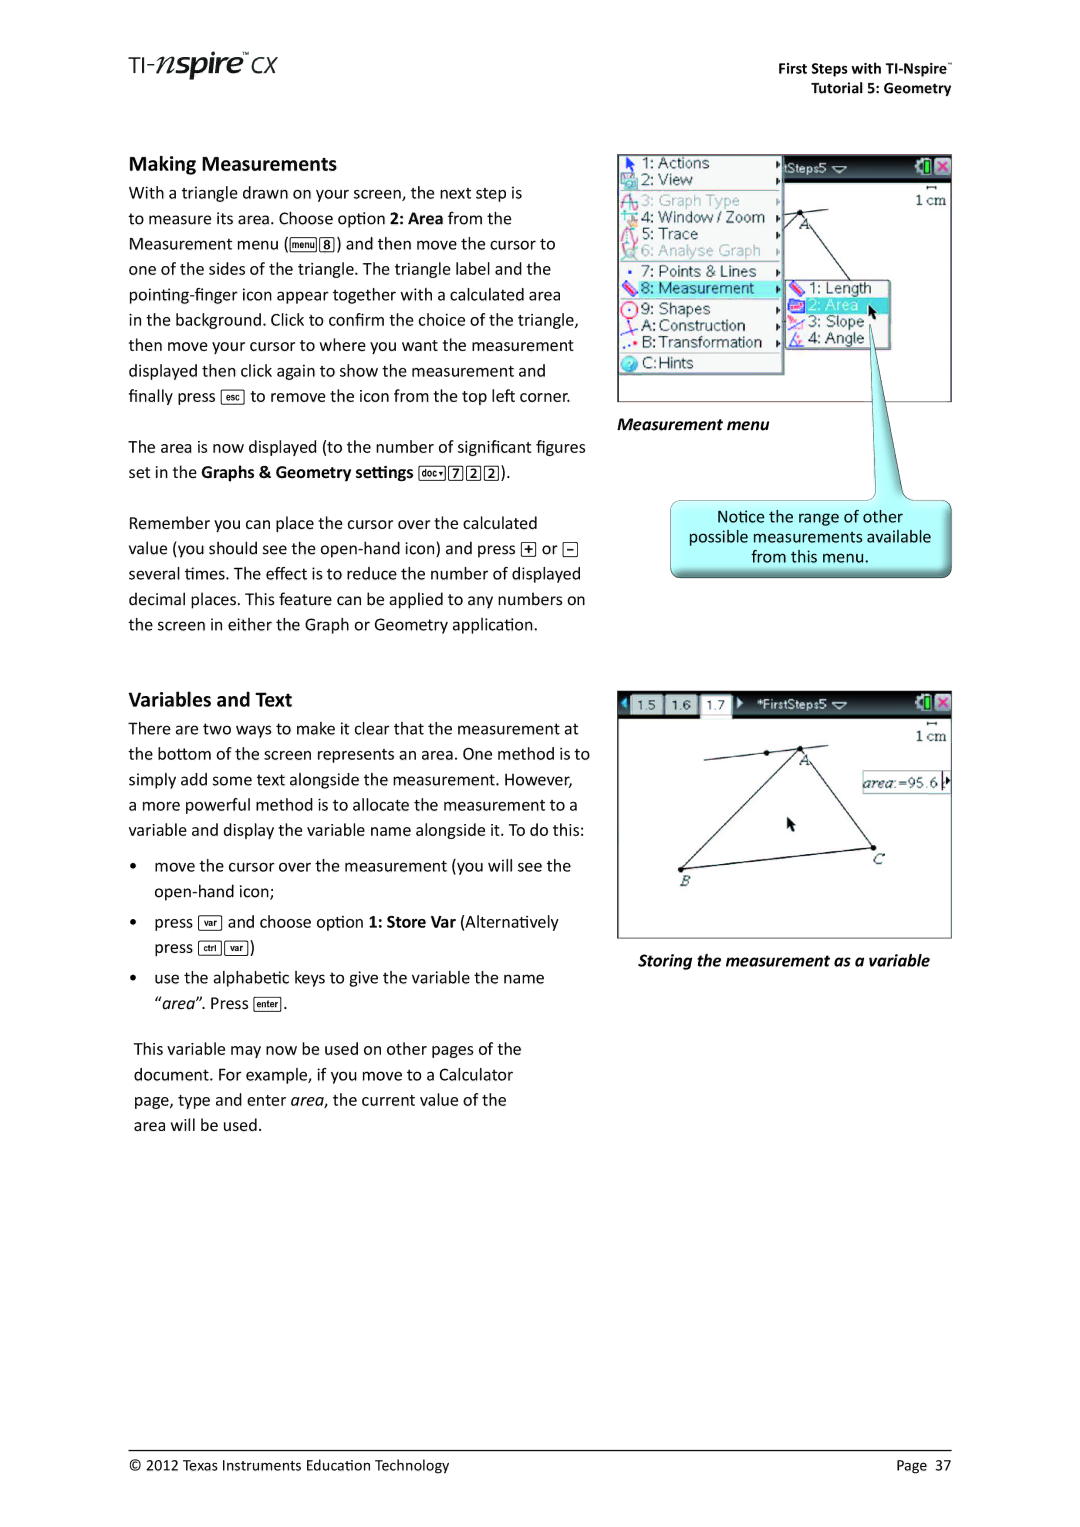
With a triangle drawn on your screen, the next step is to measure its area. Choose option 2: Area from the Measurement menu (b8) and then move the cursor to one of the sides of the triangle. The triangle label and the
in the background. Click to confirm the choice of the triangle, then move your cursor to where you want the measurement displayed then click again to show the measurement and finally press d to remove the icon from the top left corner.
The area is now displayed (to the number of significant figures set in the Graphs & Geometry settings ~722).
Remember you can place the cursor over the calculated value (you should see the
First Steps with
Tutorial 5: Geometry
Measurement menu
Notice the range of other
possible measurements available
from this menu.
Variables and Text |
| |
There are two ways to make it clear that the measurement at |
| |
the bottom of the screen represents an area. One method is to |
| |
simply add some text alongside the measurement. However, |
| |
a more powerful method is to allocate the measurement to a |
| |
variable and display the variable name alongside it. To do this: |
| |
• move the cursor over the measurement (you will see the |
| |
| ||
• press h and choose option 1: Store Var (Alternatively |
| |
press /h) | Storing the measurement as a variable | |
• use the alphabetic keys to give the variable the name | ||
| ||
“area”. Press ·. |
|
This variable may now be used on other pages of the document. For example, if you move to a Calculator page, type and enter area, the current value of the area will be used.
© 2012 Texas Instruments Education Technology | Page 37 |