Because function tables are so useful, they can also be drawn automatically. Follow through these steps.
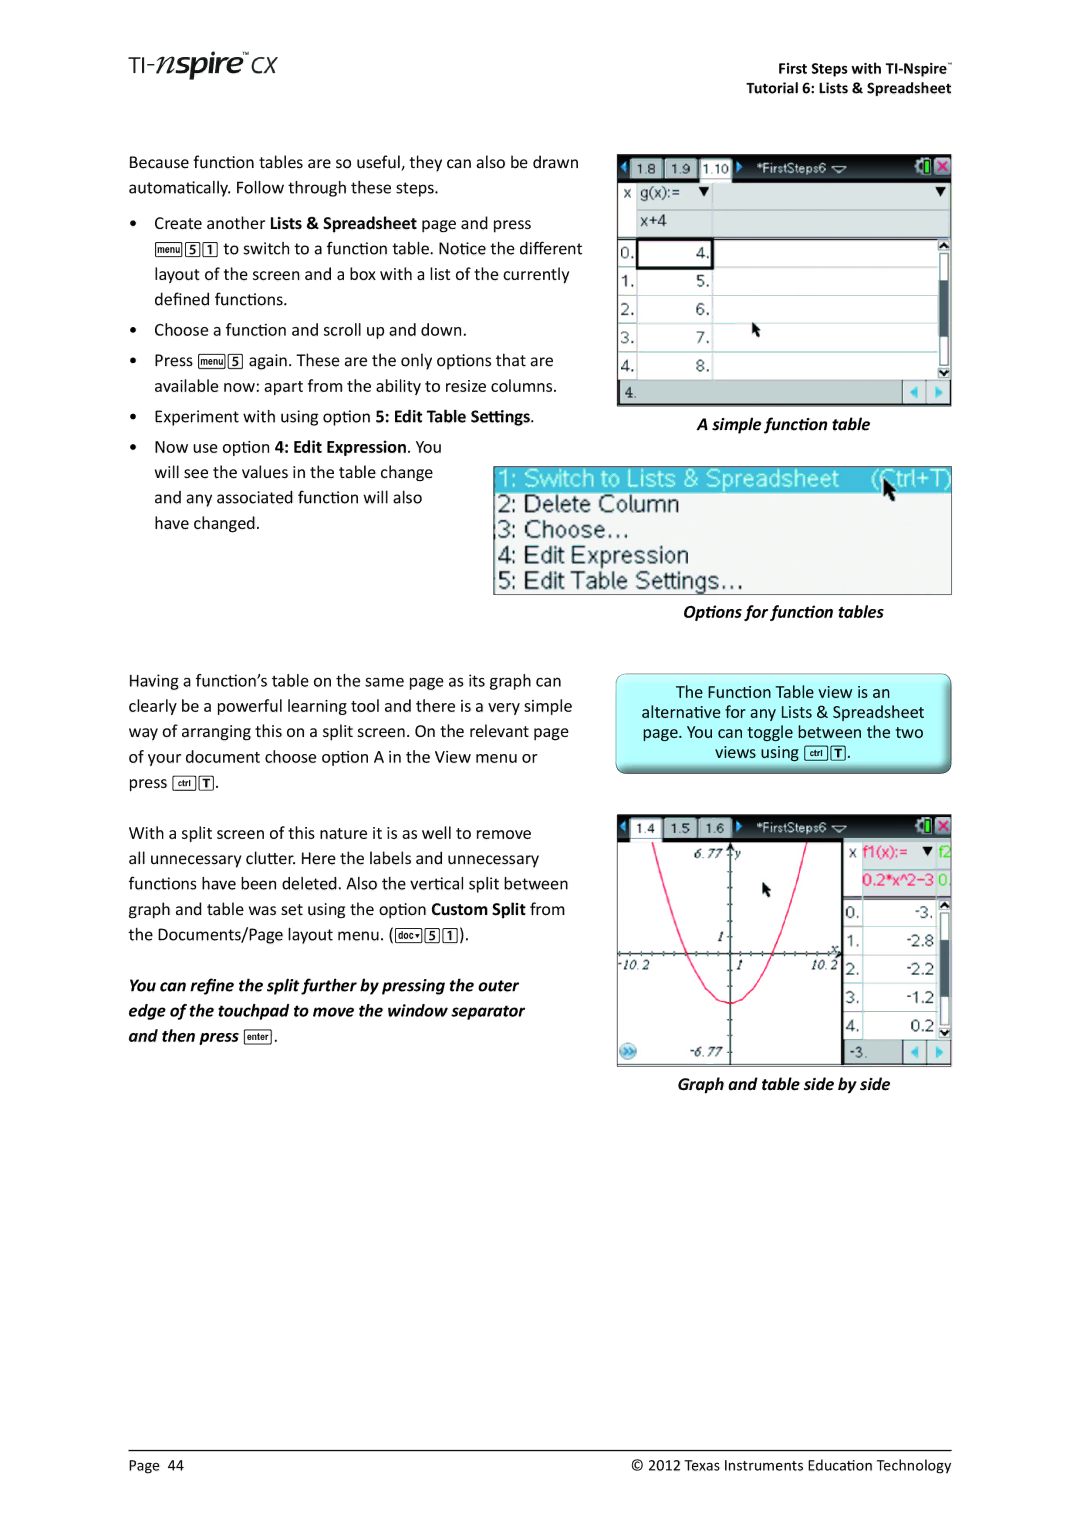
•Create another Lists & Spreadsheet page and press b51 to switch to a function table. Notice the different layout of the screen and a box with a list of the currently defined functions.
•Choose a function and scroll up and down.
•Press b5 again. These are the only options that are available now: apart from the ability to resize columns.
•Experiment with using option 5: Edit Table Settings.
•Now use option 4: Edit Expression. You will see the values in the table change and any associated function will also have changed.
First Steps with
Tutorial 6: Lists & Spreadsheet
A simple function table
Options for function tables
Having a function’s table on the same page as its graph can clearly be a powerful learning tool and there is a very simple way of arranging this on a split screen. On the relevant page of your document choose option A in the View menu or press /T.
With a split screen of this nature it is as well to remove all unnecessary clutter. Here the labels and unnecessary functions have been deleted. Also the vertical split between graph and table was set using the option Custom Split from the Documents/Page layout menu. (~51).
You can refine the split further by pressing the outer edge of the touchpad to move the window separator and then press ·.
The Function Table view is an
alternative for any Lists & Spreadsheet page. You can toggle between the two views using /T.
Graph and table side by side
Page 44 | © 2012 Texas Instruments Education Technology |