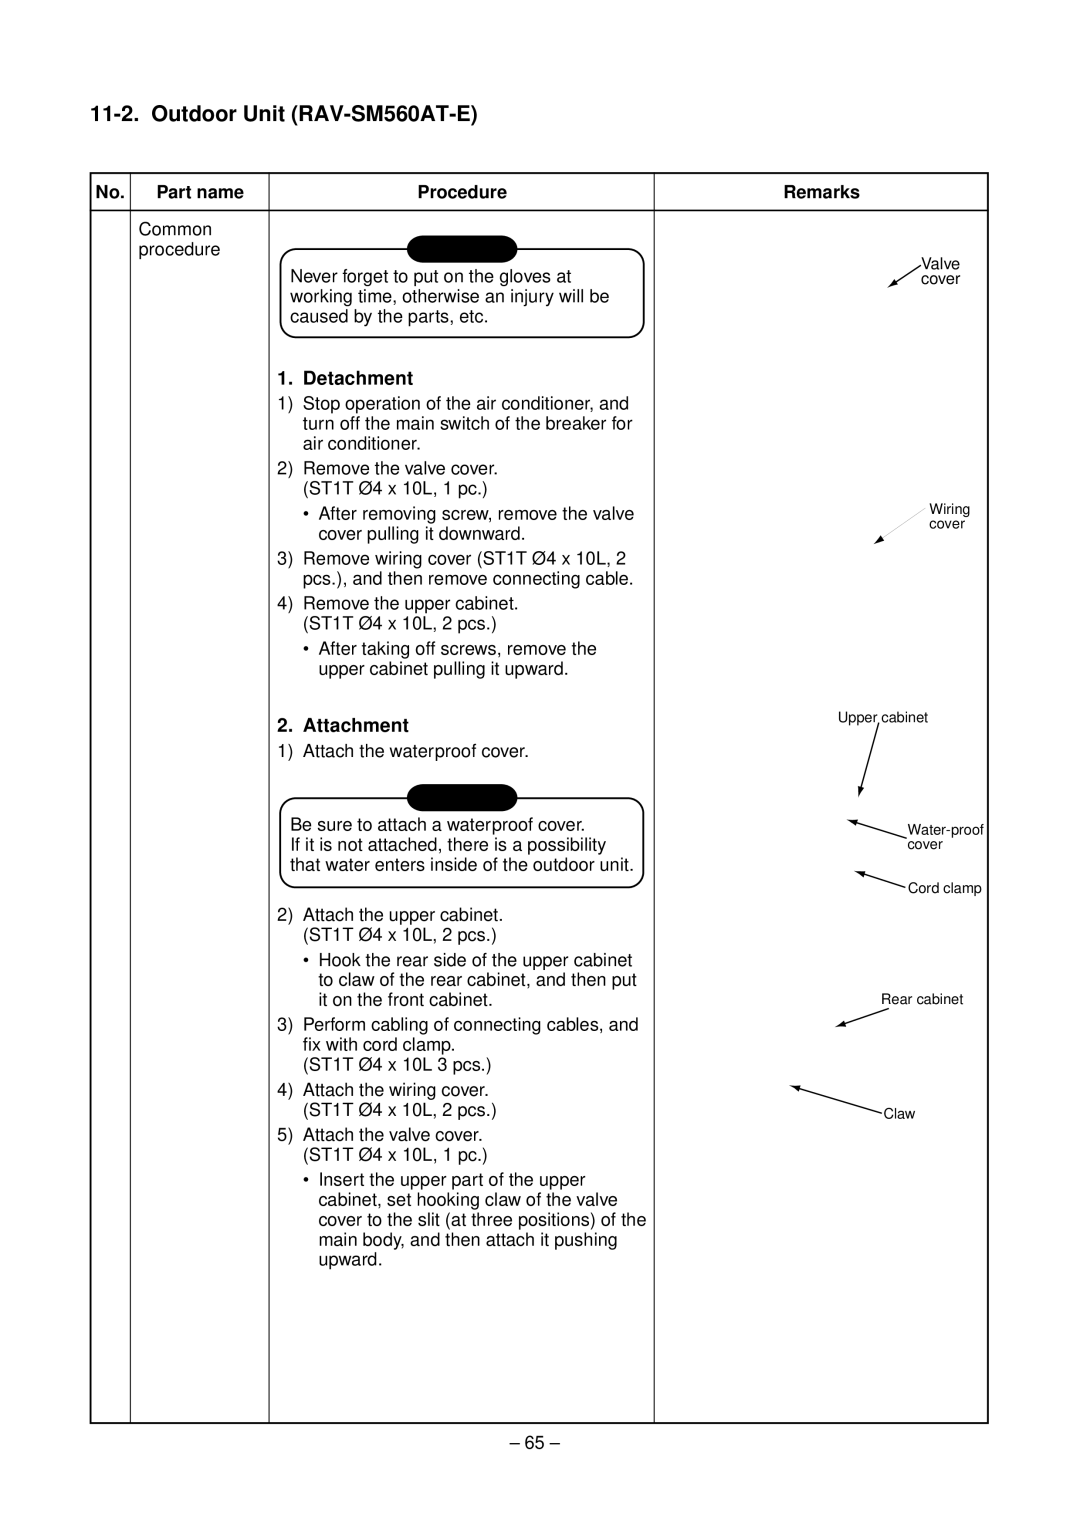
11-2. Outdoor Unit (RAV-SM560AT-E)
No. Part name | Procedure | Remarks |
•Common
procedure | CAUTION | Valve |
| Never forget to put on the gloves at | |
| cover | |
| working time, otherwise an injury will be |
|
| caused by the parts, etc. |
|
1. Detachment
1)Stop operation of the air conditioner, and turn off the main switch of the breaker for air conditioner.
2)Remove the valve cover. (ST1T Ø4 x 10L, 1 pc.)
• After removing screw, remove the valve | Wiring |
cover pulling it downward. | cover |
|
3)Remove wiring cover (ST1T Ø4 x 10L, 2 pcs.), and then remove connecting cable.
4)Remove the upper cabinet. (ST1T Ø4 x 10L, 2 pcs.)
•After taking off screws, remove the upper cabinet pulling it upward.
2. Attachment | Upper cabinet |
| |
1) Attach the waterproof cover. |
|
CAUTION |
|
Be sure to attach a waterproof cover. | |
If it is not attached, there is a possibility | cover |
that water enters inside of the outdoor unit. |
|
| Cord clamp |
2)Attach the upper cabinet. (ST1T Ø4 x 10L, 2 pcs.)
•Hook the rear side of the upper cabinet to claw of the rear cabinet, and then put
| it on the front cabinet. | Rear cabinet |
3) | Perform cabling of connecting cables, and |
|
| fix with cord clamp. |
|
| (ST1T Ø4 x 10L 3 pcs.) |
|
4) | Attach the wiring cover. |
|
| (ST1T Ø4 x 10L, 2 pcs.) | Claw |
5)Attach the valve cover. (ST1T Ø4 x 10L, 1 pc.)
•Insert the upper part of the upper cabinet, set hooking claw of the valve cover to the slit (at three positions) of the main body, and then attach it pushing upward.
– 65 –
