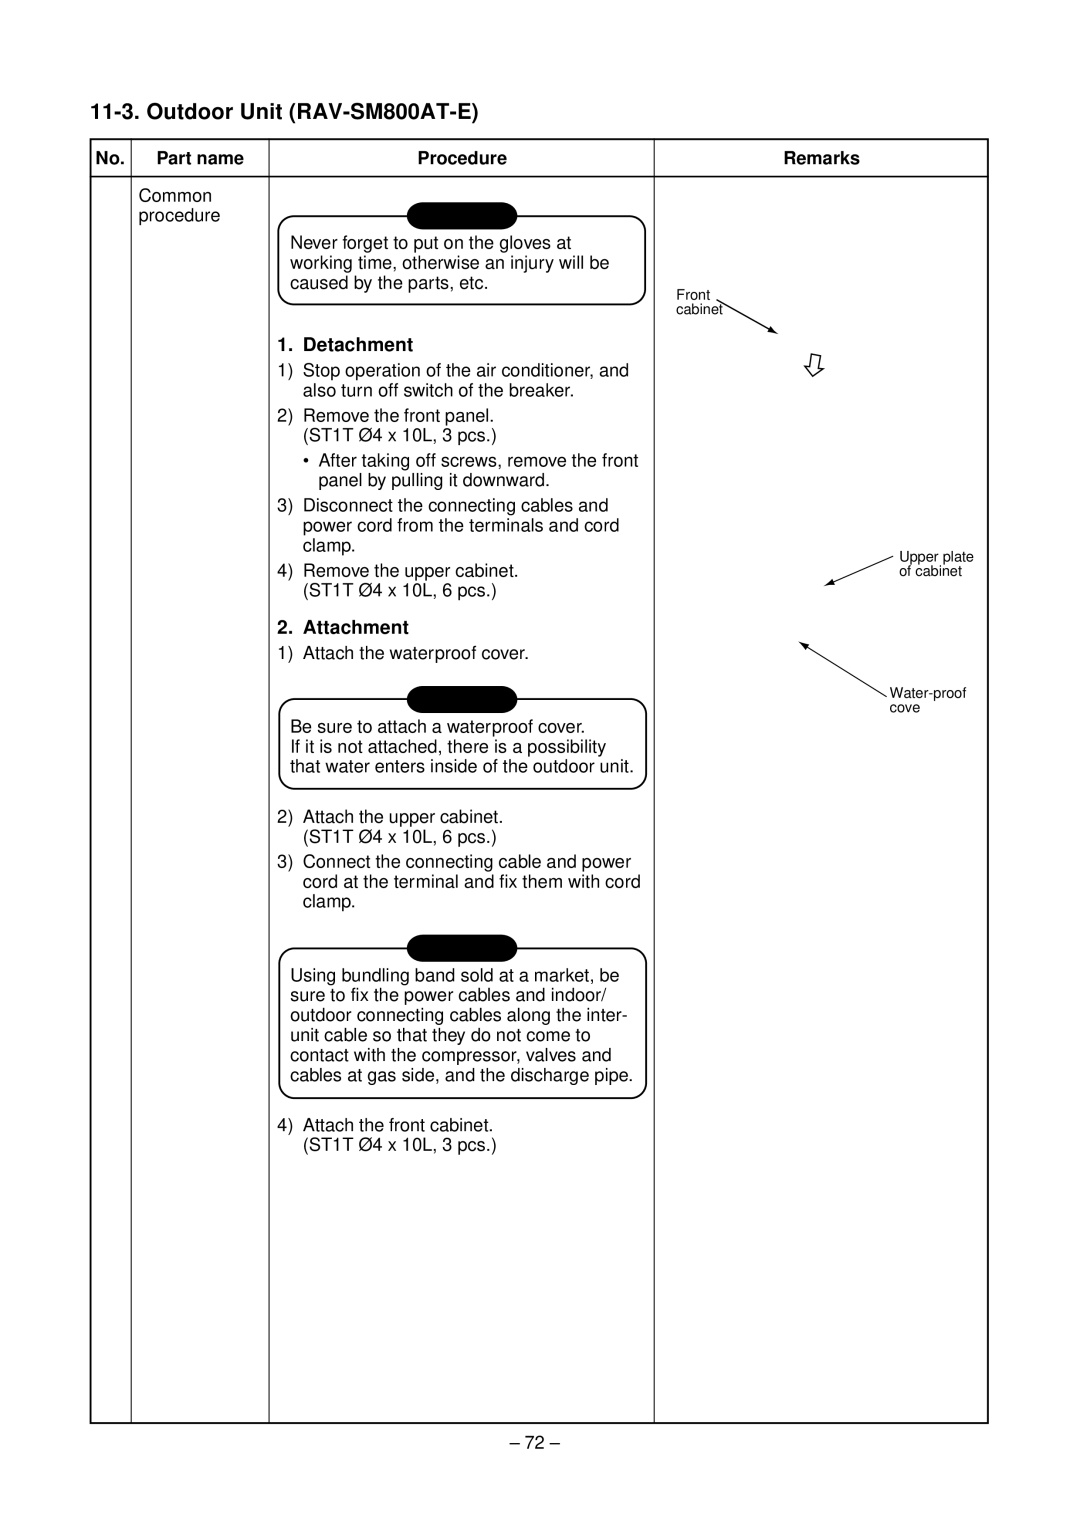
11-3. Outdoor Unit (RAV-SM800AT-E)
No. Part name | Procedure | Remarks |
•Common
procedure | CAUTION |
| |
Never forget to put on the gloves at |
| ||
working time, otherwise an injury will be |
| ||
caused by the parts, etc. | Front | ||
|
| ||
|
| cabinet | |
1. Detachment |
| ||
1) | Stop operation of the air conditioner, and |
| |
| also turn off switch of the breaker. |
| |
2) | Remove the front panel. |
| |
| (ST1T Ø4 x 10L, 3 pcs.) |
| |
| • After taking off screws, remove the front |
| |
| panel by pulling it downward. |
| |
3) | Disconnect the connecting cables and |
| |
| power cord from the terminals and cord |
| |
| clamp. | Upper plate | |
4) | Remove the upper cabinet. | ||
of cabinet | |||
| (ST1T Ø4 x 10L, 6 pcs.) |
| |
2. Attachment |
| ||
1) | Attach the waterproof cover. |
| |
| CAUTION | ||
| cove | ||
Be sure to attach a waterproof cover.
If it is not attached, there is a possibility that water enters inside of the outdoor unit.
2)Attach the upper cabinet. (ST1T Ø4 x 10L, 6 pcs.)
3)Connect the connecting cable and power cord at the terminal and fix them with cord clamp.
CAUTION
Using bundling band sold at a market, be sure to fix the power cables and indoor/ outdoor connecting cables along the inter- unit cable so that they do not come to contact with the compressor, valves and cables at gas side, and the discharge pipe.
4)Attach the front cabinet. (ST1T Ø4 x 10L, 3 pcs.)
– 72 –
