TL-WR1042ND 300Mbps Wireless N Gigabit Router
¾Save - You can click the Save button to save your settings and the page will be redirected to the media server configuration page.
¾Back - You can click the Back button to discard the settings and just go to the media server configuration page.
To add a new share folder for your media server, please follow the instructions below:
1)Select the Share entire partition or a specified folder option.
2)Enter the display name of the share folder in Display Name edit box.
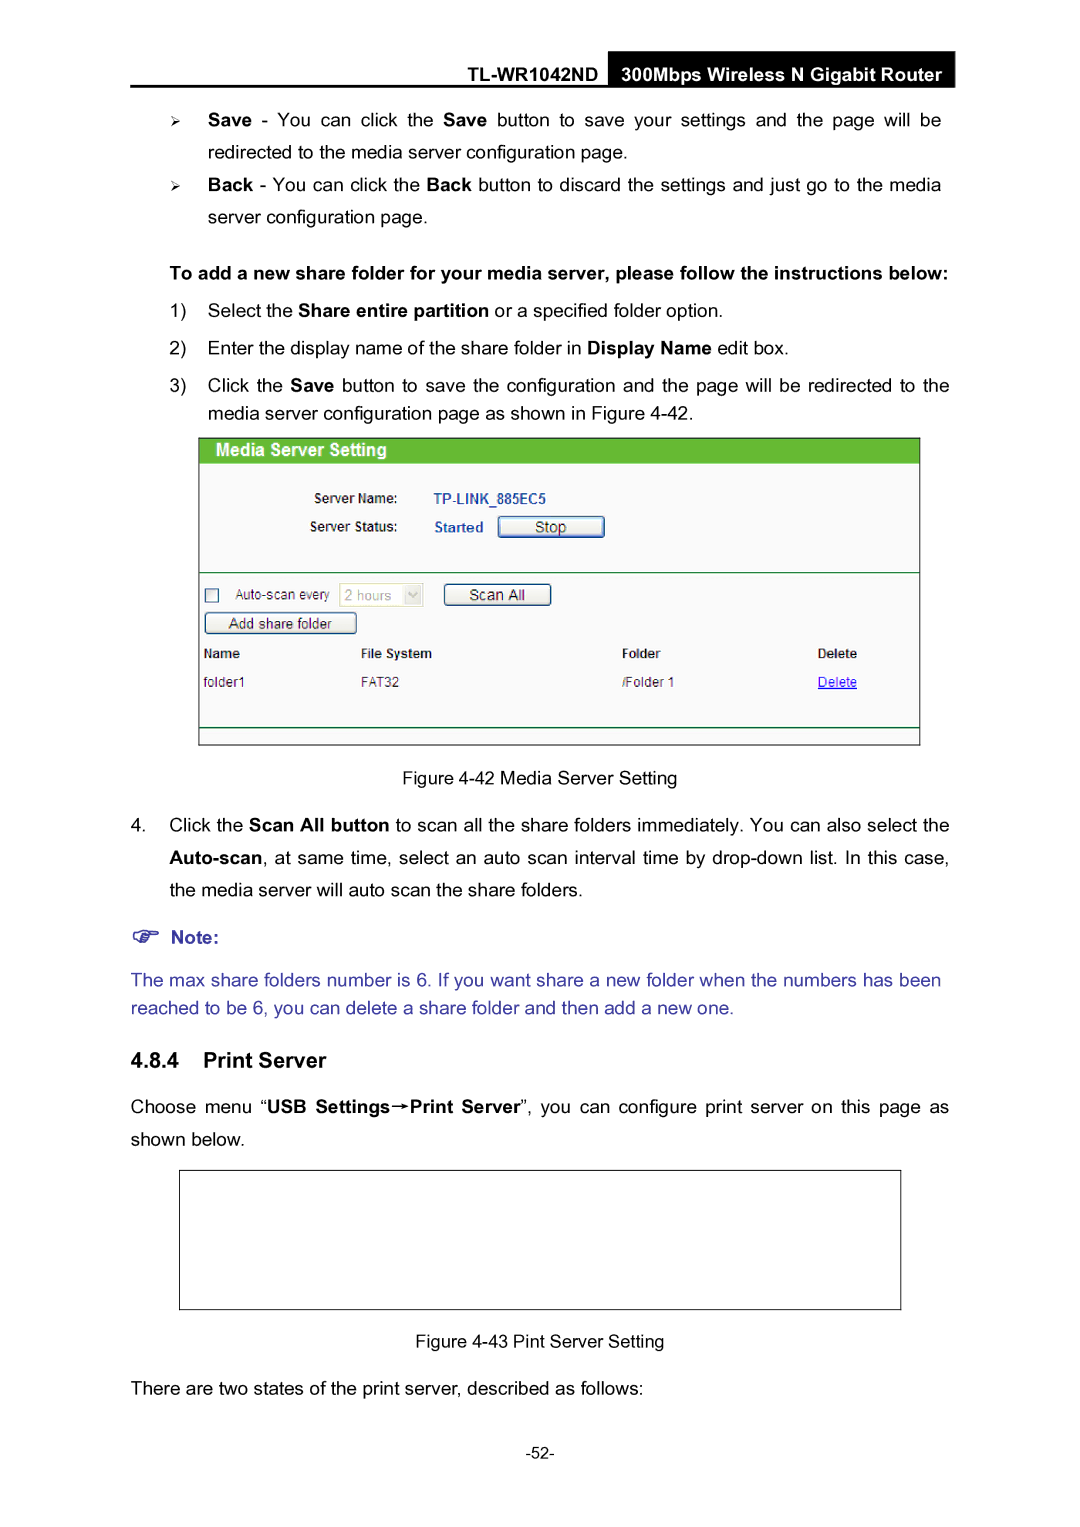
3)Click the Save button to save the configuration and the page will be redirected to the media server configuration page as shown in Figure
Figure 4-42 Media Server Setting
4.Click the Scan All button to scan all the share folders immediately. You can also select the Auto-scan, at same time, select an auto scan interval time by drop-down list. In this case, the media server will auto scan the share folders.
)Note:
The max share folders number is 6. If you want share a new folder when the numbers has been reached to be 6, you can delete a share folder and then add a new one.
4.8.4Print Server
Choose menu “USB Settings→Print Server”, you can configure print server on this page as shown below.
Figure 4-43 Pint Server Setting
There are two states of the print server, described as follows:
