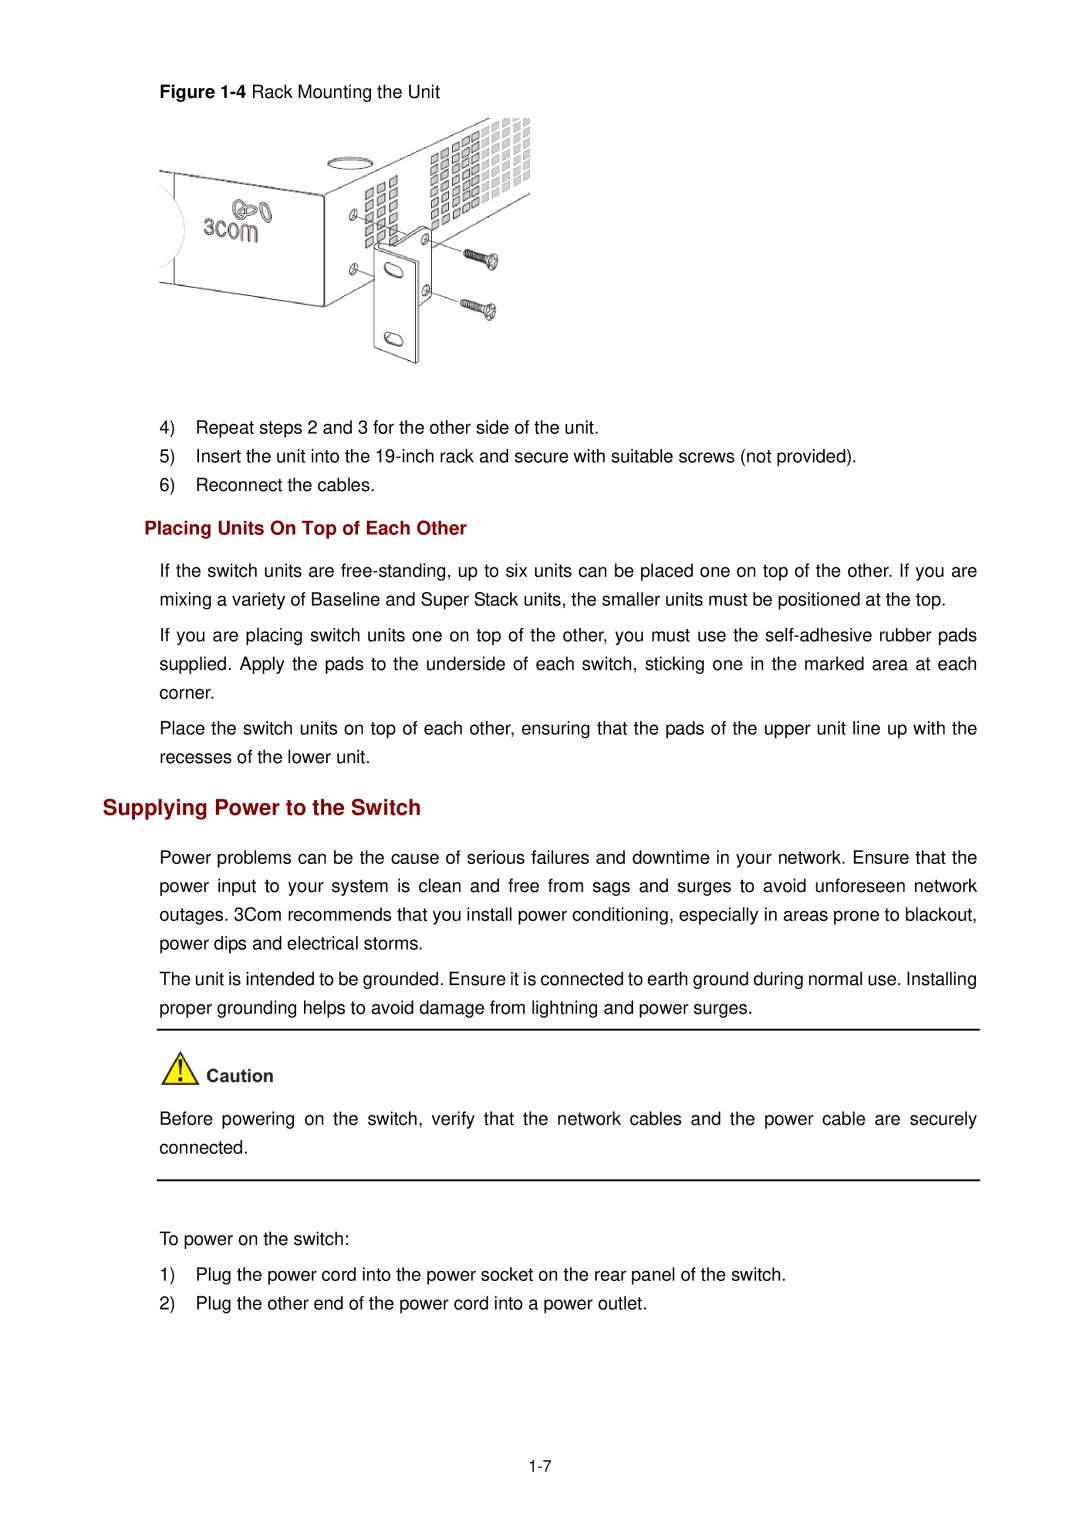
Figure 1-4 Rack Mounting the Unit
4)Repeat steps 2 and 3 for the other side of the unit.
5)Insert the unit into the 19-inch rack and secure with suitable screws (not provided).
6)Reconnect the cables.
Placing Units On Top of Each Other
If the switch units are
If you are placing switch units one on top of the other, you must use the
Place the switch units on top of each other, ensuring that the pads of the upper unit line up with the recesses of the lower unit.
Supplying Power to the Switch
Power problems can be the cause of serious failures and downtime in your network. Ensure that the power input to your system is clean and free from sags and surges to avoid unforeseen network outages. 3Com recommends that you install power conditioning, especially in areas prone to blackout, power dips and electrical storms.
The unit is intended to be grounded. Ensure it is connected to earth ground during normal use. Installing proper grounding helps to avoid damage from lightning and power surges.
Before powering on the switch, verify that the network cables and the power cable are securely connected.
To power on the switch:
1)Plug the power cord into the power socket on the rear panel of the switch.
2)Plug the other end of the power cord into a power outlet.
