Table
| Item |
| Description |
| Restore Defaults |
| Restores the switch factory defaults for mapping CoS values to forwarding |
|
| queues. | |
|
|
| |
|
|
|
|
| Class of Service |
| Specifies the CoS priority tag values, where 0 is the lowest and 7 is the |
|
| highest. | |
|
|
| |
|
|
| |
| Queue | Defines the traffic forwarding queue to which the CoS priority is mapped. | |
|
|
|
|
Viewing CoS to Queue
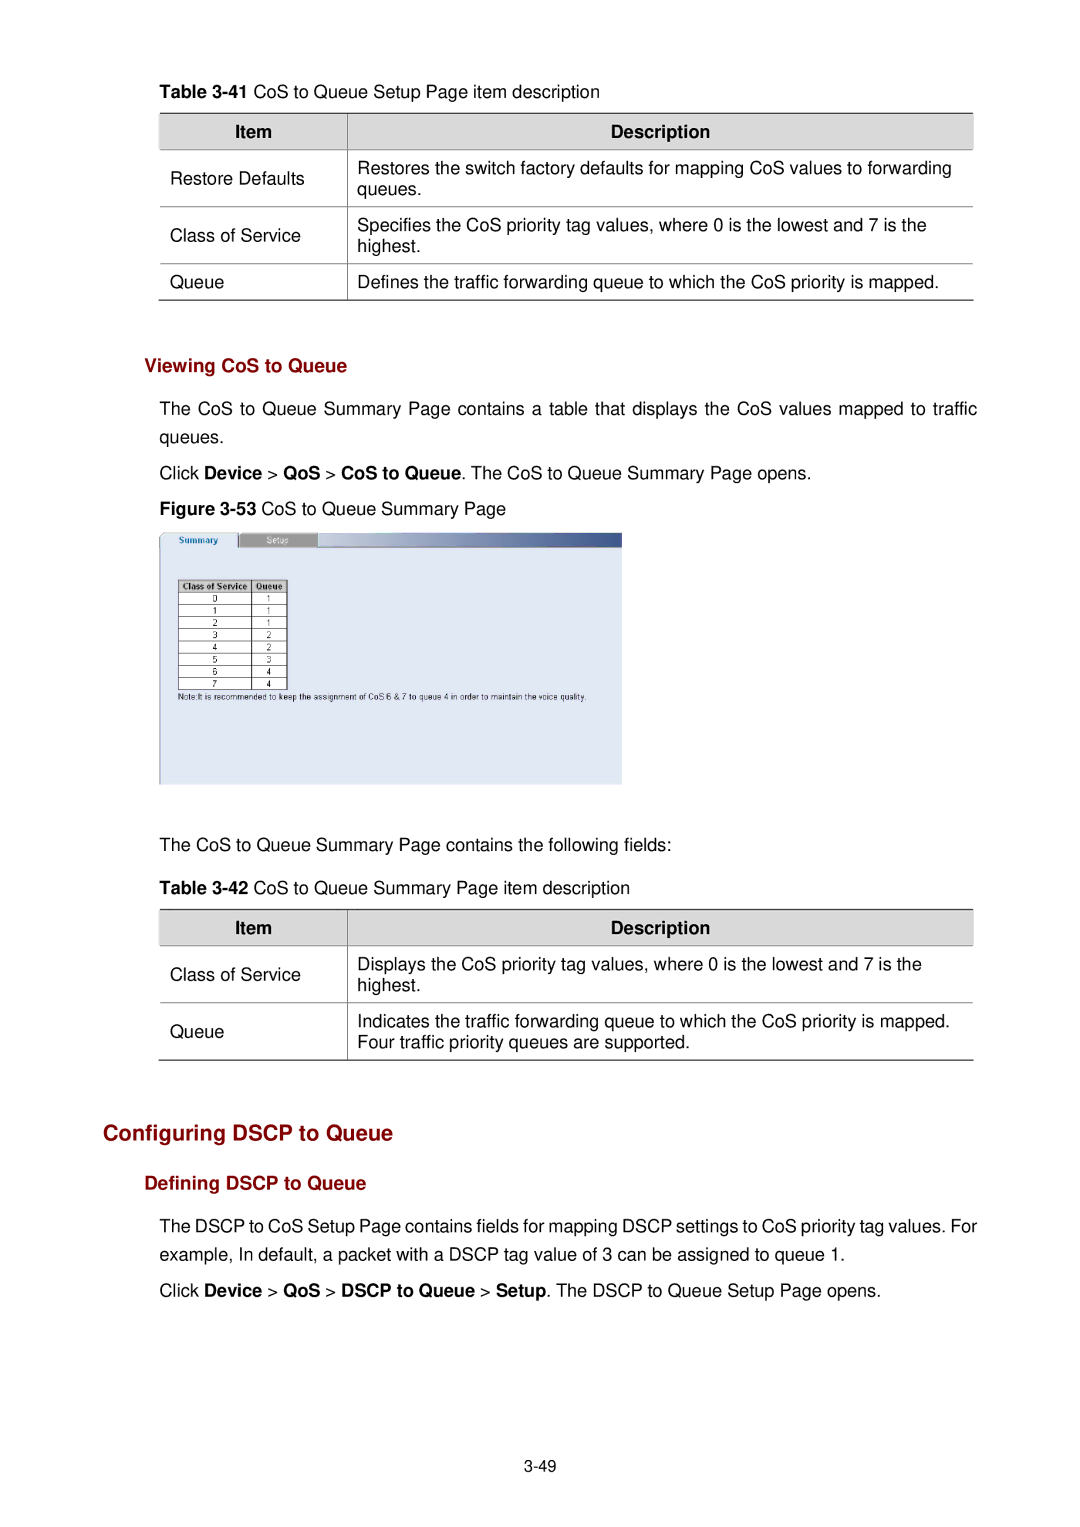
The CoS to Queue Summary Page contains a table that displays the CoS values mapped to traffic queues.
Click Device > QoS > CoS to Queue. The CoS to Queue Summary Page opens.
Figure 3-53 CoS to Queue Summary Page
The CoS to Queue Summary Page contains the following fields:
Table 3-42 CoS to Queue Summary Page item description
Item | Description | |
Class of Service | Displays the CoS priority tag values, where 0 is the lowest and 7 is the | |
highest. | ||
| ||
|
| |
Queue | Indicates the traffic forwarding queue to which the CoS priority is mapped. | |
Four traffic priority queues are supported. | ||
| ||
|
|
Configuring DSCP to Queue
Defining DSCP to Queue
The DSCP to CoS Setup Page contains fields for mapping DSCP settings to CoS priority tag values. For example, In default, a packet with a DSCP tag value of 3 can be assigned to queue 1.
Click Device > QoS > DSCP to Queue > Setup. The DSCP to Queue Setup Page opens.