MAX Admin Menu
Setting System Date and Time
When you select Date, Time, Locale from the MAX Admin Menu, a wizard is invoked which steps you through the process of setting the date and time for the system:
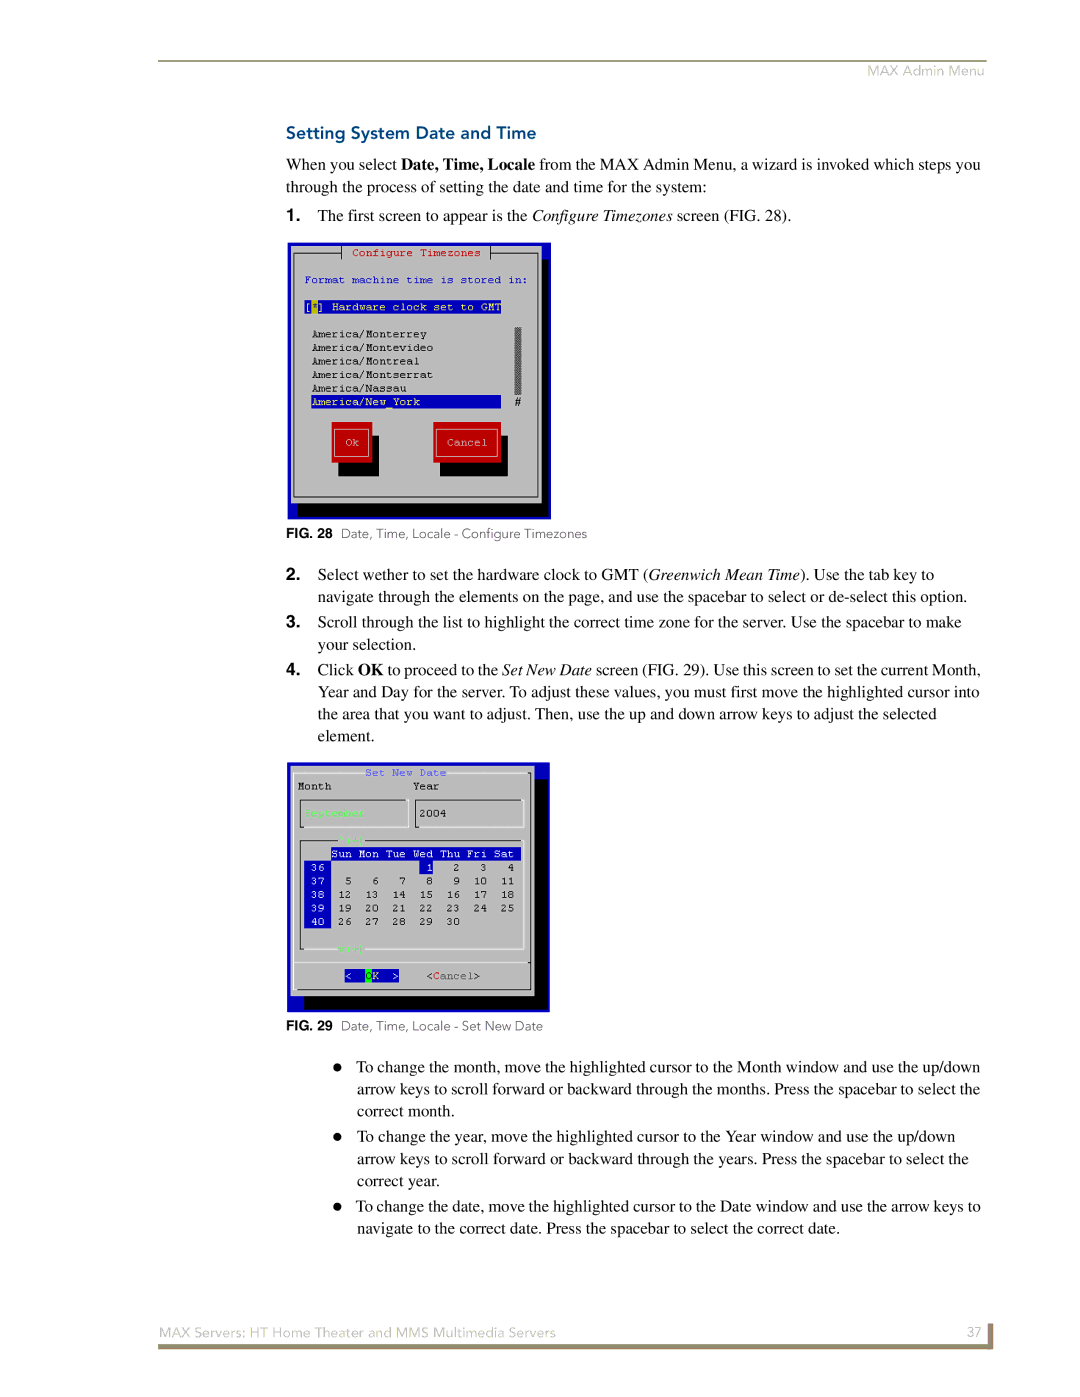
1.The first screen to appear is the Configure Timezones screen (FIG. 28).
FIG. 28 Date, Time, Locale - Configure Timezones
2.Select wether to set the hardware clock to GMT (Greenwich Mean Time). Use the tab key to navigate through the elements on the page, and use the spacebar to select or
3.Scroll through the list to highlight the correct time zone for the server. Use the spacebar to make your selection.
4.Click OK to proceed to the Set New Date screen (FIG. 29). Use this screen to set the current Month, Year and Day for the server. To adjust these values, you must first move the highlighted cursor into the area that you want to adjust. Then, use the up and down arrow keys to adjust the selected element.
FIG. 29 Date, Time, Locale - Set New Date
To change the month, move the highlighted cursor to the Month window and use the up/down arrow keys to scroll forward or backward through the months. Press the spacebar to select the correct month.
To change the year, move the highlighted cursor to the Year window and use the up/down arrow keys to scroll forward or backward through the years. Press the spacebar to select the correct year.
To change the date, move the highlighted cursor to the Date window and use the arrow keys to navigate to the correct date. Press the spacebar to select the correct date.
MAX Servers: HT Home Theater and MMS Multimedia Servers | 37 |
|
|