Removing the Access Door
1.Disconnect all cables and the power cord from your iMac.
2.Place a soft, clean towel or cloth on your work surface. Hold the side of the iMac and lay it down so that the screen is against the surface and the bottom is facing you.
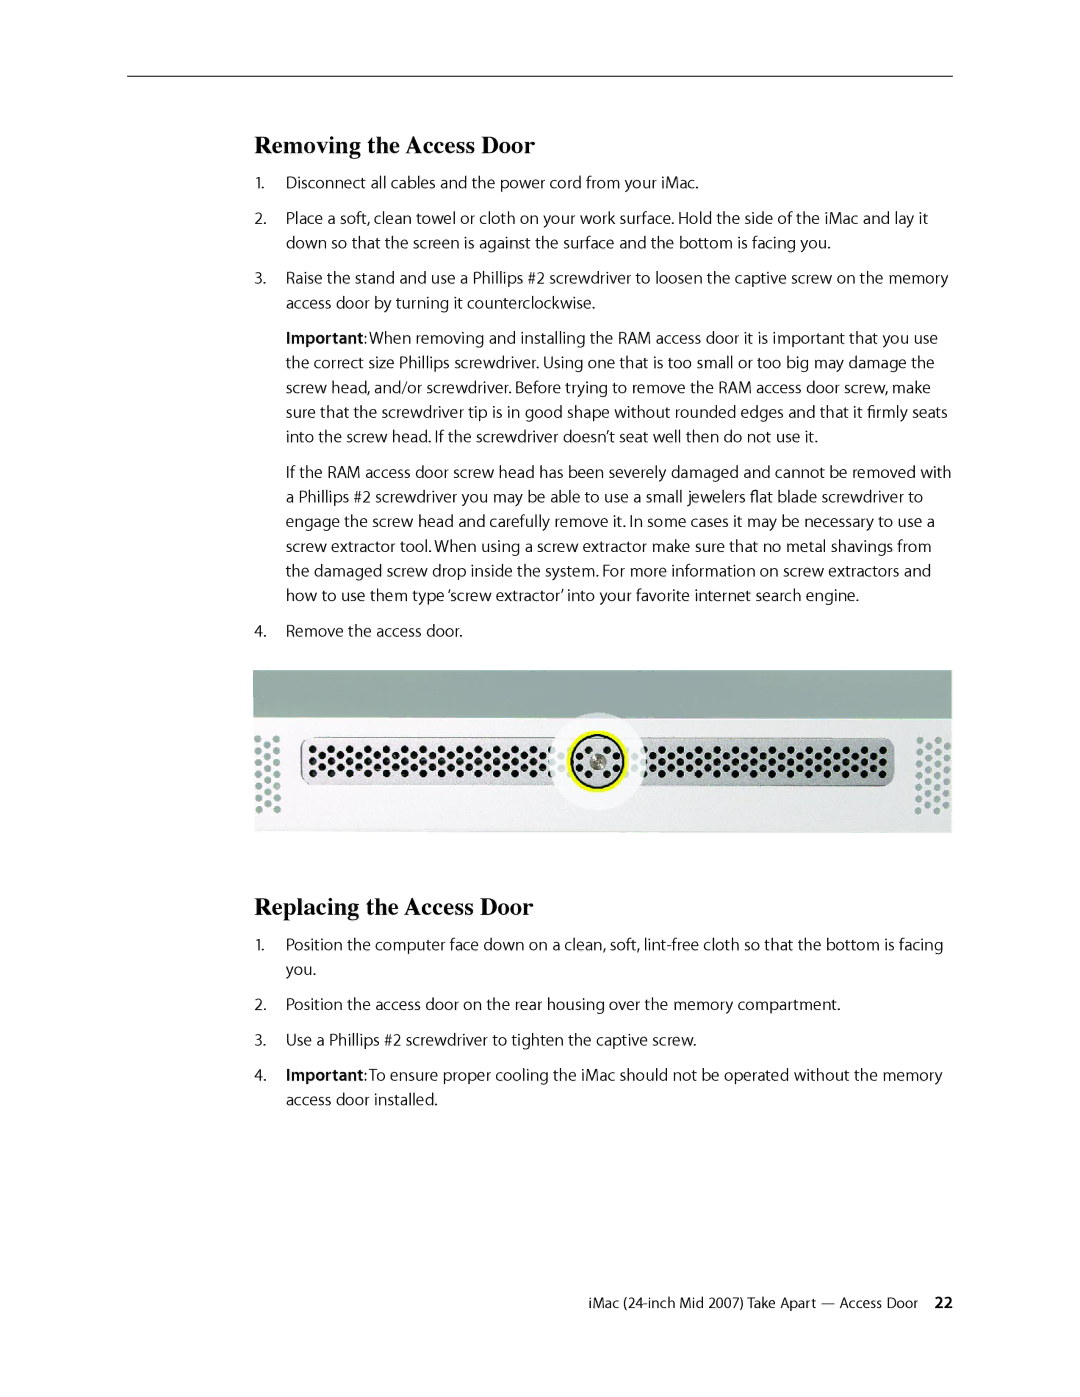
3.Raise the stand and use a Phillips #2 screwdriver to loosen the captive screw on the memory access door by turning it counterclockwise.
Important: When removing and installing the RAM access door it is important that you use the correct size Phillips screwdriver. Using one that is too small or too big may damage the screw head, and/or screwdriver. Before trying to remove the RAM access door screw, make sure that the screwdriver tip is in good shape without rounded edges and that it firmly seats into the screw head. If the screwdriver doesn’t seat well then do not use it.
If the RAM access door screw head has been severely damaged and cannot be removed with a Phillips #2 screwdriver you may be able to use a small jewelers flat blade screwdriver to engage the screw head and carefully remove it. In some cases it may be necessary to use a screw extractor tool. When using a screw extractor make sure that no metal shavings from the damaged screw drop inside the system. For more information on screw extractors and how to use them type ‘screw extractor’ into your favorite internet search engine.
4.Remove the access door.
Replacing the Access Door
1.Position the computer face down on a clean, soft,
2.Position the access door on the rear housing over the memory compartment.
3.Use a Phillips #2 screwdriver to tighten the captive screw.
4.Important: To ensure proper cooling the iMac should not be operated without the memory access door installed.
iMac