Menu Options
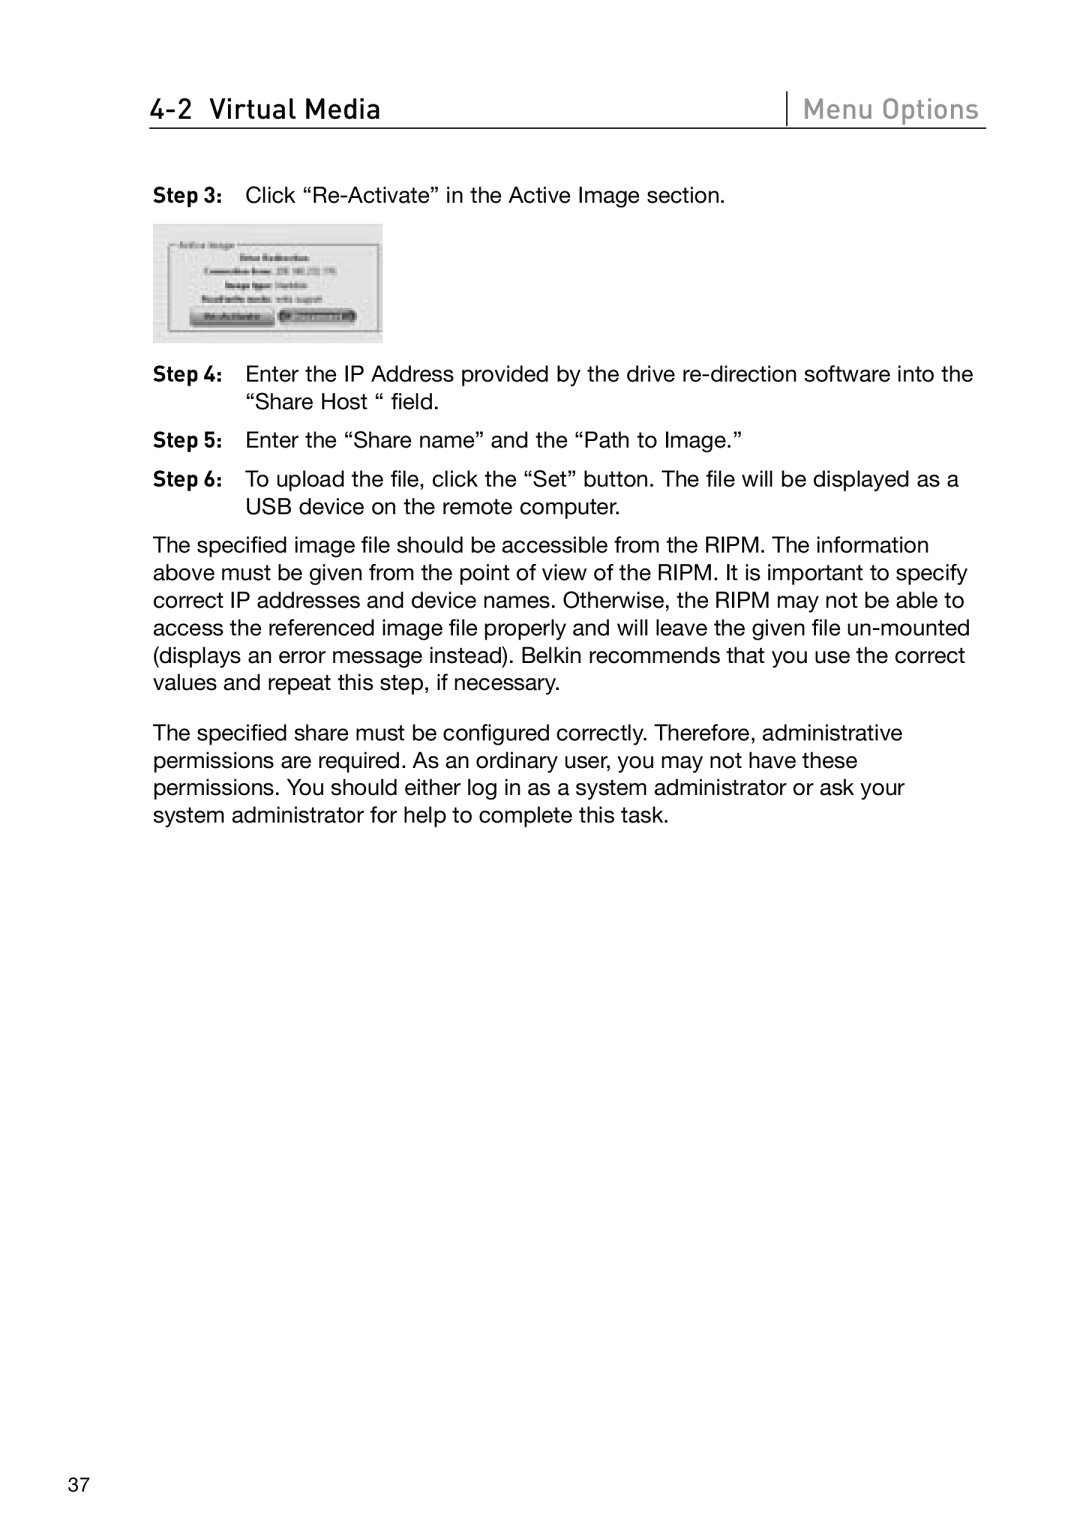
Step 3: Click
Step 4: Enter the IP Address provided by the drive
Step 5: Enter the “Share name” and the “Path to Image.”
Step 6: To upload the file, click the “Set” button. The file will be displayed as a USB device on the remote computer.
The specified image file should be accessible from the RIPM. The information above must be given from the point of view of the RIPM. It is important to specify correct IP addresses and device names. Otherwise, the RIPM may not be able to access the referenced image file properly and will leave the given file
The specified share must be configured correctly. Therefore, administrative permissions are required. As an ordinary user, you may not have these permissions. You should either log in as a system administrator or ask your system administrator for help to complete this task.
37