Menu Options |
Network
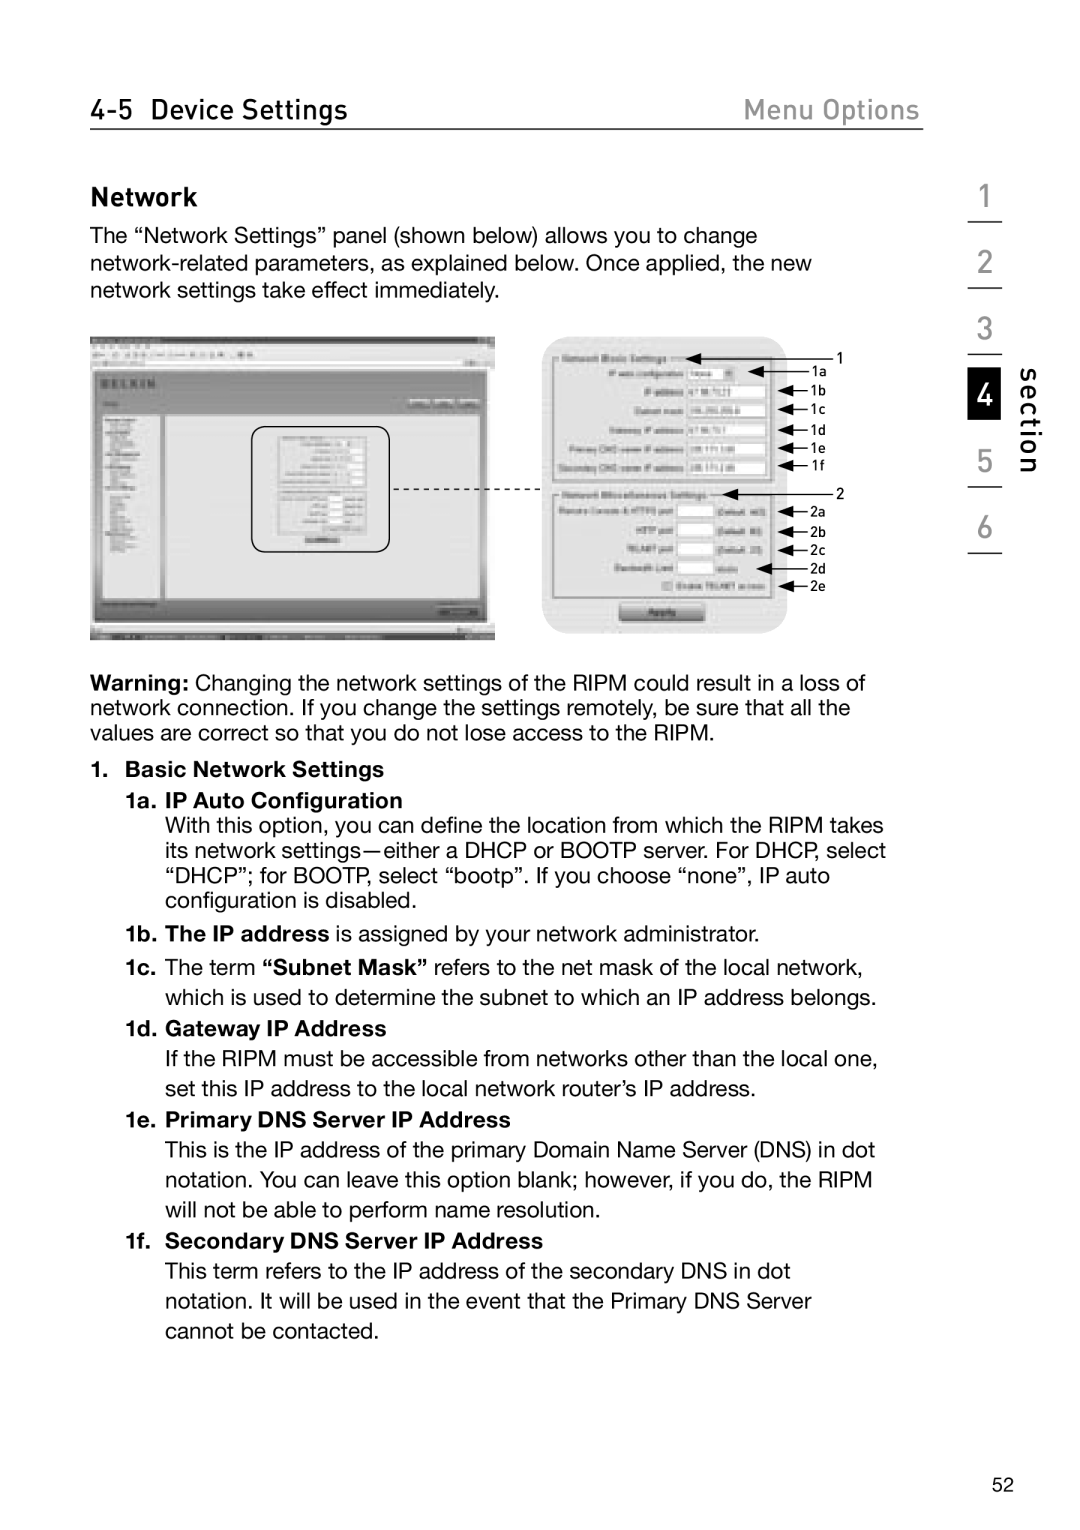
The “Network Settings” panel (shown below) allows you to change
1a 1
![]() 1b
1b
![]() 1c
1c
![]() 1d
1d
![]() 1e
1e ![]() 1f
1f
2
![]() 2a
2a
![]() 2b
2b
![]() 2c
2c
![]() 2d
2d ![]() 2e
2e
Warning: Changing the network settings of the RIPM could result in a loss of network connection. If you change the settings remotely, be sure that all the values are correct so that you do not lose access to the RIPM.
1.Basic Network Settings
1a. IP Auto Configuration
With this option, you can define the location from which the RIPM takes its network
1b. The IP address is assigned by your network administrator.
1c. The term “Subnet Mask” refers to the net mask of the local network, which is used to determine the subnet to which an IP address belongs.
1d. Gateway IP Address
If the RIPM must be accessible from networks other than the local one, set this IP address to the local network router’s IP address.
1e. Primary DNS Server IP Address
This is the IP address of the primary Domain Name Server (DNS) in dot notation. You can leave this option blank; however, if you do, the RIPM will not be able to perform name resolution.
1f. Secondary DNS Server IP Address
This term refers to the IP address of the secondary DNS in dot notation. It will be used in the event that the Primary DNS Server cannot be contacted.
1
2
3
4
5
6
section
52