About the audio level indicator:
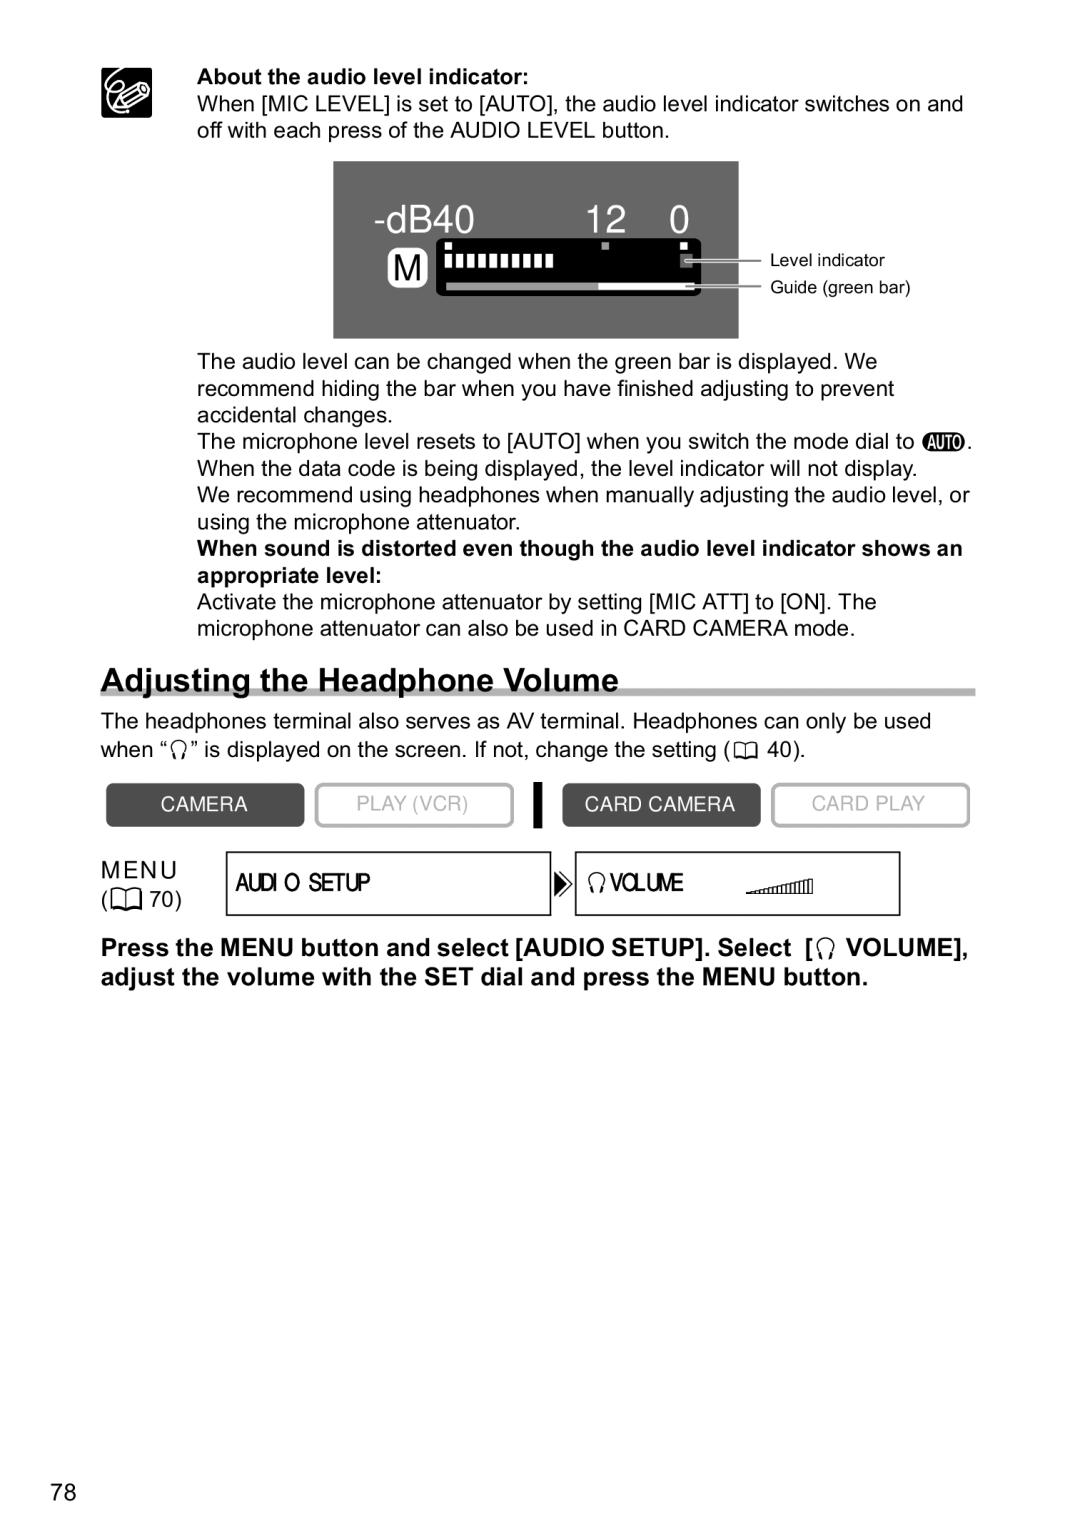
When [MIC LEVEL] is set to [AUTO], the audio level indicator switches on and off with each press of the AUDIO LEVEL button.
| 12 0 |
M ![]()
Level indicator
Guide (green bar)
The audio level can be changed when the green bar is displayed. We recommend hiding the bar when you have finished adjusting to prevent accidental changes.
The microphone level resets to [AUTO] when you switch the mode dial to ![]() .
.
When the data code is being displayed, the level indicator will not display.
We recommend using headphones when manually adjusting the audio level, or using the microphone attenuator.
When sound is distorted even though the audio level indicator shows an appropriate level:
Activate the microphone attenuator by setting [MIC ATT] to [ON]. The microphone attenuator can also be used in CARD CAMERA mode.
Adjusting the Headphone Volume
The headphones terminal also serves as AV terminal. Headphones can only be used when “ ![]() ” is displayed on the screen. If not, change the setting (
” is displayed on the screen. If not, change the setting (![]() 40).
40).
CAMERA | PLAY (VCR) |
CARD CAMERA | CARD PLAY |
MENU
(![]() 70)
70)
AUDIO SETUP
![]()
![]() VOLUME•••••
VOLUME••••• ![]()
Press the MENU button and select [AUDIO SETUP]. Select [![]() VOLUME], adjust the volume with the SET dial and press the MENU button.
VOLUME], adjust the volume with the SET dial and press the MENU button.
78
