RECORDING
Basic Recording Operation
The following describes the basic operation for recording images. It describes operation in the P (Program AE) Mode that automatically makes the aperture and shutter speed settings, and lets you record at intervals of about 2 seconds. Note that the interval may become longer if you record more than five consecutive images.
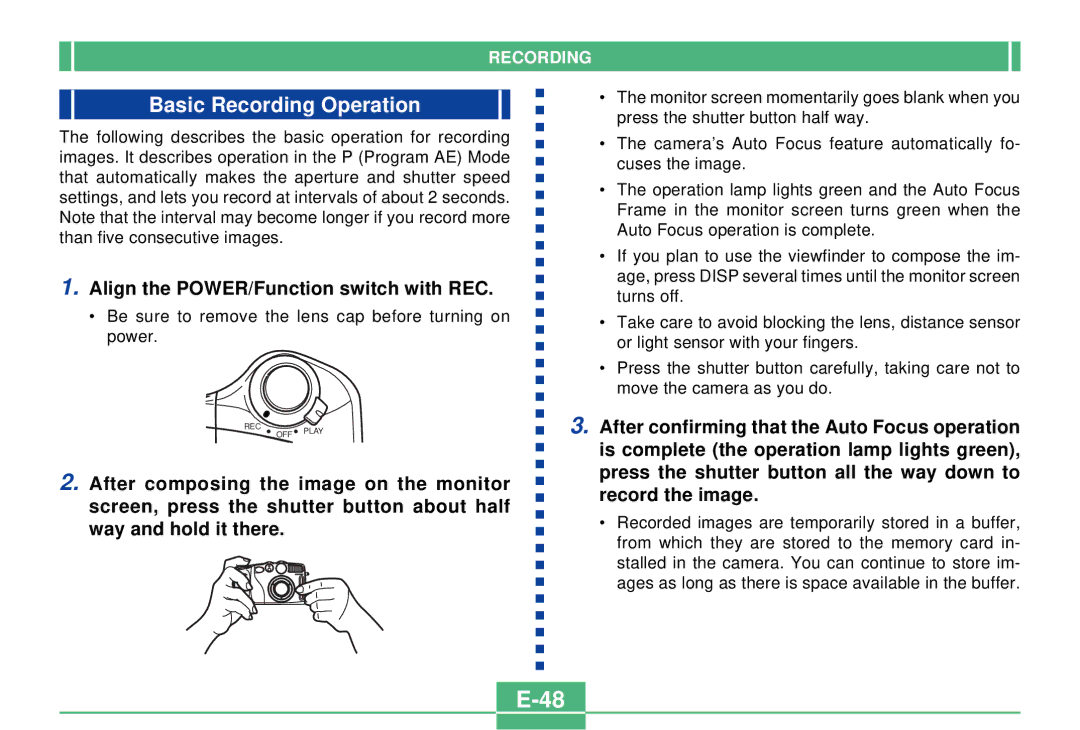
1.Align the POWER/Function switch with REC.
•Be sure to remove the lens cap before turning on power.
REC
OFF PLAY
2.After composing the image on the monitor screen, press the shutter button about half way and hold it there.
•The monitor screen momentarily goes blank when you press the shutter button half way.
•The camera’s Auto Focus feature automatically fo- cuses the image.
•The operation lamp lights green and the Auto Focus Frame in the monitor screen turns green when the Auto Focus operation is complete.
•If you plan to use the viewfinder to compose the im- age, press DISP several times until the monitor screen turns off.
•Take care to avoid blocking the lens, distance sensor or light sensor with your fingers.
•Press the shutter button carefully, taking care not to move the camera as you do.
3.After confirming that the Auto Focus operation is complete (the operation lamp lights green), press the shutter button all the way down to record the image.
•Recorded images are temporarily stored in a buffer, from which they are stored to the memory card in- stalled in the camera. You can continue to store im- ages as long as there is space available in the buffer.
