Manuals
/
Brands
/
Photography
/
Digital Camera
/
Casio
/
Photography
/
Digital Camera
Casio
QV-3000EX/Ir
- page 13
1
13
121
121
Download
121 pages, 2.25 Mb
FEATURES
E-13
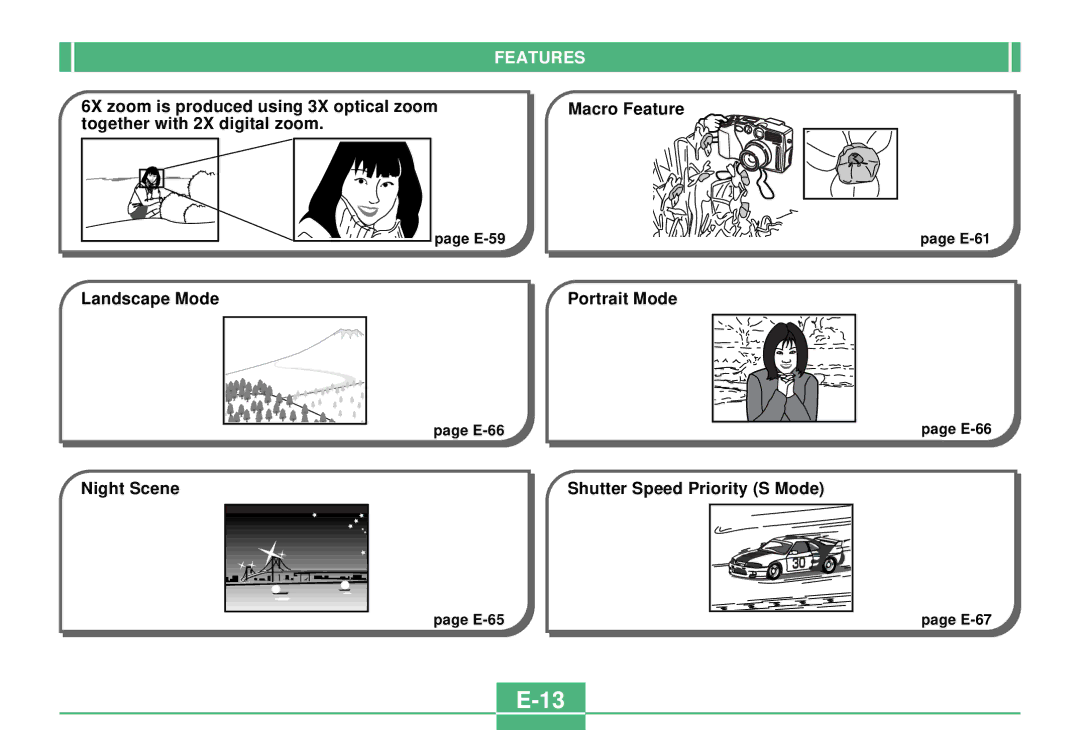
6X zoom is produced using 3X optical zoom
together with 2X digital zoom.
Landscape Mode
Night Scene
Macro Feature
Portrait Mode
Shutter Speed Priority (S Mode)
page E-59
page E-66
page E-65
page E-61
page E-66
page E-67
Contents
Main
The section provides a general outline of operational procedures.
Loading Batteries (page E-38)
Loading a Memory Card (page E-33)
* Loaded in the camera when you purchase.
Page
Recording Images (page E-47)
Playing Back Images (page E-78)
Deleting Images (page E-91)
CONTENTS
Page
Page
FEATURES
Page
Page
Page
Page
PRECAUTIONS
General Precautions
Operating conditions
Condensation
About the cameras backlight
Monitor Screen
Recording
Playback
Lens
Date Setting
UNPACKING
Using the Lens Cap
Attaching the Neck Strap
Using the Soft Case
Adjusting the Length of the Neck Strap
GENERAL GUIDE
Page
Opening the Terminal Panel Cover
Page
Partial Shutter Button
Operation lamp
REC Mode
Flash lamp
REC Mode Partial Shutter Button
MONITOR SCREEN
MONITOR SCREEN
REC Mode
Page
PLAY Mode
Indicator display
Select the display language you want.
Changing the Display Language
Select Set Up Language.
Menu Screens
Page
MEMORY CARDS
Inserting a Memory Card into the Camera
Removing a Memory Card from the Camera
Formatting a Memory Card
Select Set Up Format.
In response to the confirmation message that appears, select Yes to start formatting the card.
Memory Card Precautions
IBM Microdrive Precautions
In case of microdrive malfunction....
Memory Card Folder Precautions
POWER SUPPLY
Loading Batteries
POWER SUPPLY
Standard Battery Life
Battery Handling Precautions
Auto Power Off (Battery Powered Operation Only)
Low Battery Indicator
Using AC Power
Setting SLEEP and AUTO POWER OFF Trigger Times
7.
Power Save Settings
Page
SETTING THE CURRENT DATE AND TIME
Setting the Date and Time
Select Set Up Date Adjust.
Set the current date and time.
Page
RECORDING
Turning Camera Power On and Off
Using the Shutter Button
Press the shutter button about half way.
Press the shutter button as far as it will go to record the image.
Basic Recording Operation
Page
Previewing the Last Image Recorded
Hold down the PREVIEW/ button to display the last image recorded.
Camera Orientation Detection
Recording Images under Low Battery Power
Using the Viewfinder for Recording
Using Focus Lock
Using the Flash
Press / .
Camera Shake Indicator
Flash Indicator
Quality Settings
Exposure Compensation
Use [] and [] to perform exposure compen- sation.
After adjusting the exposure, press the shutter button to record the image.
Page
OTHER RECORDING FUNCTIONS
Using the Continuous Shutter Mode
Select Functions 1 Drive Mode Con- tinuous.
Using the Zoom Features
Using Optical Zoom
Using Digital Zoom
Manual Focus
Infinity Mode Recording
Using the Macro Mode
Movie Recording
NORMAL
Compose the image and then press the shutter button to start recording.
PAST
Select Movie Mode Past.
Compose the image on the monitor screen and then press the shutter button about half way.
Panorama Recording
Night Scene Mode
Page
Page
Page
Use [] and [] to select B/W or Sepia and then press SET.
Using the Self-timer
Press / .
Performing Manual White Balance
Specifying Power On Defaults
Turning power on default settings on and off
Press MENU. If the basic menu appears, press DISP to switch to the advanced menu.
Select Mode 1 or Mode 2.
Select Options.
Options appears on the advanced menu only.
Page
Using the REC Menus
REC Menus
Page
Page
Page
PLAYBACK
Basic Playback Operation
Playing Back a Movie
Page
Page
Displaying Nine Images
Slide Show
Select Slide Show.
To stop Slide Show, press any button besides MENU.
Screen Saver
Select Tools Screen Saver On.
PLAYBACK
Using the PLAY Menus
PLAY Menus
PLAYBACK
Memory Card Folder Precautions
FOLDER TYPES
Page
IMAGE PROTECTION
Page
DELETING IMAGES
Deleting the Currently Selected Image
Use [] and [] to display the image you want to delete.
Press PREVIEW/ .
Use [] to select Yes.
Page
Page
Page
DPOF
Page
Page
CONNECTIONS
Connecting to a Television
CONNECTING TO OTHER EQUIPMENT
Select the video mode you want to use.
Connect one end of the video cable to the cam- era and the other end to the television.
Set up the television for video input.
The connection procedure is the same for both recording and playback.
USB Port Connections
System Requirements
USB Port Connection
Data Transfer Cable Connection
Windows 95, 98, 2000, NT Workstation 4.0
Macintosh
INFRARED DATA TRANSFER
Receiving Data
Press / .
Page
Infrared Data Transfer Precautions
USING CompactFlash CARDS WITH YOUR COMPUTER
Memory Card Data
DCF Protocol
CompactFlash Card Directory Tree
()
Image Files Supported by the Camera
Folder and File Contents
Personal Computer
Card Browser
Select Set up Card Browser.
Use [] and [] to select the Format and then press SET.
How to use the HTML file
Viewing HTML File Contents
Image Information
Saving an HTML File
TROUBLESHOOTING
Page
Page
Page
MESSAGES
MESSAGES
MESSAGES
SPECIFICATIONS