Chapter 2 Operation
Network Tab
Enabling Secure Shell
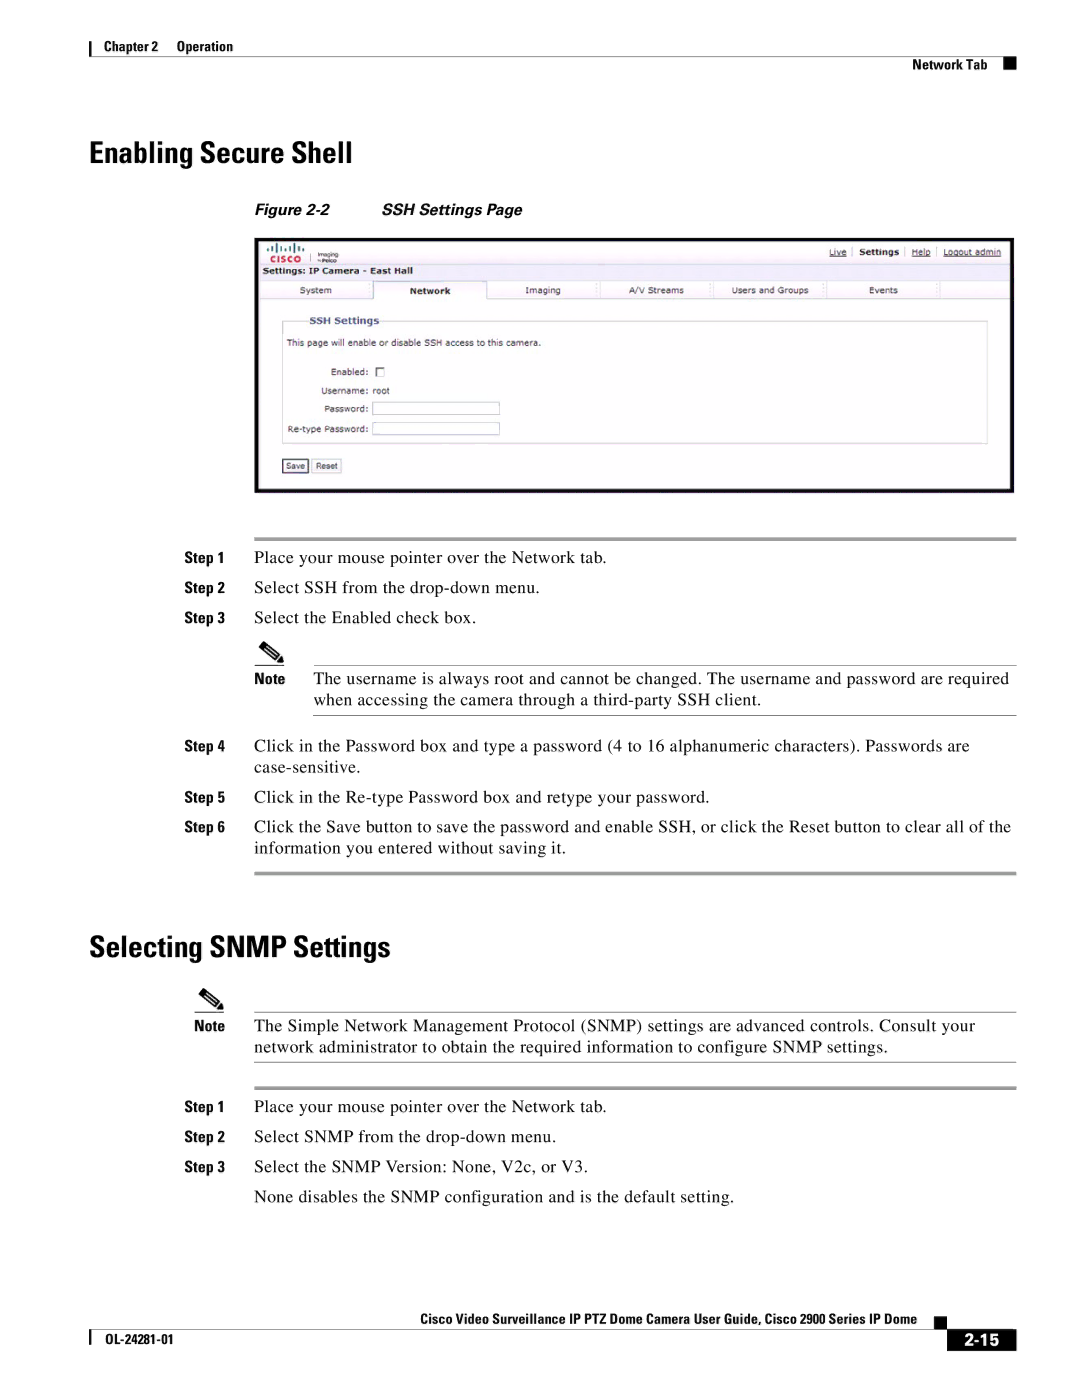
Figure 2-2 SSH Settings Page
Step 1 Place your mouse pointer over the Network tab.
Step 2 Select SSH from the
Step 3 Select the Enabled check box.
Note The username is always root and cannot be changed. The username and password are required when accessing the camera through a
Step 4 Click in the Password box and type a password (4 to 16 alphanumeric characters). Passwords are
Step 5 Click in the
Step 6 Click the Save button to save the password and enable SSH, or click the Reset button to clear all of the information you entered without saving it.
Selecting SNMP Settings
Note The Simple Network Management Protocol (SNMP) settings are advanced controls. Consult your network administrator to obtain the required information to configure SNMP settings.
Step 1 Place your mouse pointer over the Network tab.
Step 2 Select SNMP from the
Step 3 Select the SNMP Version: None, V2c, or V3.
None disables the SNMP configuration and is the default setting.
|
| Cisco Video Surveillance IP PTZ Dome Camera User Guide, Cisco 2900 Series IP Dome |
|
| |
|
|
| |||
|
|
|
| ||
|
|
|
| ||