Section 4 – Controls and Connections
Start-up Sequence
After all connections have been completed.
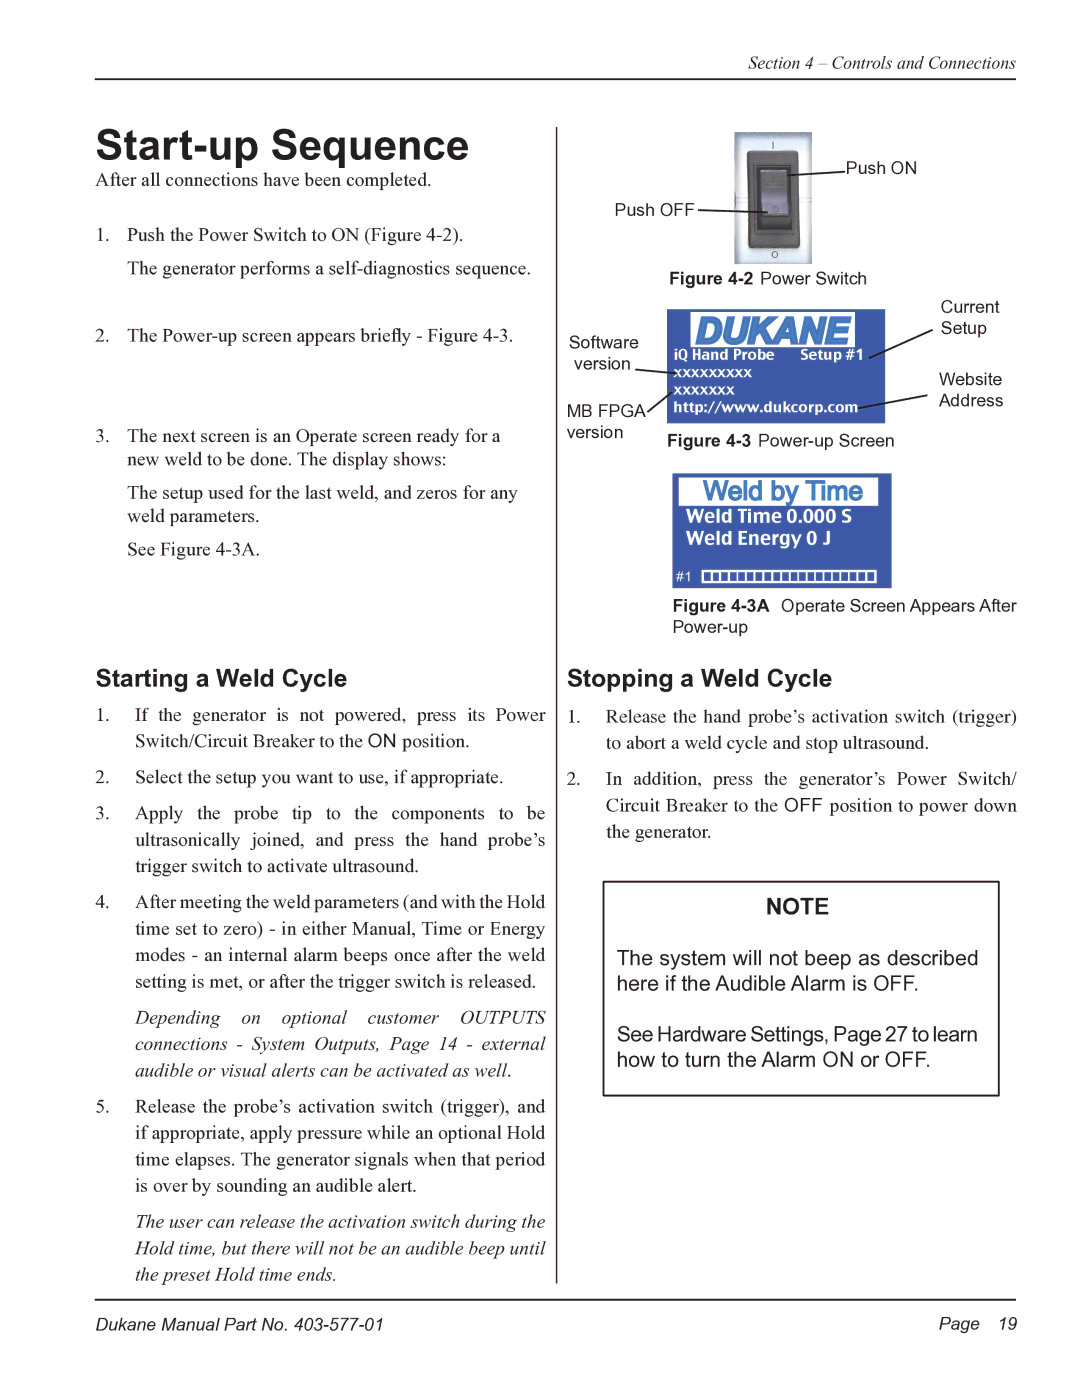
1.Push the Power Switch to ON (Figure
The generator performs a
2.The
3.The next screen is an Operate screen ready for a new weld to be done. The display shows:
The setup used for the last weld, and zeros for any weld parameters.
See Figure
Starting a Weld Cycle
1.If the generator is not powered, press its Power Switch/Circuit Breaker to the ON position.
2.Select the setup you want to use, if appropriate.
3.Apply the probe tip to the components to be ultrasonically joined, and press the hand probe’s trigger switch to activate ultrasound.
4.After meeting the weld parameters (and with the Hold time set to zero) - in either Manual, Time or Energy modes - an internal alarm beeps once after the weld setting is met, or after the trigger switch is released.
Depending on optional customer OUTPUTS connections - System Outputs, Page 14 - external audible or visual alerts can be activated as well.
5.Release the probe’s activation switch (trigger), and if appropriate, apply pressure while an optional Hold time elapses. The generator signals when that period is over by sounding an audible alert.
The user can release the activation switch during the Hold time, but there will not be an audible beep until the preset Hold time ends.
![]() Push ON
Push ON
Push OFF ![]()
| Figure |
| |
Software | DUKANE | Current | |
Setup | |||
|
| ||
version | iQ Hand Probe Setup #1 |
| |
xxxxxxxxx | Website | ||
| |||
| xxxxxxx | ||
| Address | ||
MB FPGA | http://www.dukcorp.com | ||
| |||
version | Figure |
| |
|
|
Weld by Time
Weld Time 0.000 S
Weld Energy 0 J
#1
Figure 4-3A Operate Screen Appears After Power-up
Stopping a Weld Cycle
1.Release the hand probe’s activation switch (trigger) to abort a weld cycle and stop ultrasound.
2.In addition, press the generator’s Power Switch/ Circuit Breaker to the OFF position to power down the generator.
NOTE
The system will not beep as described here if the Audible Alarm is OFF.
See Hardware Settings, Page 27 to learn how to turn the Alarm ON or OFF.
Dukane Manual Part No. | Page 19 |
