Section 6 – Probes and Probe Stacks
Attaching the Mounting Stud to a Horn or a Booster
1.Inspect the stud for cracks or damaged threads. Replace the stud if it is cracked or otherwise dam- aged.
2.Remove any foreign matter from the threaded stud and the mating hole.
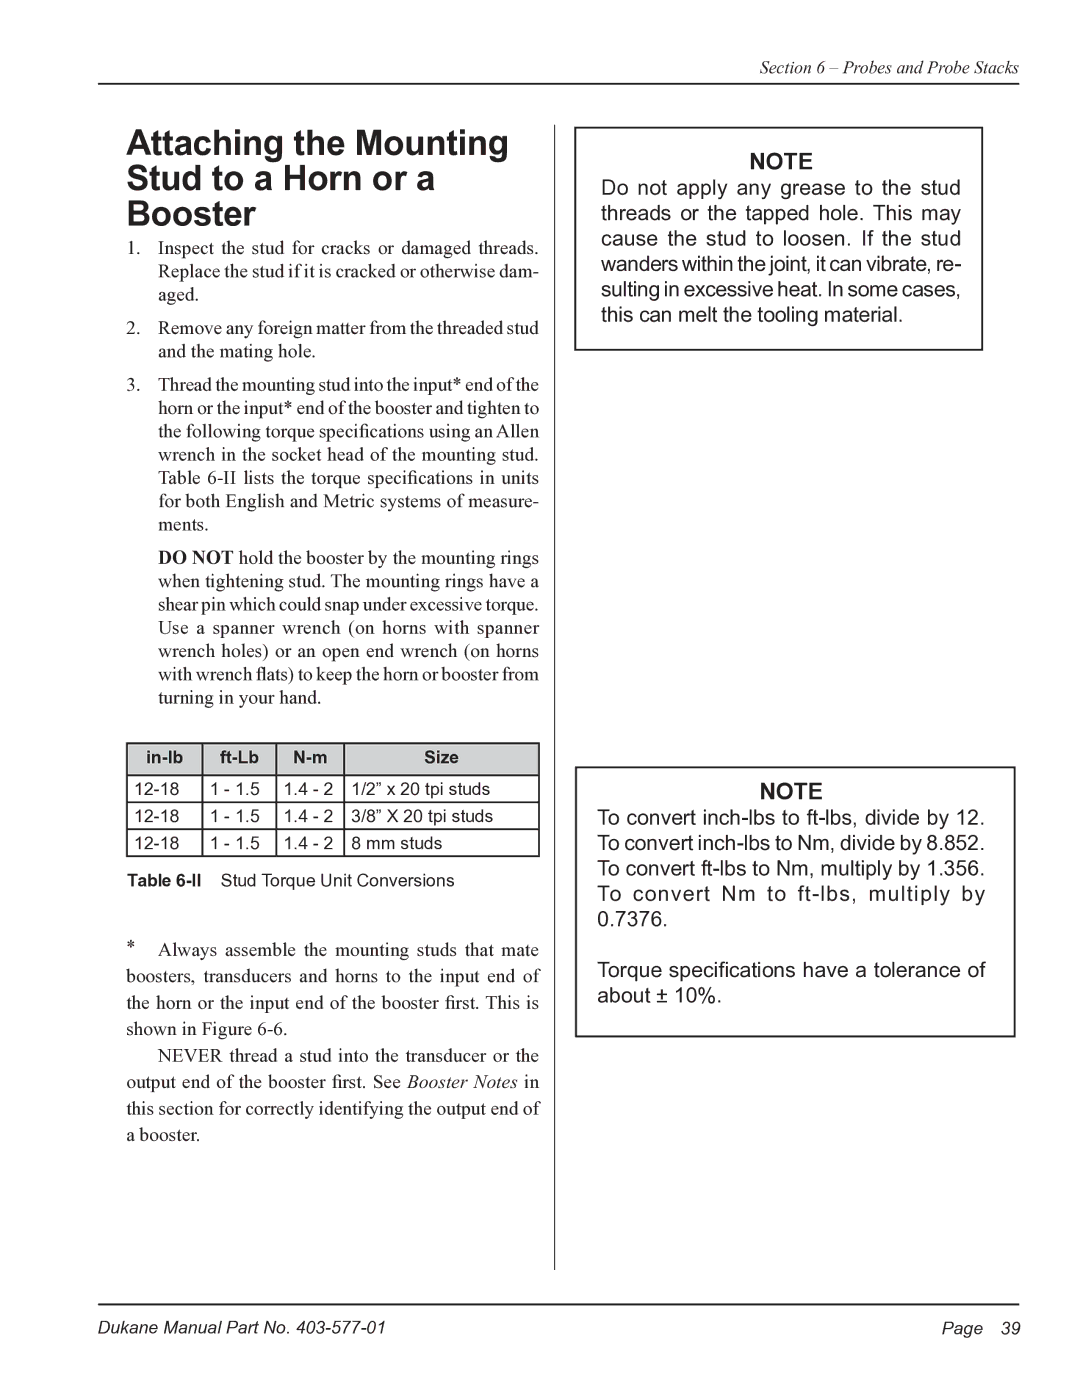
3.Thread the mounting stud into the input* end of the horn or the input* end of the booster and tighten to the following torque specifications using an Allen wrench in the socket head of the mounting stud.
Table
DO NOT hold the booster by the mounting rings when tightening stud. The mounting rings have a shear pin which could snap under excessive torque. Use a spanner wrench (on horns with spanner wrench holes) or an open end wrench (on horns with wrench flats) to keep the horn or booster from turning in your hand.
Size | |||
|
|
|
|
1 - 1.5 | 1.4 - 2 | 1/2” x 20 tpi studs | |
|
|
|
|
1 - 1.5 | 1.4 - 2 | 3/8” X 20 tpi studs | |
|
|
|
|
1 - 1.5 | 1.4 - 2 | 8 mm studs | |
|
|
|
|
Table
*Always assemble the mounting studs that mate boosters, transducers and horns to the input end of the horn or the input end of the booster first. This is shown in Figure
NEVER thread a stud into the transducer or the output end of the booster first. See Booster Notes in this section for correctly identifying the output end of a booster.
NOTE
Do not apply any grease to the stud threads or the tapped hole. This may cause the stud to loosen. If the stud wanders within the joint, it can vibrate, re- sulting in excessive heat. In some cases, this can melt the tooling material.
NOTE
To convert
Torque specifications have a tolerance of about ± 10%.
Dukane Manual Part No. | Page 39 |
