The
If you are attaching a ring port on a module that supports autowrap to a ring port on an older device that does not (or to a third party device that supports its own proprietary autowrap feature), you must disable the phantom current on the module that supports autowrap for the connection to be valid. Remember though, once you have disabled the phantom current, the autowrap feature will not be supported; if the cable connecting those two ports breaks, the entire ring will go down— and stay down — until the broken cable is identified and either repaired or disconnected from both ring ports.
If you are attaching a device that does not support autowrap (e.g., an older
Using the Media Type and Phantom Current Radio Buttons
To select the appropriate media type (fiber optic or shielded twisted pair) or activate or deactivate the phantom current.
1.Click on the appropriate selection.
2.Click on OK.
Setting the Device Date and Time
The Device menu allows you to change the date and time stored in the device’s internal clock by selecting the Edit Device Time and Edit Device Date options from the menu.
To edit the device time:
1.Click on Device on the Chassis View window menu bar to access the Device menu; drag down to Edit Device Time..., and release.
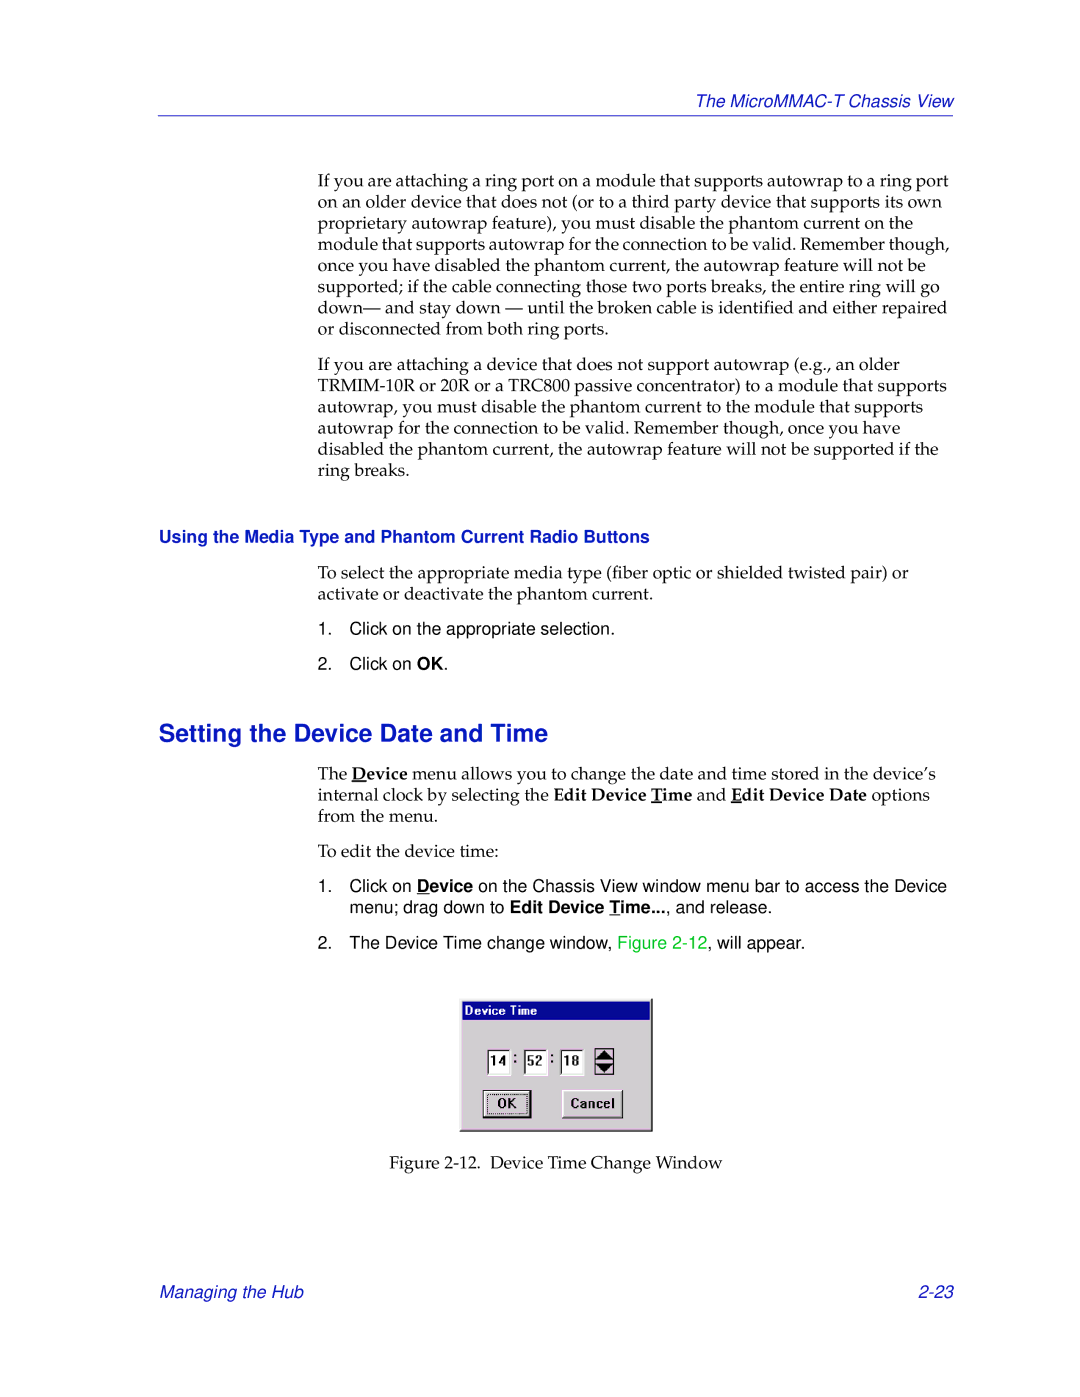
2.The Device Time change window, Figure
Figure 2-12. Device Time Change Window
Managing the Hub |
