The
3.Enter the new time in a
4.Click on OK to save your changes, or on Cancel to cancel.
To edit the device date:
1.Click on Device on the Chassis View window menu bar to access the Device menu; drag down to Edit Device Date..., and release.
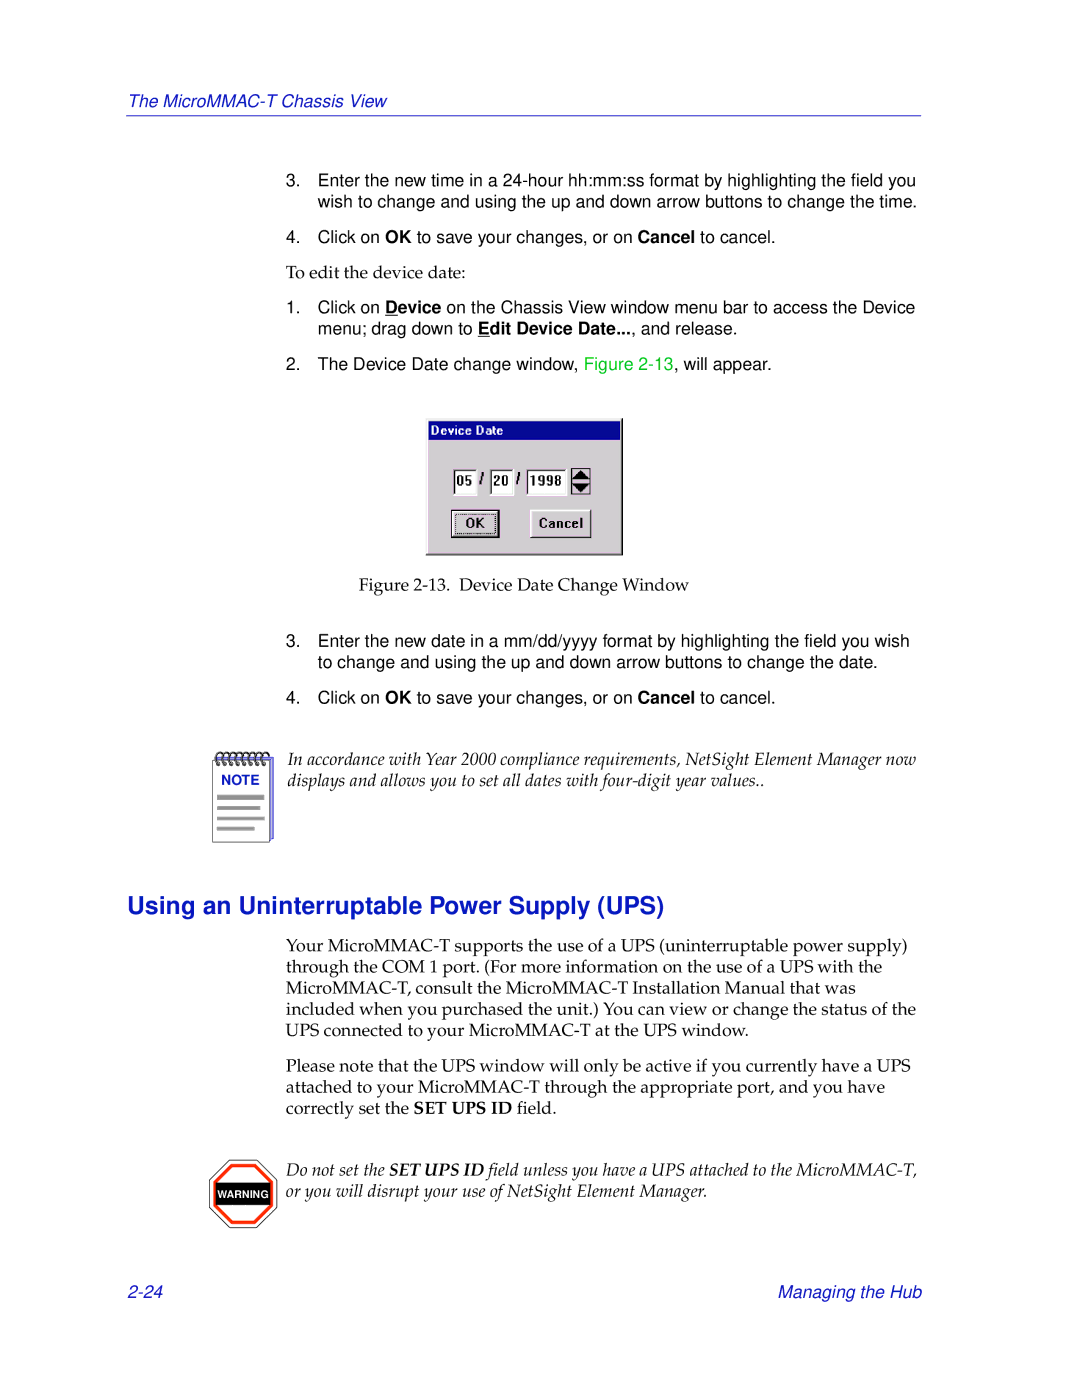
2.The Device Date change window, Figure
Figure 2-13. Device Date Change Window
3.Enter the new date in a mm/dd/yyyy format by highlighting the field you wish to change and using the up and down arrow buttons to change the date.
4.Click on OK to save your changes, or on Cancel to cancel.
NOTE |
In accordance with Year 2000 compliance requirements, NetSight Element Manager now displays and allows you to set all dates with
Using an Uninterruptable Power Supply (UPS)
WARNING
Your
Please note that the UPS window will only be active if you currently have a UPS attached to your
Do not set the SET UPS ID field unless you have a UPS attached to the
Managing the Hub |
