Installing and Removing a Power Supply
12. Replace the power supply vent plate.
Note: Before you power up the Matrix
Removing a Power Supply
To remove a power supply, proceed as follows:
1.Attach the anti‐static wrist strap as described in “Attaching the Electrostatic Discharge Wrist Strap” on page 3‐13 before handling the power supply module.
2.Unplug the associated power cord from the 20A/100‐125 Vac (or 8A/200‐240 Vac) outlet.
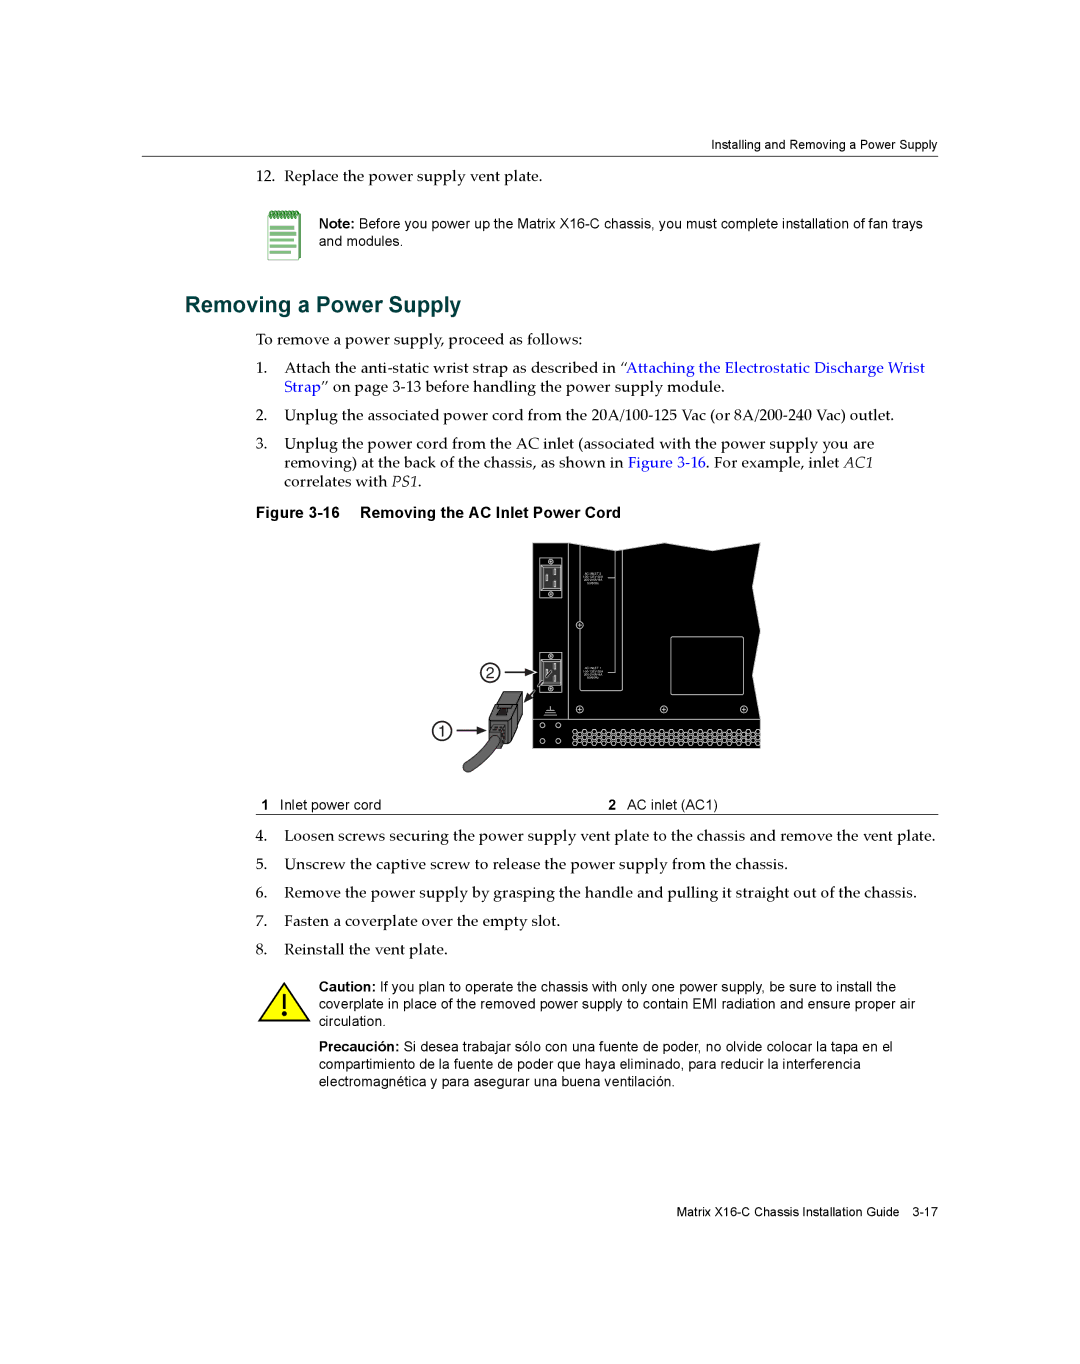
3.Unplug the power cord from the AC inlet (associated with the power supply you are removing) at the back of the chassis, as shown in Figure 3‐16. For example, inlet AC1 correlates with PS1.
Figure 3-16 Removing the AC Inlet Power Cord
2
1
AC INLET 2 |
50/60Hz |
AC INLET 1 |
50/60Hz |
1 Inlet power cord | 2 AC inlet (AC1) |
4.Loosen screws securing the power supply vent plate to the chassis and remove the vent plate.
5.Unscrew the captive screw to release the power supply from the chassis.
6.Remove the power supply by grasping the handle and pulling it straight out of the chassis.
7.Fasten a coverplate over the empty slot.
8.Reinstall the vent plate.
Caution: If you plan to operate the chassis with only one power supply, be sure to install the coverplate in place of the removed power supply to contain EMI radiation and ensure proper air circulation.
Precaución: Si desea trabajar sólo con una fuente de poder, no olvide colocar la tapa en el compartimiento de la fuente de poder que haya eliminado, para reducir la interferencia electromagnética y para asegurar una buena ventilación.
Matrix