Attaching Cables, Installing Compact Flash Card and DIMM Upgrade Kit
Installing the Memory Upgrade Kit
Caution: Only qualified personnel should perform installation procedures.
Precaución: Solamente personal calificado debe realizar procedimientos de instalacion.
The following sections describe how to upgrade the Dual In‐line Memory Modules (DIMMs) on the X‐CM‐00 Control Module from 1 GB (two 512 MB DIMMs) to 4 GB using the two 2 GB SDRAM DIMMs included in the X‐4G‐MEM Memory Upgrade Kit. Both 2 GB DIMMs in the Memory Upgrade Kit must be installed at the same time.
Removing the DIMMs
Caution: Observe all Electrostatic Discharge (ESD) precautions when handling sensitive electronic equipment.
Precaución: Al trabajar con equipos electrónicos sensibles, tome todas las precauciones de seguridad para evitar descargas de electricidad estática.
1.Locate the ESD wrist strap shipped with the Matrix X16‐C chassis. Attach the ESD wrist strap to your wrist and plug the cable from the ESD wrist strap into the ESD grounding receptacle at the bottom of the chassis as shown in Figure 3‐10.
2.Disconnect any cabling on the CM and remove the CM from the chassis, placing it on a clean, dry surface. Refer to “Installing and Removing CMs” on page 3‐23.
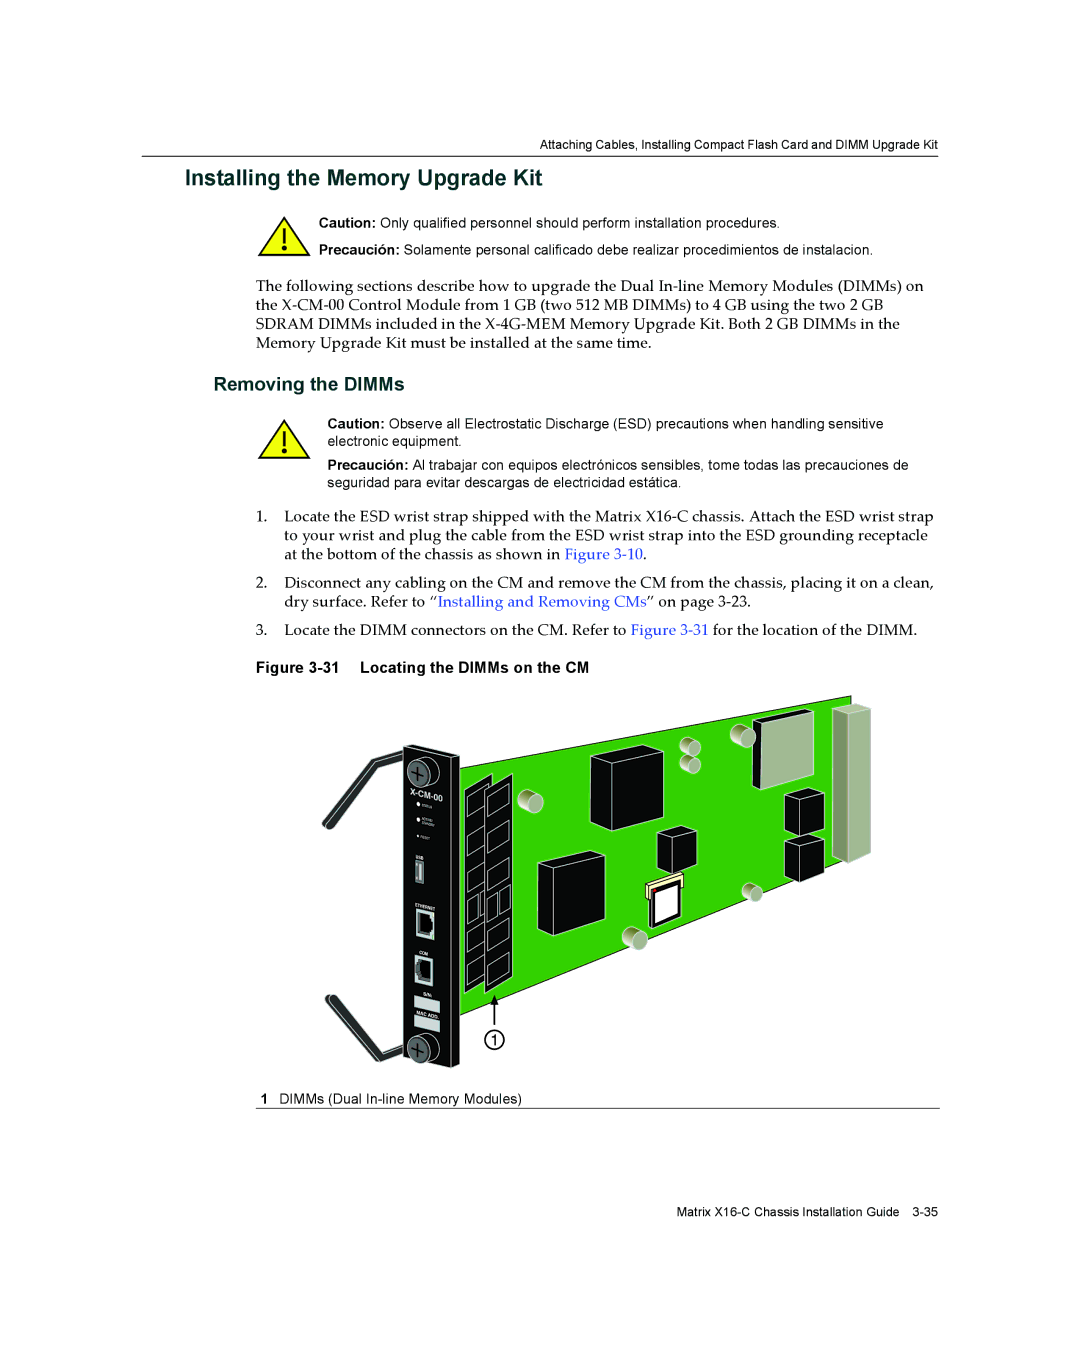
3.Locate the DIMM connectors on the CM. Refer to Figure 3‐31 for the location of the DIMM.
Figure 3-31 Locating the DIMMs on the CM
1DIMMs (Dual In-line Memory Modules)
Matrix