BlackDiamond Series Blank Front Panels
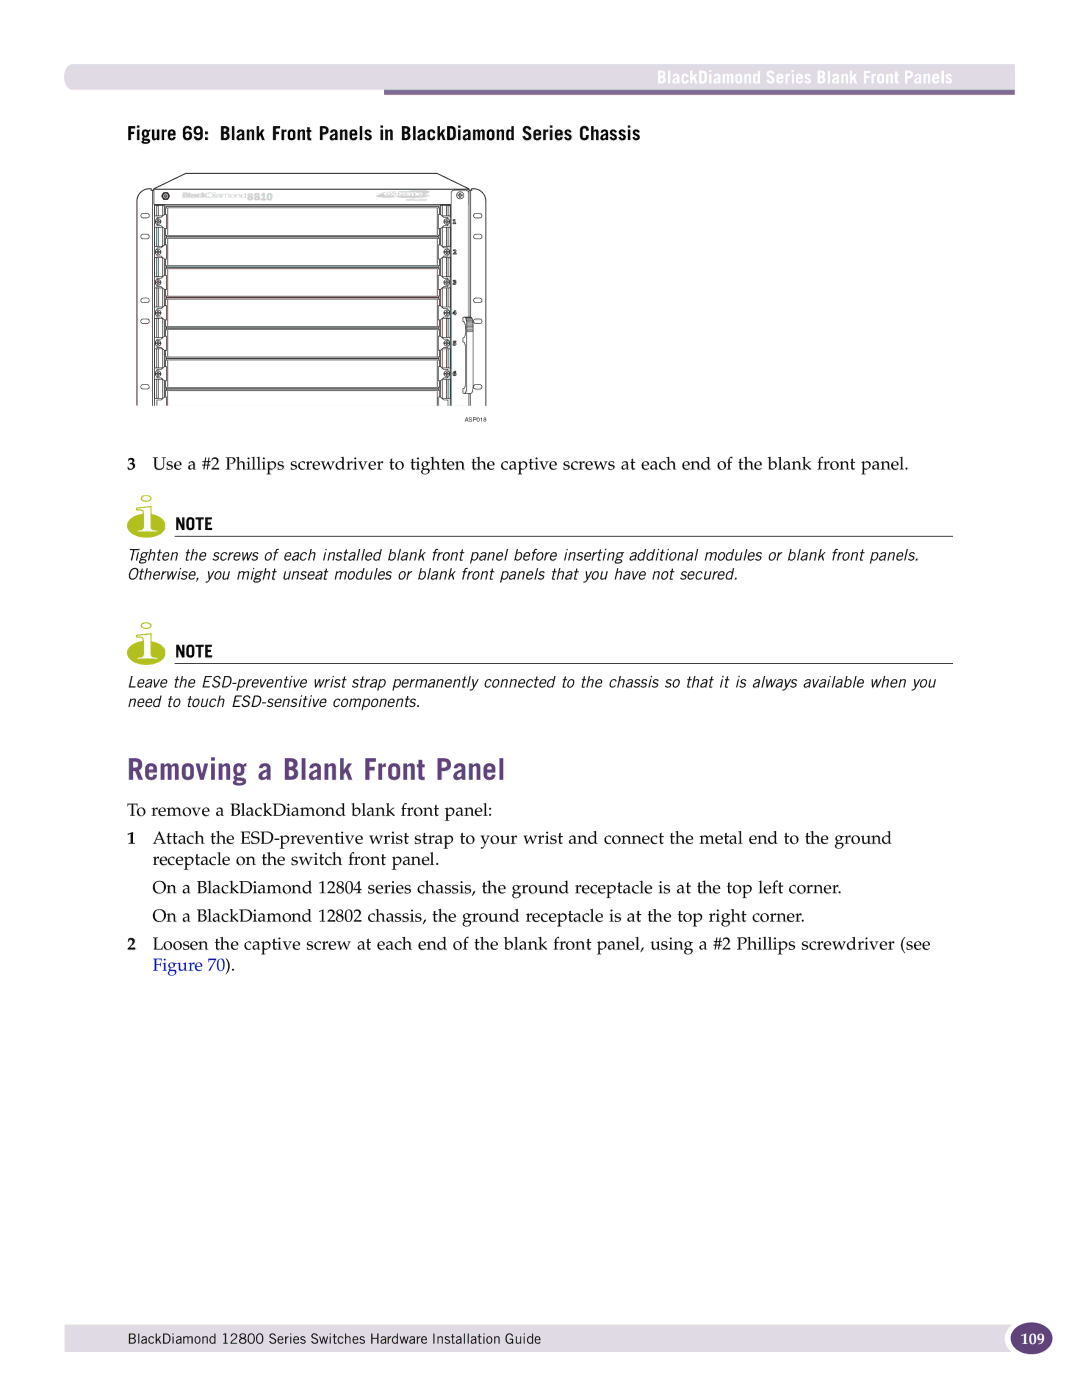
Figure 69: Blank Front Panels in BlackDiamond Series Chassis
ASP018 |
3Use a #2 Phillips screwdriver to tighten the captive screws at each end of the blank front panel.
NOTE
Tighten the screws of each installed blank front panel before inserting additional modules or blank front panels. Otherwise, you might unseat modules or blank front panels that you have not secured.
NOTE
Leave the
Removing a Blank Front Panel
To remove a BlackDiamond blank front panel:
1Attach the
On a BlackDiamond 12804 series chassis, the ground receptacle is at the top left corner. On a BlackDiamond 12802 chassis, the ground receptacle is at the top right corner.
2Loosen the captive screw at each end of the blank front panel, using a #2 Phillips screwdriver (see Figure 70).
BlackDiamond 12800 Series Switches Hardware Installation Guide | 109 |
|
|
