Extreme Networks 325 W AC Power Supply
Do not put your hand into an open power supply bay when a power supply is not present. Empty power supply bays require a cover plate at all times.
You need the following tools and equipment to install or remove an Extreme Networks 325 W AC PSU:
●
●Power supply cord (110 V AC, 220 V AC, or applicable to country of use)
●#2 Phillips screwdriver
●Thermal protective gloves (required for removal)
NOTE
A minimum of two Extreme Networks 325 W AC PSU are required to run a BlackDiamond 12802 switch.
Installing an Extreme Networks 325 W AC PSU
CAUTION
Make sure that the Extreme Networks 325 W AC PSU circuit is not overloaded. Use proper
To install an Extreme Networks 325 W AC PSU:
1Attach an
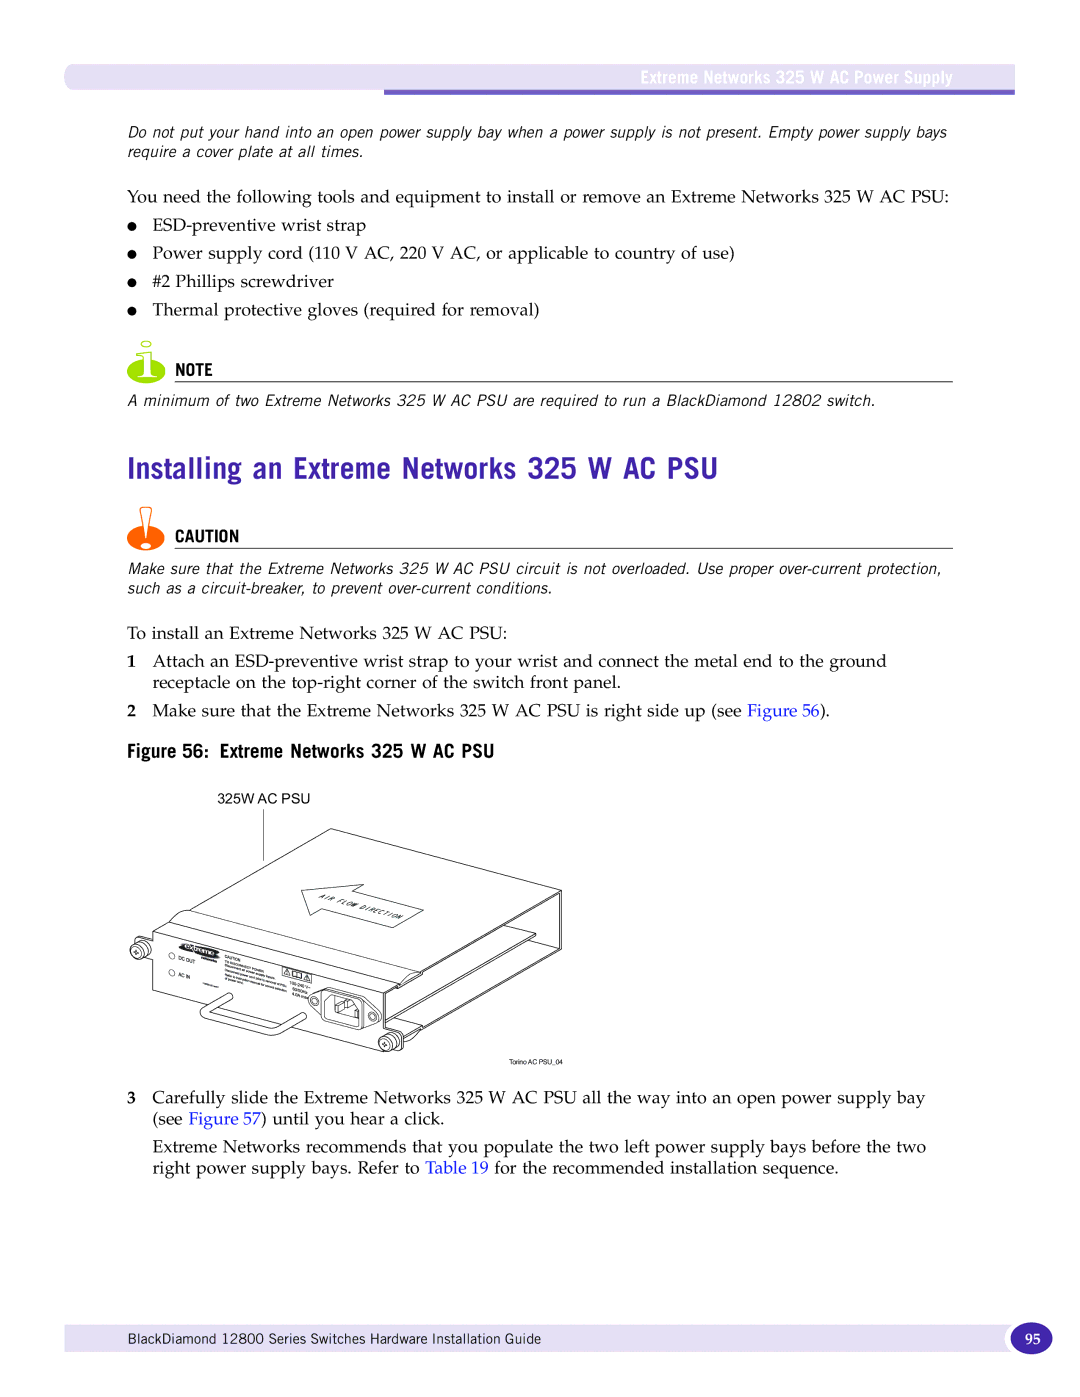
2Make sure that the Extreme Networks 325 W AC PSU is right side up (see Figure 56).
Figure 56: Extreme Networks 325 W AC PSU
325W AC PSU
Torino AC PSU_04
3Carefully slide the Extreme Networks 325 W AC PSU all the way into an open power supply bay (see Figure 57) until you hear a click.
Extreme Networks recommends that you populate the two left power supply bays before the two right power supply bays. Refer to Table 19 for the recommended installation sequence.
BlackDiamond 12800 Series Switches Hardware Installation Guide | 95 |
|
|