5020A
Users Manual
serial port. Echo mode ON is useful when using terminal emulation software on a computer to communicate with the instrument. Selecting OFF disables echoing. Echo mode OFF is commonly used when using control software on the computer.
The SER PER parameter allows the user to select the interval at which measurements are automatically transmitted over the serial port. The user may choose between 1, 2, 5, 10, 15, and 30 seconds, 1, 2, 5, 10, 15, 20, and 30 minutes, and 1 hour.
The PRINT parameter allows the user to enable automatic printing of measurements over the serial port. Selecting ON enables printing and selecting OFF disables printing.
Press the B C buttons to change a parameter setting. Use the A D buttons to move between parameters. Press the E button to save the new setting. Press the F button to cancel any changes and exit to the menu.
IR
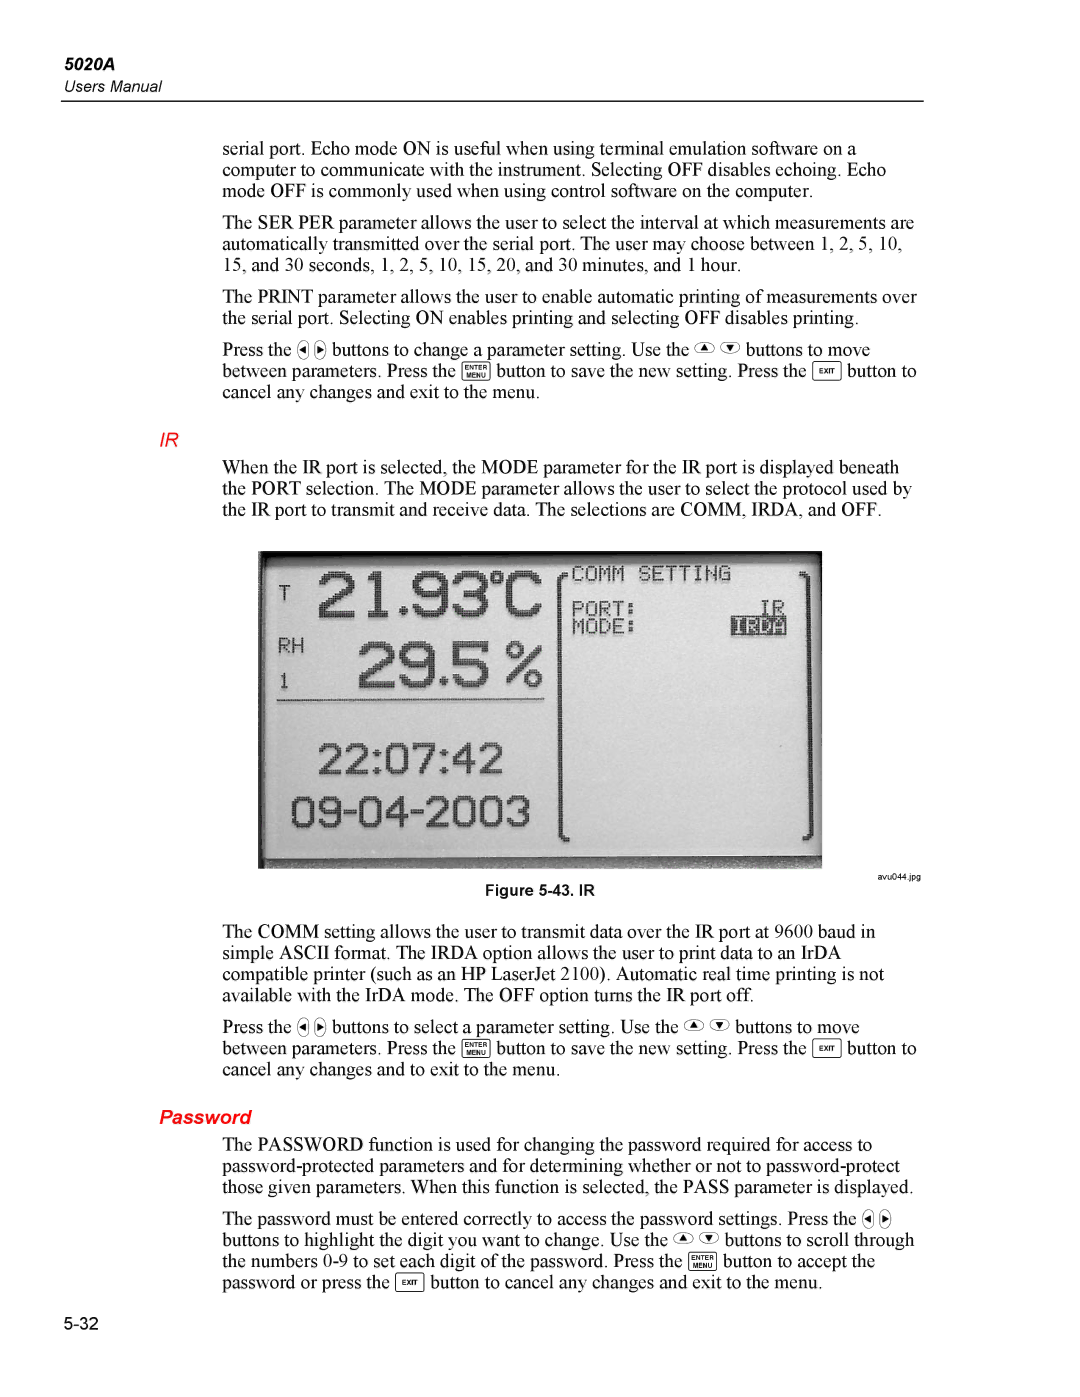
When the IR port is selected, the MODE parameter for the IR port is displayed beneath the PORT selection. The MODE parameter allows the user to select the protocol used by the IR port to transmit and receive data. The selections are COMM, IRDA, and OFF.
avu044.jpg
Figure 5-43. IR
The COMM setting allows the user to transmit data over the IR port at 9600 baud in simple ASCII format. The IRDA option allows the user to print data to an IrDA compatible printer (such as an HP LaserJet 2100). Automatic real time printing is not available with the IrDA mode. The OFF option turns the IR port off.
Press the B C buttons to select a parameter setting. Use the A D buttons to move between parameters. Press the E button to save the new setting. Press the F button to cancel any changes and to exit to the menu.
Password
The PASSWORD function is used for changing the password required for access to
The password must be entered correctly to access the password settings. Press the B C buttons to highlight the digit you want to change. Use the A D buttons to scroll through the numbers
