If no text is selected and you enable the Check Spelling option, WordSmith will
The Spell Checker will underline words that it believes are spelled incorrectly or are not in its dictionary. It will also display an suggestions found. You can use the buttons at the bottom of the Spell Checker dialog box to Ignore (override) the Spell Checker , Add the word to the dictionary, or Modify the incorrect word (i.e., edit it to correct the spelling). Tap on Cancel to exit the Spell Checker.
The Spell Checker was developed by DDH Software, Inc. (www.ddhsoftware.com). Please note that in order to use the integrated Spell Checker, you need to install the Spell Checker.prc and a dictionary during the install process. See Chapter 2 on installation for more information.
Doc Format Menu
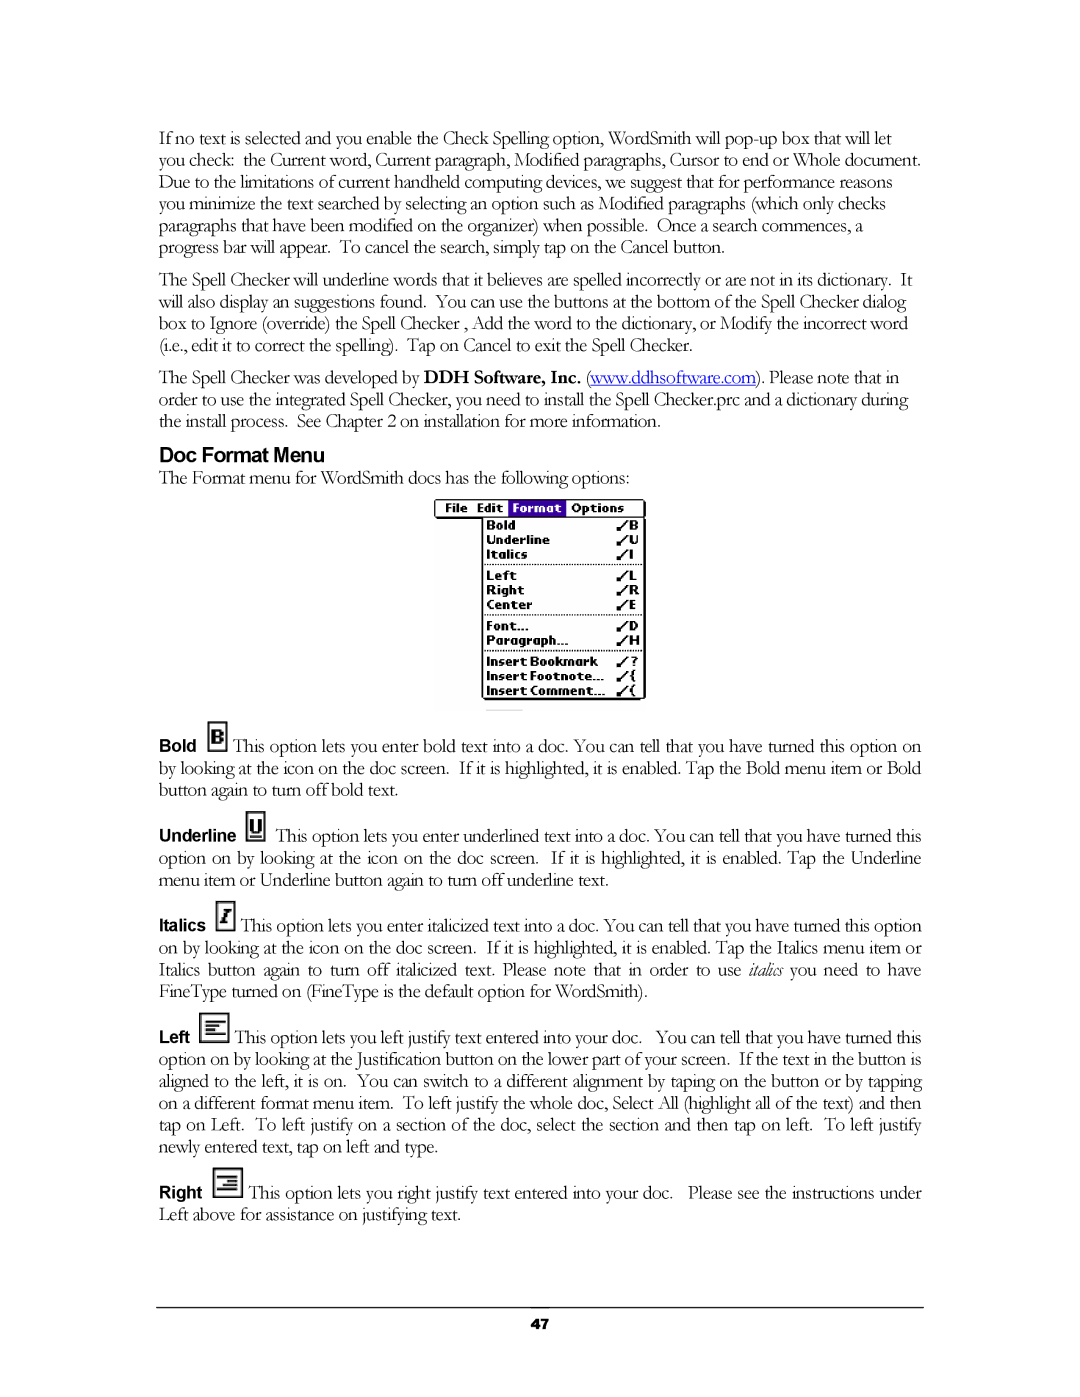
The Format menu for WordSmith docs has the following options:
Bold ![]() This option lets you enter bold text into a doc. You can tell that you have turned this option on by looking at the icon on the doc screen. If it is highlighted, it is enabled. Tap the Bold menu item or Bold button again to turn off bold text.
This option lets you enter bold text into a doc. You can tell that you have turned this option on by looking at the icon on the doc screen. If it is highlighted, it is enabled. Tap the Bold menu item or Bold button again to turn off bold text.
Underline ![]() This option lets you enter underlined text into a doc. You can tell that you have turned this option on by looking at the icon on the doc screen. If it is highlighted, it is enabled. Tap the Underline menu item or Underline button again to turn off underline text.
This option lets you enter underlined text into a doc. You can tell that you have turned this option on by looking at the icon on the doc screen. If it is highlighted, it is enabled. Tap the Underline menu item or Underline button again to turn off underline text.
Italics ![]() This option lets you enter italicized text into a doc. You can tell that you have turned this option on by looking at the icon on the doc screen. If it is highlighted, it is enabled. Tap the Italics menu item or Italics button again to turn off italicized text. Please note that in order to use italics you need to have FineType turned on (FineType is the default option for WordSmith).
This option lets you enter italicized text into a doc. You can tell that you have turned this option on by looking at the icon on the doc screen. If it is highlighted, it is enabled. Tap the Italics menu item or Italics button again to turn off italicized text. Please note that in order to use italics you need to have FineType turned on (FineType is the default option for WordSmith).
Left ![]() This option lets you left justify text entered into your doc. You can tell that you have turned this option on by looking at the Justification button on the lower part of your screen. If the text in the button is aligned to the left, it is on. You can switch to a different alignment by taping on the button or by tapping on a different format menu item. To left justify the whole doc, Select All (highlight all of the text) and then tap on Left. To left justify on a section of the doc, select the section and then tap on left. To left justify newly entered text, tap on left and type.
This option lets you left justify text entered into your doc. You can tell that you have turned this option on by looking at the Justification button on the lower part of your screen. If the text in the button is aligned to the left, it is on. You can switch to a different alignment by taping on the button or by tapping on a different format menu item. To left justify the whole doc, Select All (highlight all of the text) and then tap on Left. To left justify on a section of the doc, select the section and then tap on left. To left justify newly entered text, tap on left and type.
Right ![]() This option lets you right justify text entered into your doc. Please see the instructions under Left above for assistance on justifying text.
This option lets you right justify text entered into your doc. Please see the instructions under Left above for assistance on justifying text.
47