5Chapter
Document Editing
This section describes the features and menu options that are available when one is editing a doc. To see these features and menus, you need to launch WordSmith on your organizer, select the Doc Title Tab and open a doc or create a new doc. You can open a doc by
tapping on the doc name in the Doc List View Screen or by tapping the New button to create a new doc (please see Chapter 4 for more information).
Doc Edit Mode Screen Features
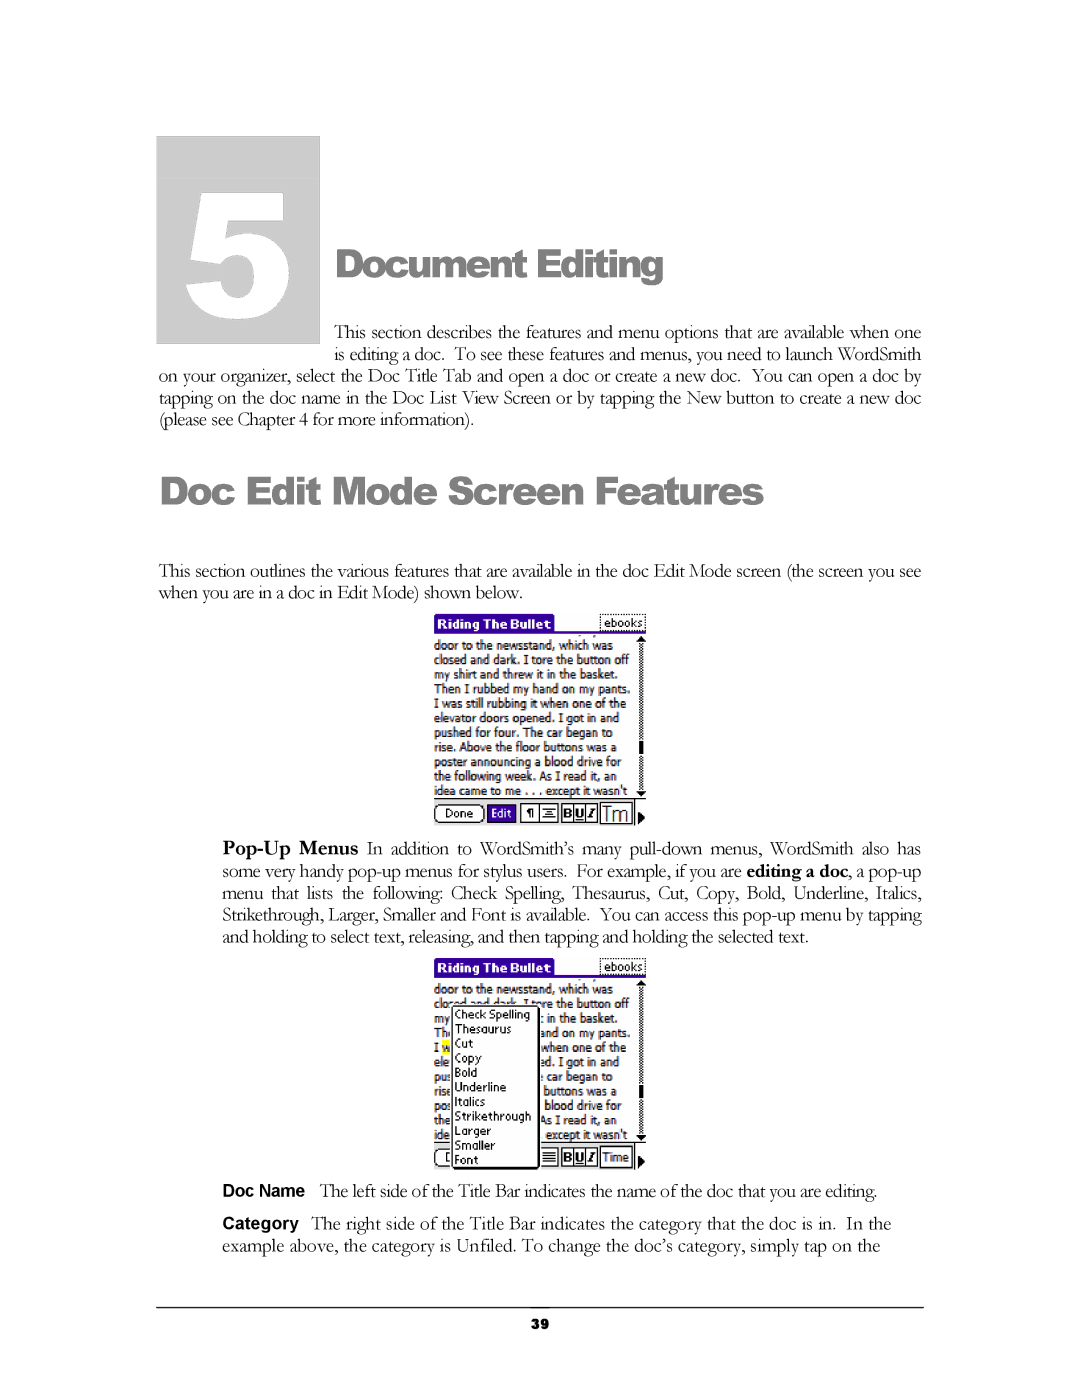
This section outlines the various features that are available in the doc Edit Mode screen (the screen you see when you are in a doc in Edit Mode) shown below.
Doc Name The left side of the Title Bar indicates the name of the doc that you are editing.
Category The right side of the Title Bar indicates the category that the doc is in. In the example above, the category is Unfiled. To change the doc’s category, simply tap on the
39