Replacing the Floppy Drive
Replacing the Floppy Drive
1Switch off the PC and remove the PC’s main cover. Refer to page 49.
2Remove the PC’s front panel. Refer to page 54.
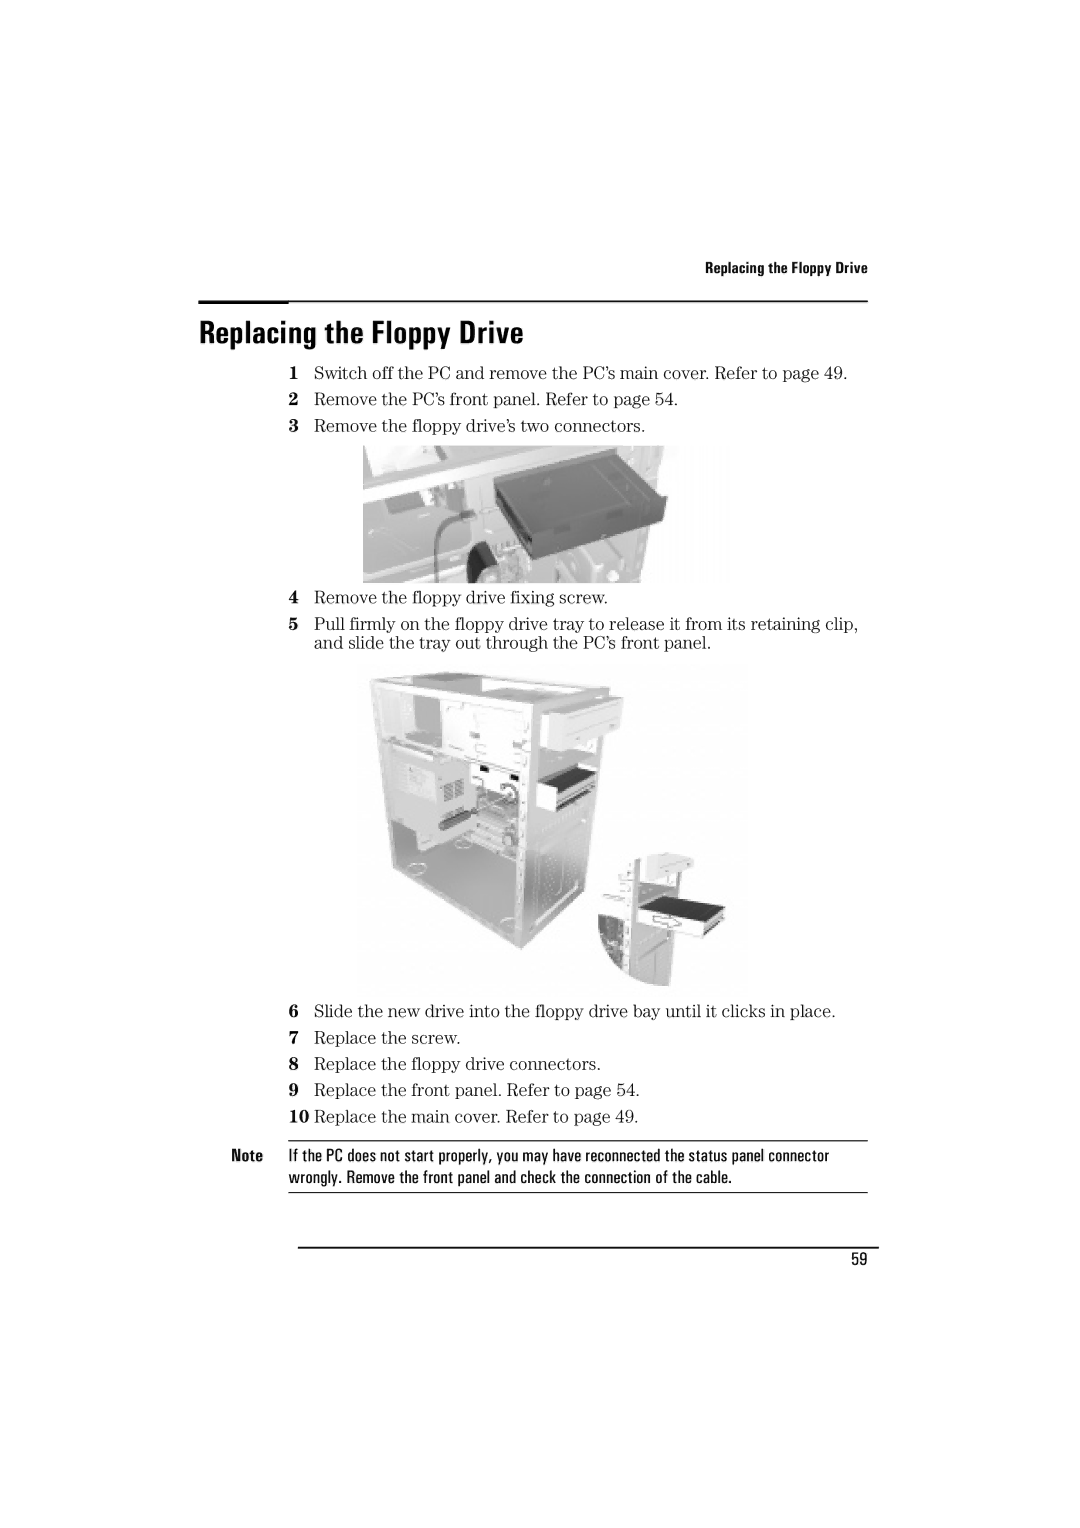
3Remove the floppy drive’s two connectors.
4Remove the floppy drive fixing screw.
5Pull firmly on the floppy drive tray to release it from its retaining clip, and slide the tray out through the PC’s front panel.
6Slide the new drive into the floppy drive bay until it clicks in place.
7Replace the screw.
8Replace the floppy drive connectors.
9Replace the front panel. Refer to page 54.
10Replace the main cover. Refer to page 49.
Note If the PC does not start properly, you may have reconnected the status panel connector wrongly. Remove the front panel and check the connection of the cable.
59