Chapter 12
Solve a problem
Also, make sure the print cartridges are installed into the correct slots.
To make sure the print cartridges are installed correctly
1.Make sure the product is turned on.
![]() CAUTION: If the product is turned off when you open the print cartridge door to access the print cartridges, it will not release the cartridges for changing. You might damage the product if the print cartridges are not docked safely when you try to remove them.
CAUTION: If the product is turned off when you open the print cartridge door to access the print cartridges, it will not release the cartridges for changing. You might damage the product if the print cartridges are not docked safely when you try to remove them.
2.Open the print cartridge door.
The print carriage moves to the far right side of the product.
3.Check to make sure you are using the correct print cartridges for your product. For a list of compatible print cartridges, see the printed documentation that came with the product.
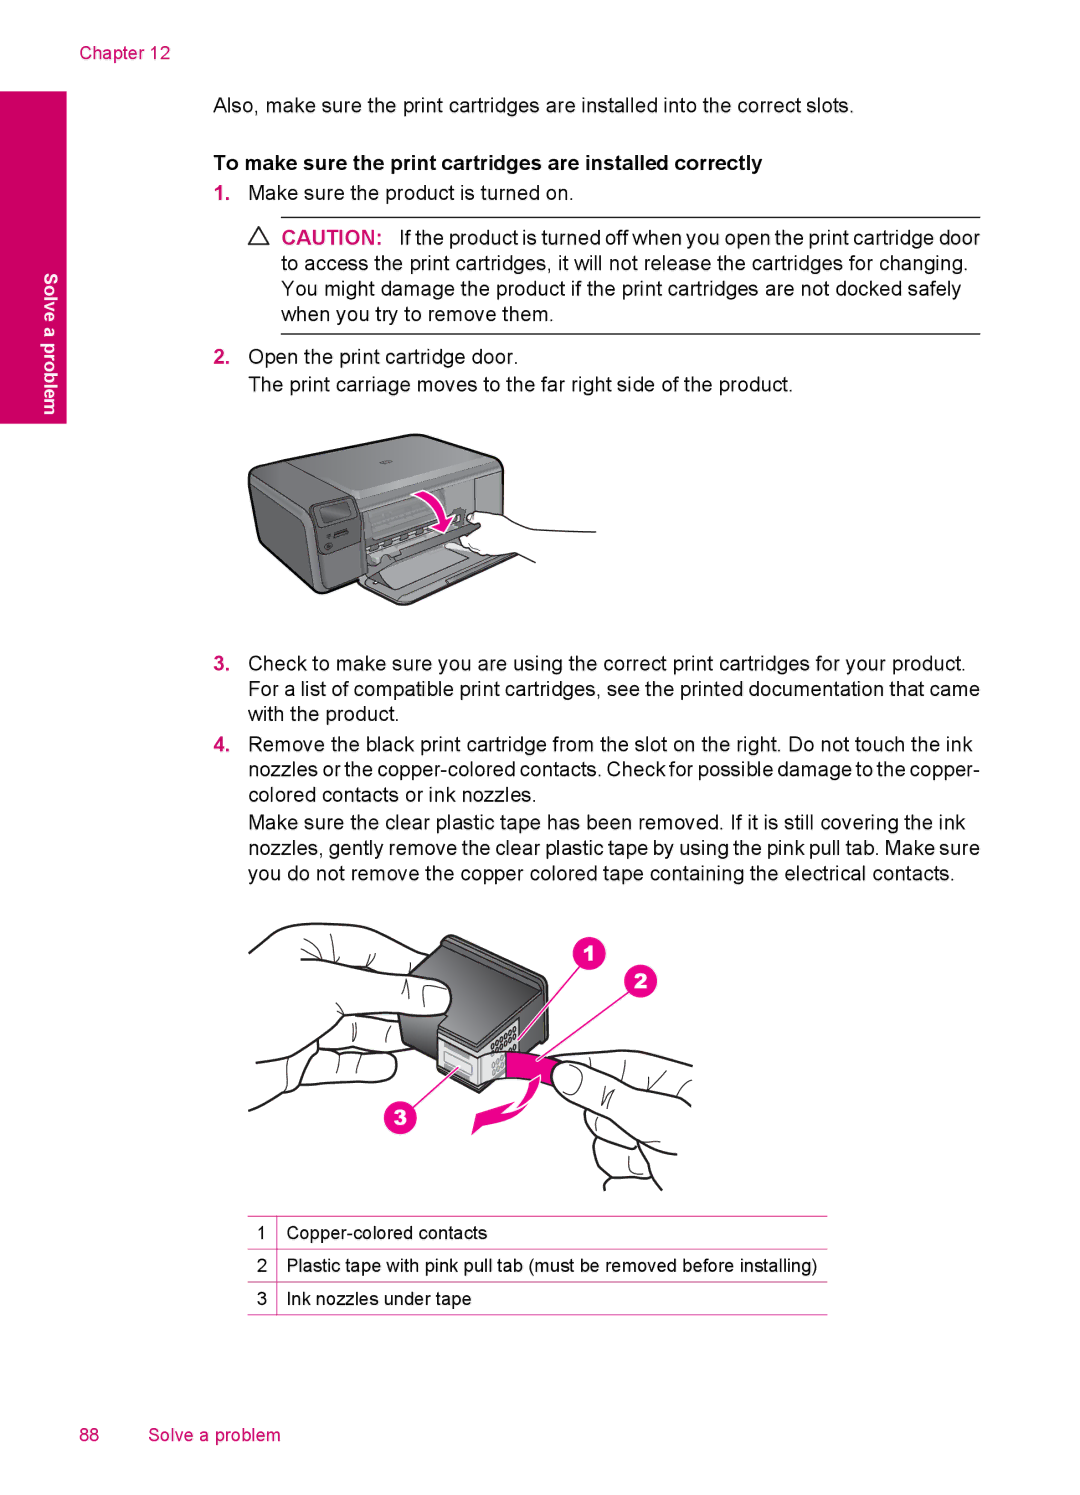
4.Remove the black print cartridge from the slot on the right. Do not touch the ink nozzles or the
Make sure the clear plastic tape has been removed. If it is still covering the ink nozzles, gently remove the clear plastic tape by using the pink pull tab. Make sure you do not remove the copper colored tape containing the electrical contacts.
1
2Plastic tape with pink pull tab (must be removed before installing)
3Ink nozzles under tape
88 Solve a problem
