Removal and Replacement Procedures
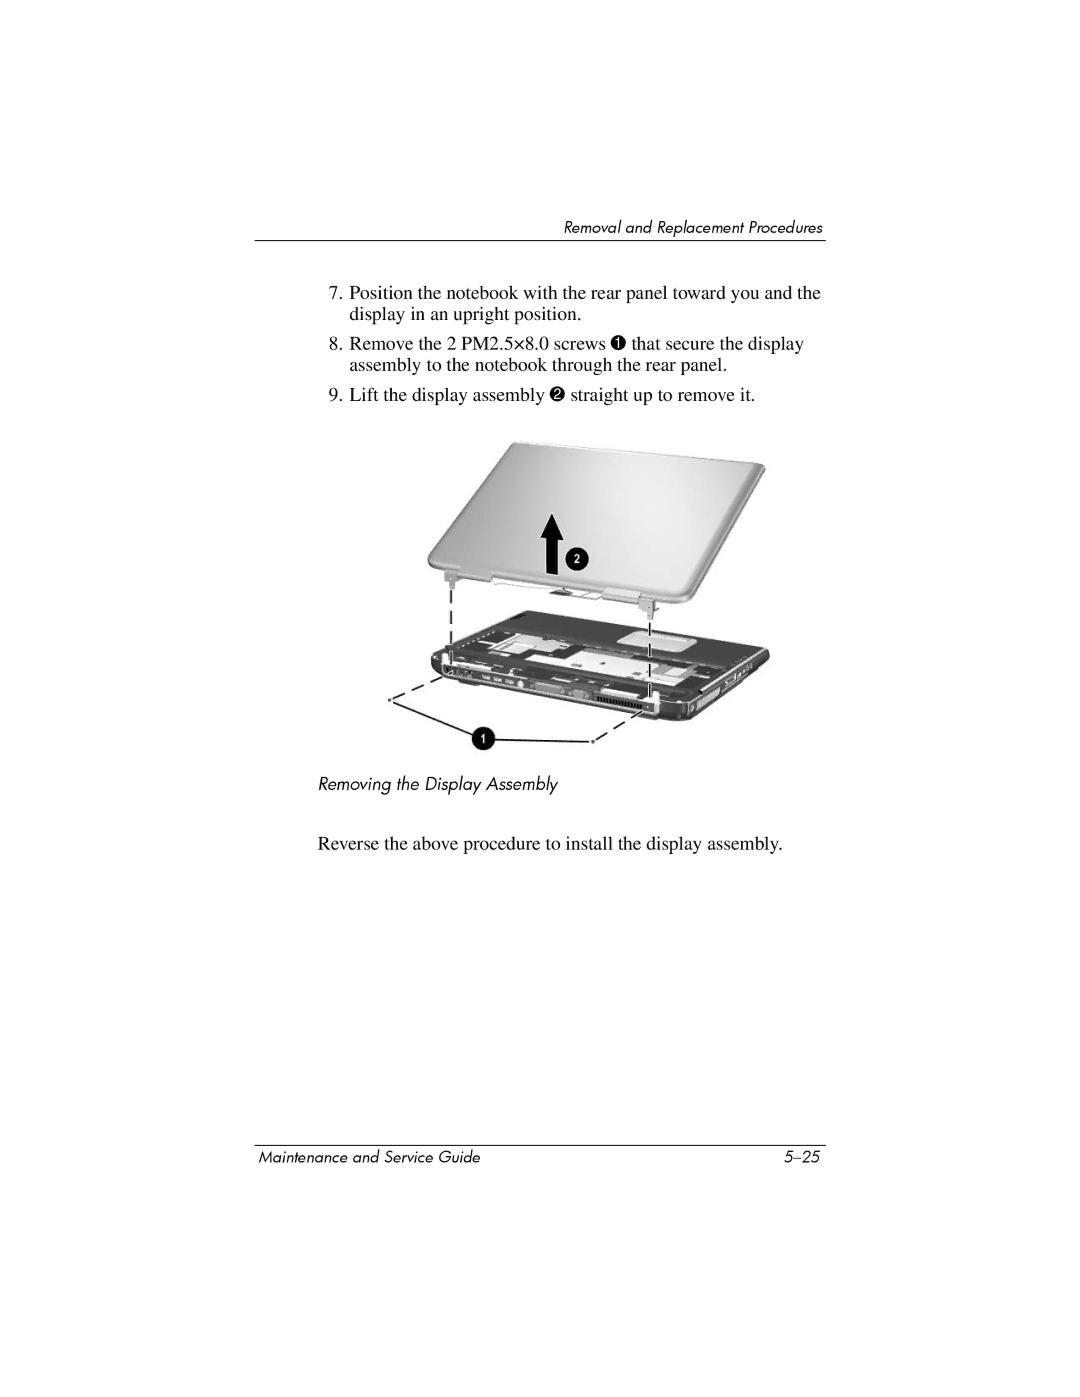
7.Position the notebook with the rear panel toward you and the display in an upright position.
8.Remove the 2 PM2.5×8.0 screws 1 that secure the display assembly to the notebook through the rear panel.
9.Lift the display assembly 2 straight up to remove it.
Removing the Display Assembly
Reverse the above procedure to install the display assembly.
Maintenance and Service Guide |