PROCEDURE 2 | TROUBLESHOOTING |
|
|
T R O U B L E S H O O T I N G
WARNING
When reading a hydrometer, DO NOT al- low any liquid to come in contact with your eyes or skin. It is a form of acid and can cause serious burns, and in some cases, blindness. If you do get battery acid on you, flush the exposed areas with cool water IMMEDIATELY. If the acid comes into contact with eyes or causes serious burns, get medical help IMMEDIATELY.
The battery acid can damage your wheel- chair, clothing, and household items. Therefore, take readings cautiously and only in designated areas.
ONLY use distilled water when topping off the battery cells.
Most batteries are not sold with instructions. However, warnings are frequently noted on the cell caps. Read them carefully.
1.Remove the battery box(es). Refer to INSTALLING/ REMOVING BATTERY BOXES - GROUP 24 BAT- TERYBASE FRAMESor INSTALLING/REMOVING BATTERY BOX - GROUP 22 BATTERY BASE FRAMES in PROCEDURE 9 of this manual.
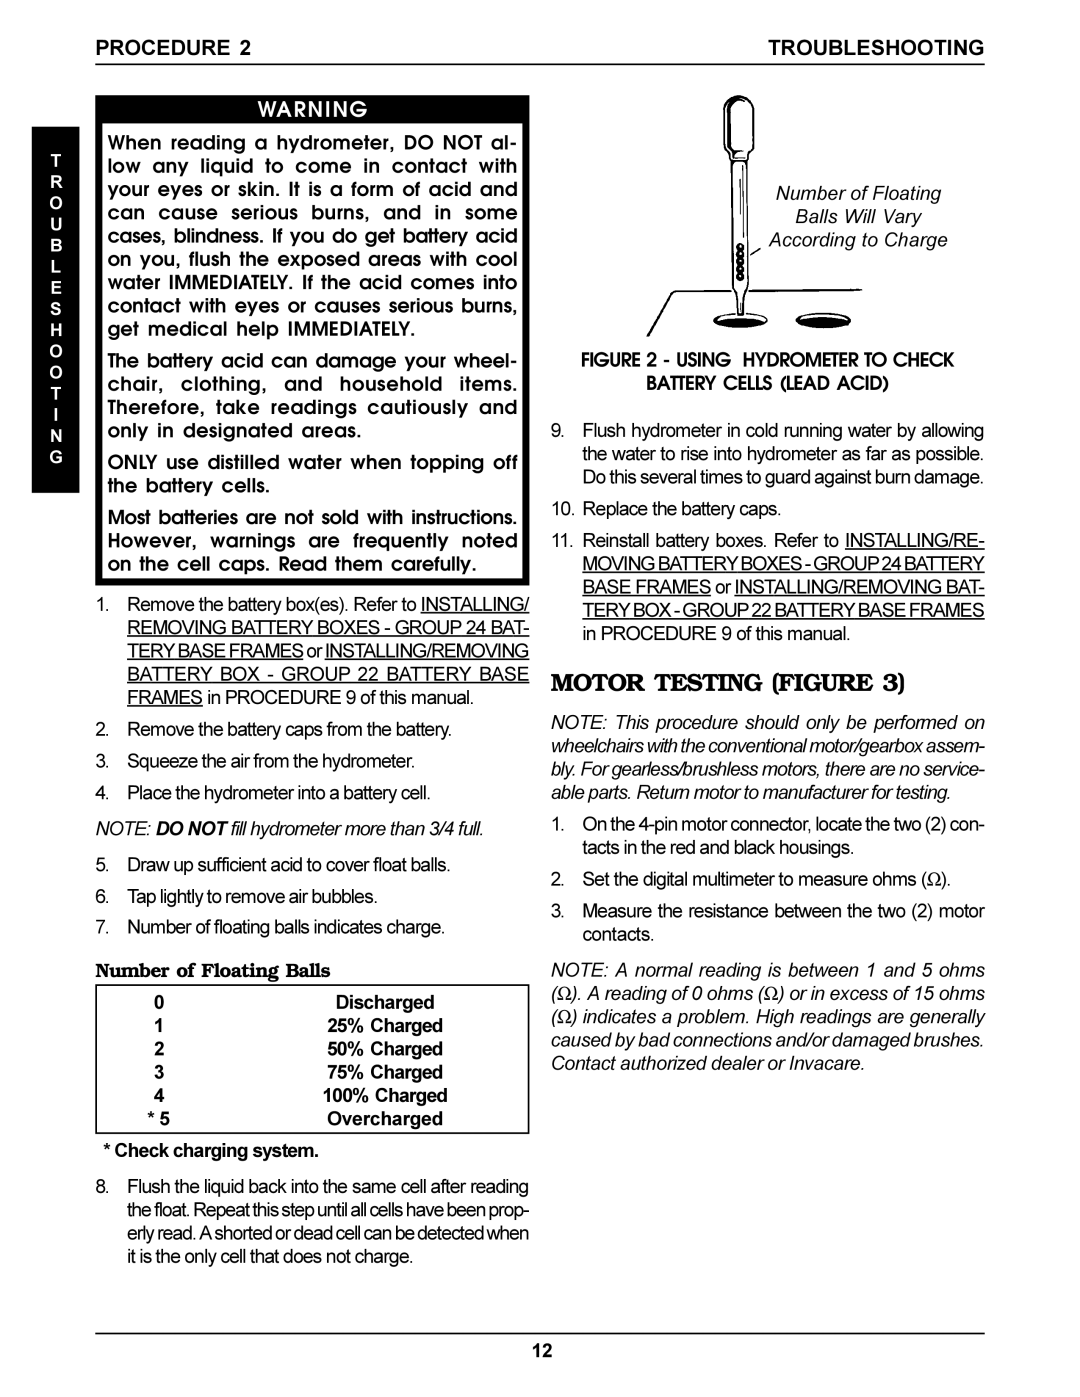
Number of Floating
Balls Will Vary
TROUBLESHOOTING
According to Charge
FIGURE 2 - USING HYDROMETER TO CHECK
BATTERY CELLS (LEAD ACID)
9.Flush hydrometer in cold running water by allowing the water to rise into hydrometer as far as possible. Do this several times to guard against burn damage.
10.Replace the battery caps.
11.Reinstall battery boxes. Refer to INSTALLING/RE-
MOTOR TESTING (FIGURE 3)
2.Remove the battery caps from the battery.
3.Squeeze the air from the hydrometer.
4.Place the hydrometer into a battery cell.
NOTE: DO NOT fill hydrometer more than 3/4 full.
5.Draw up sufficient acid to cover float balls.
6.Tap lightly to remove air bubbles.
7.Number of floating balls indicates charge.
Number of Floating Balls
0 | Discharged |
1 | 25% Charged |
2 | 50% Charged |
3 | 75% Charged |
4 | 100% Charged |
* 5 | Overcharged |
* Check charging system.
NOTE: This procedure should only be performed on wheelchairs with the conventional motor/gearbox assem- bly. For gearless/brushless motors, there are no service- able parts. Return motor to manufacturer for testing.
1.On the
2.Set the digital multimeter to measure ohms (Ω ).
3.Measure the resistance between the two (2) motor contacts.
NOTE: A normal reading is between 1 and 5 ohms (Ω ). A reading of 0 ohms (Ω ) or in excess of 15 ohms (Ω ) indicates a problem. High readings are generally caused by bad connections and/or damaged brushes. Contact authorized dealer or Invacare.
8.Flush the liquid back into the same cell after reading thefloat.Repeatthisstepuntilallcellshavebeenprop- erlyread.Ashortedordeadcellcanbedetectedwhen it is the only cell that does not charge.
12
