Using the System
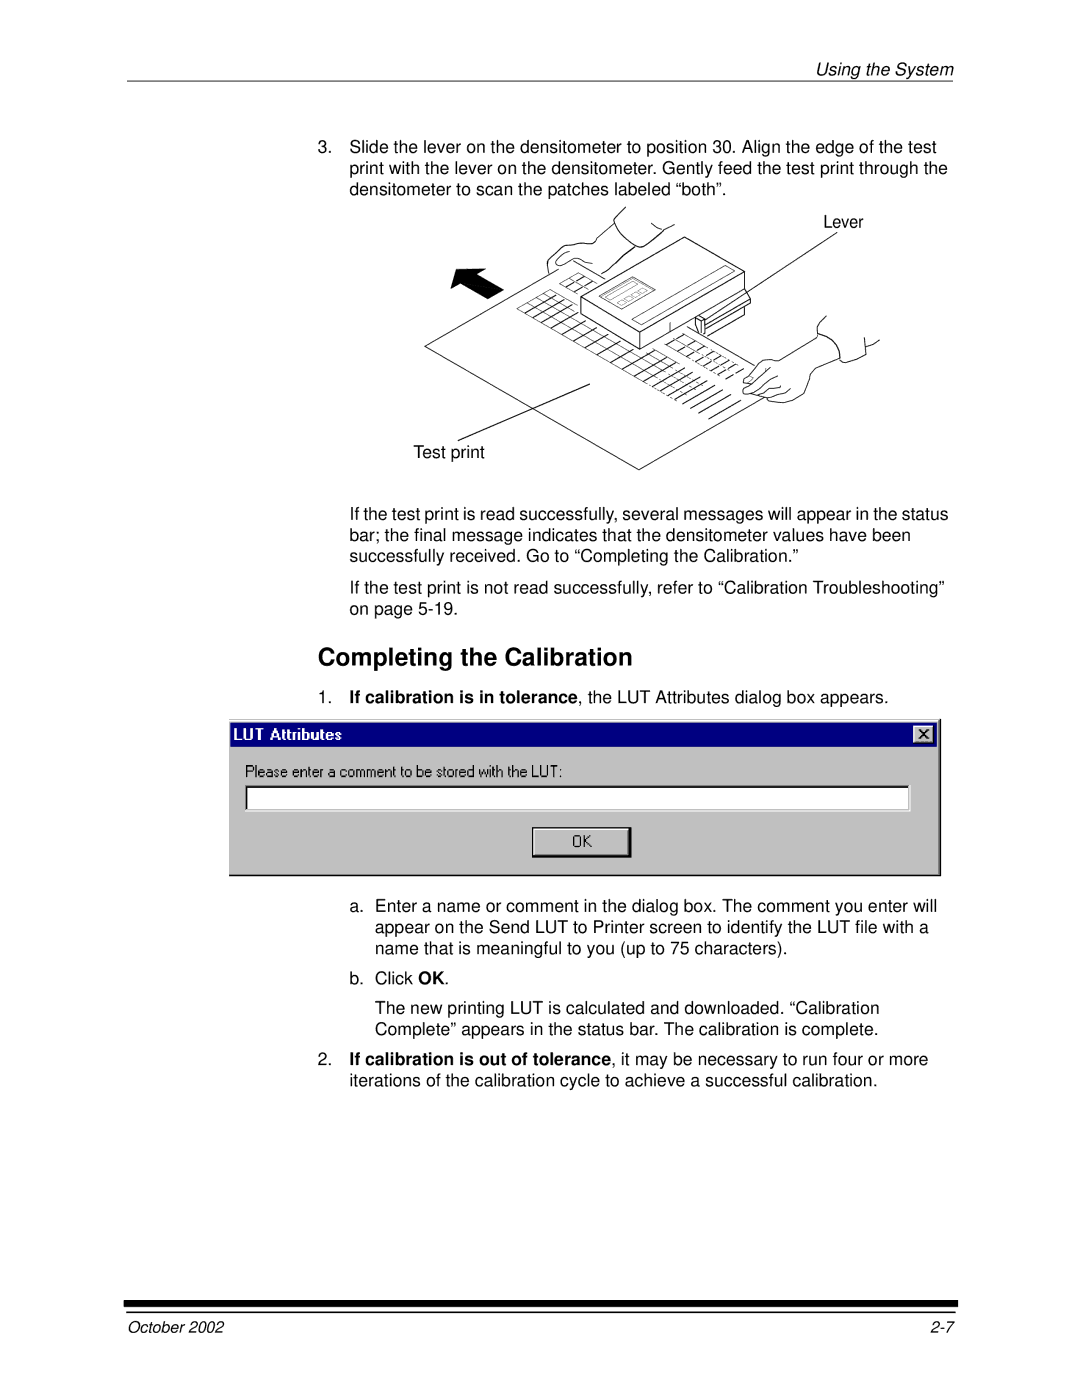
3.Slide the lever on the densitometer to position 30. Align the edge of the test print with the lever on the densitometer. Gently feed the test print through the densitometer to scan the patches labeled “both”.
Lever
Test print
If the test print is read successfully, several messages will appear in the status bar; the final message indicates that the densitometer values have been successfully received. Go to “Completing the Calibration.”
If the test print is not read successfully, refer to “Calibration Troubleshooting” on page
Completing the Calibration
1. If calibration is in tolerance, the LUT Attributes dialog box appears.
a.Enter a name or comment in the dialog box. The comment you enter will appear on the Send LUT to Printer screen to identify the LUT file with a name that is meaningful to you (up to 75 characters).
b.Click OK.
The new printing LUT is calculated and downloaded. “Calibration Complete” appears in the status bar. The calibration is complete.
2.If calibration is out of tolerance, it may be necessary to run four or more iterations of the calibration cycle to achieve a successful calibration.
October 2002 |