Disk P1
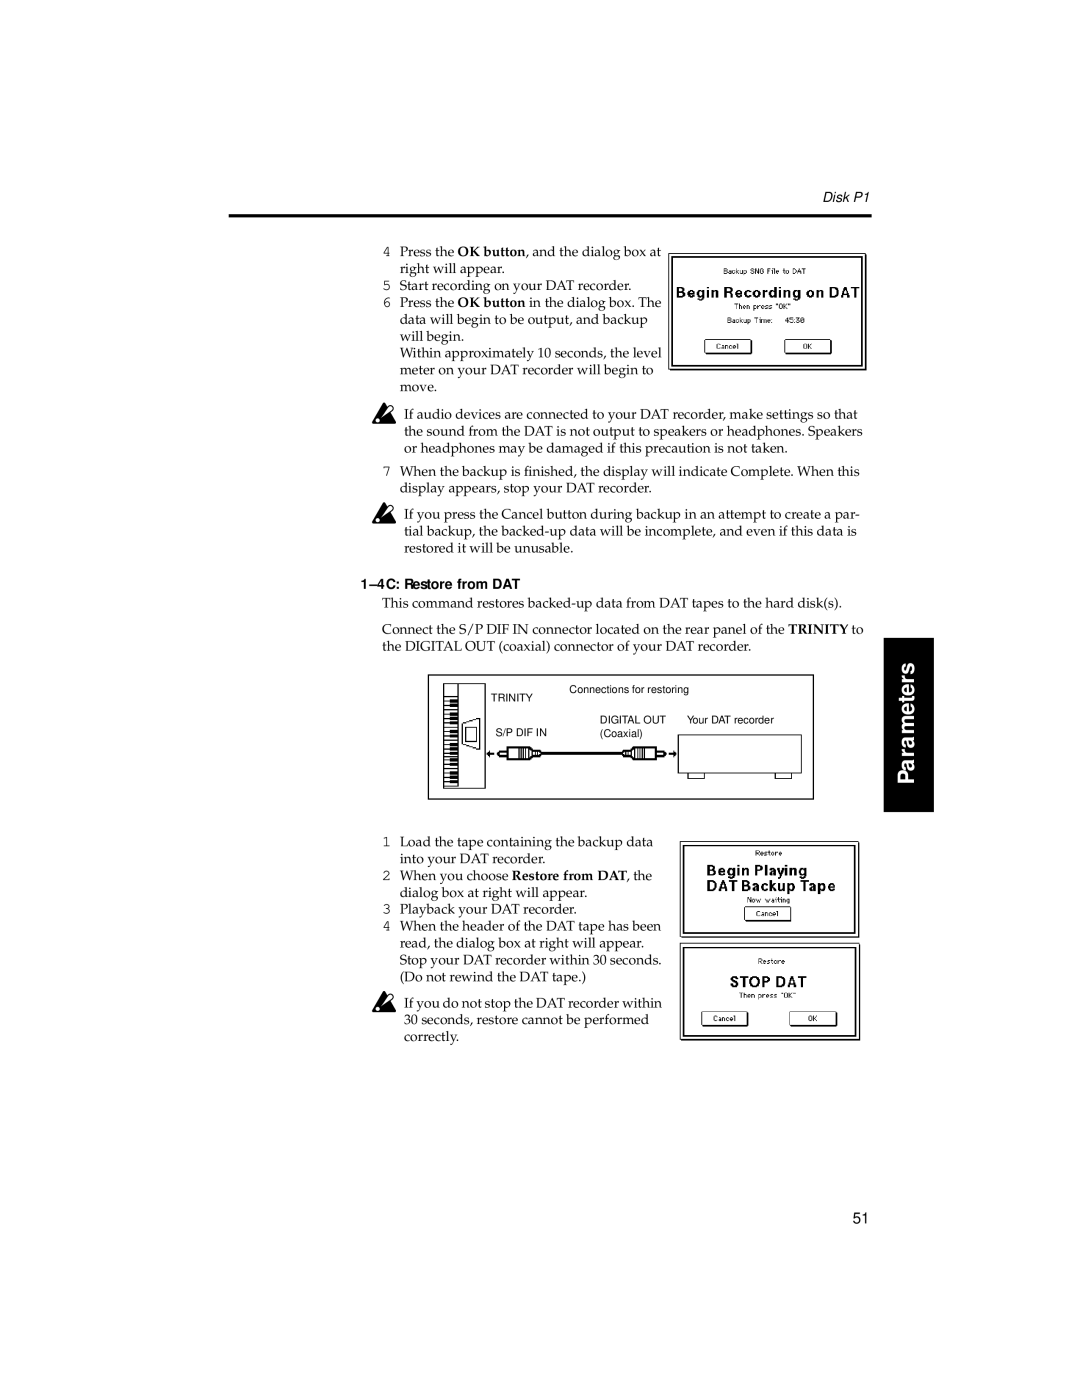
4Press the OK button, and the dialog box at right will appear.
5Start recording on your DAT recorder.
6Press the OK button in the dialog box. The data will begin to be output, and backup will begin.
Within approximately 10 seconds, the level meter on your DAT recorder will begin to move.
If audio devices are connected to your DAT recorder, make settings so that the sound from the DAT is not output to speakers or headphones. Speakers or headphones may be damaged if this precaution is not taken.
7When the backup is finished, the display will indicate Complete. When this display appears, stop your DAT recorder.
![]() If you press the Cancel button during backup in an attempt to create a par- tial backup, the
If you press the Cancel button during backup in an attempt to create a par- tial backup, the
1–4C: Restore from DAT
This command restores
Connect the S/P DIF IN connector located on the rear panel of the TRINITY to the DIGITAL OUT (coaxial) connector of your DAT recorder.
Connections for restoring
TRINITY |
|
|
|
|
| |
|
|
|
|
|
|
|
|
|
|
|
|
|
|
|
| DIGITAL OUT | Your DAT recorder | |||
|
|
|
| (Coaxial) |
|
|
| S/P DIF IN |
|
| |||
1Load the tape containing the backup data into your DAT recorder.
2When you choose Restore from DAT, the dialog box at right will appear.
3Playback your DAT recorder.
4When the header of the DAT tape has been read, the dialog box at right will appear. Stop your DAT recorder within 30 seconds. (Do not rewind the DAT tape.)
![]() If you do not stop the DAT recorder within 30 seconds, restore cannot be performed correctly.
If you do not stop the DAT recorder within 30 seconds, restore cannot be performed correctly.
Introduction
Operation
Parameters
Appendix
51
