Settings for recording
5Turn on the power of the hard disk(s), and then turn on the power of the TRINITY.
When turning on the power, turn on devices in sequence from the hard disk →
TRINITY.
When turning off the power, turn off devices in sequence from the TRINITY → hard disk.
Never turn off the power while the hard disk is being accessed (e.g., while the LED indicator of the hard disk is lit).
Formatting a hard disk
If the hard disk is being used by the TRINITY series for the first time, the hard disk must first be formatted to establish a filer partition and a sound partition.
![]() When formatting is executed, all data that was previously on that hard disk will be erased. Before formatting a disk, make sure that it does not contain data you wish to keep.
When formatting is executed, all data that was previously on that hard disk will be erased. Before formatting a disk, make sure that it does not contain data you wish to keep.
![]() The only way to modify the size of the filer partition or the volume label is to execute formatting once again or to execute the Wipe command.
The only way to modify the size of the filer partition or the volume label is to execute formatting once again or to execute the Wipe command.
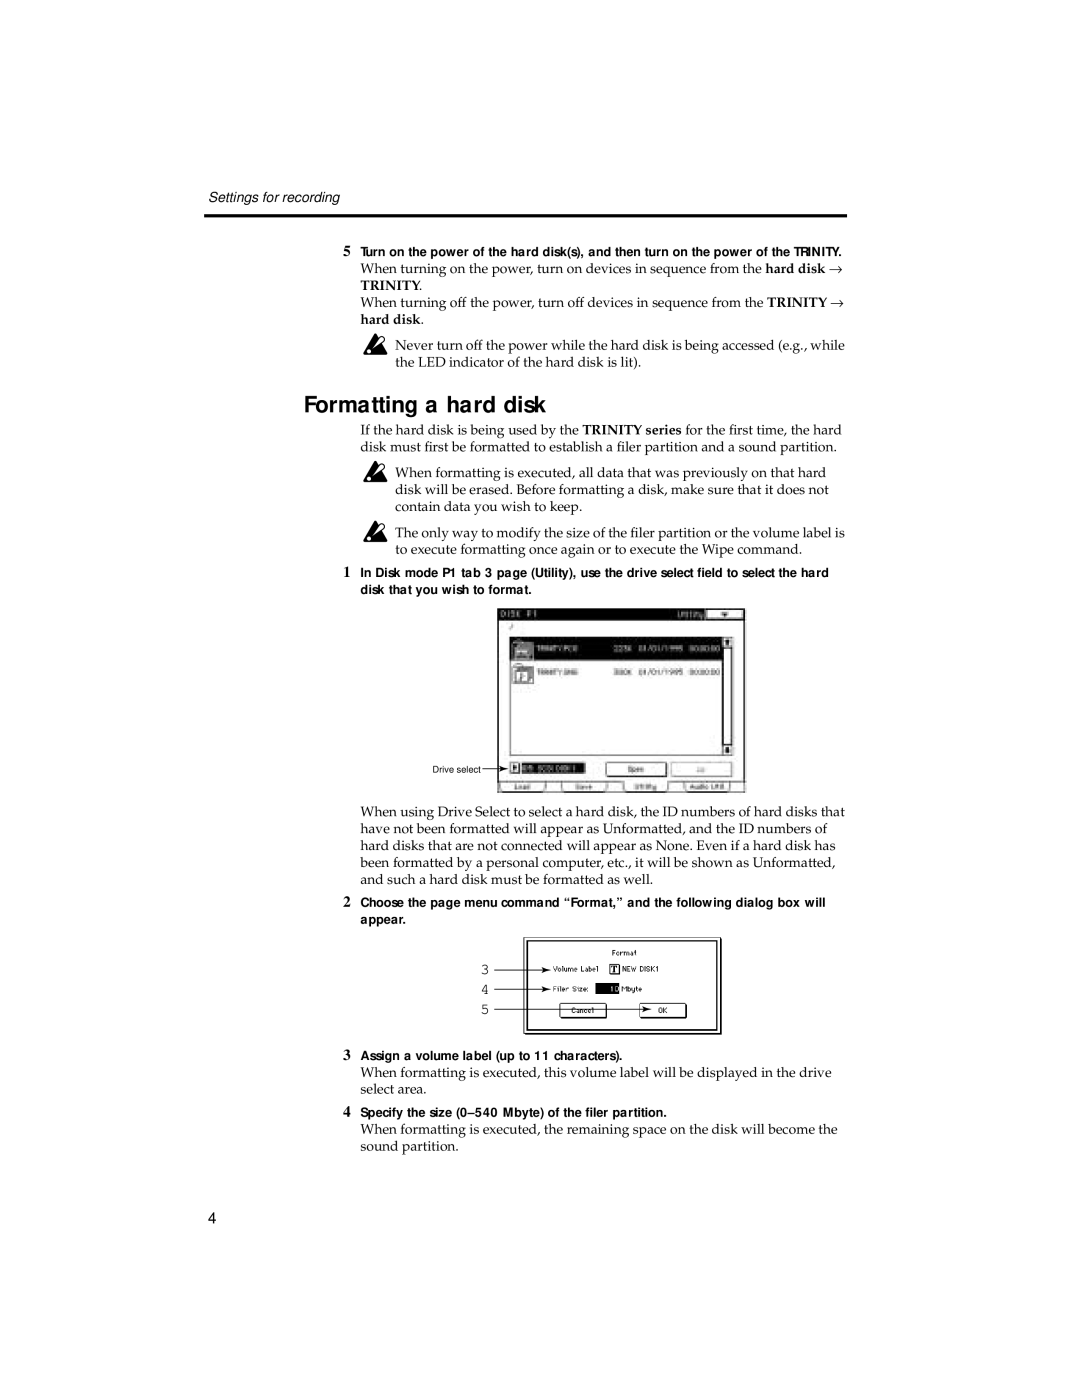
1In Disk mode P1 tab 3 page (Utility), use the drive select field to select the hard disk that you wish to format.
Drive select ![]()
When using Drive Select to select a hard disk, the ID numbers of hard disks that have not been formatted will appear as Unformatted, and the ID numbers of hard disks that are not connected will appear as None. Even if a hard disk has been formatted by a personal computer, etc., it will be shown as Unformatted, and such a hard disk must be formatted as well.
2Choose the page menu command “Format,” and the following dialog box will appear.
3
4
5
3Assign a volume label (up to 11 characters).
When formatting is executed, this volume label will be displayed in the drive select area.
4Specify the size (0–540 Mbyte) of the filer partition.
When formatting is executed, the remaining space on the disk will become the sound partition.
4
