Sequencer P1
1–5f: Take
Specify the name of the “take” that you are about to record.
Press the text edit button, and the rename page will appear. (☞ Basic Guide page 6). Up to 13 characters can be used here.
If you wish to append a number at the end of the take name to manage your takes, check
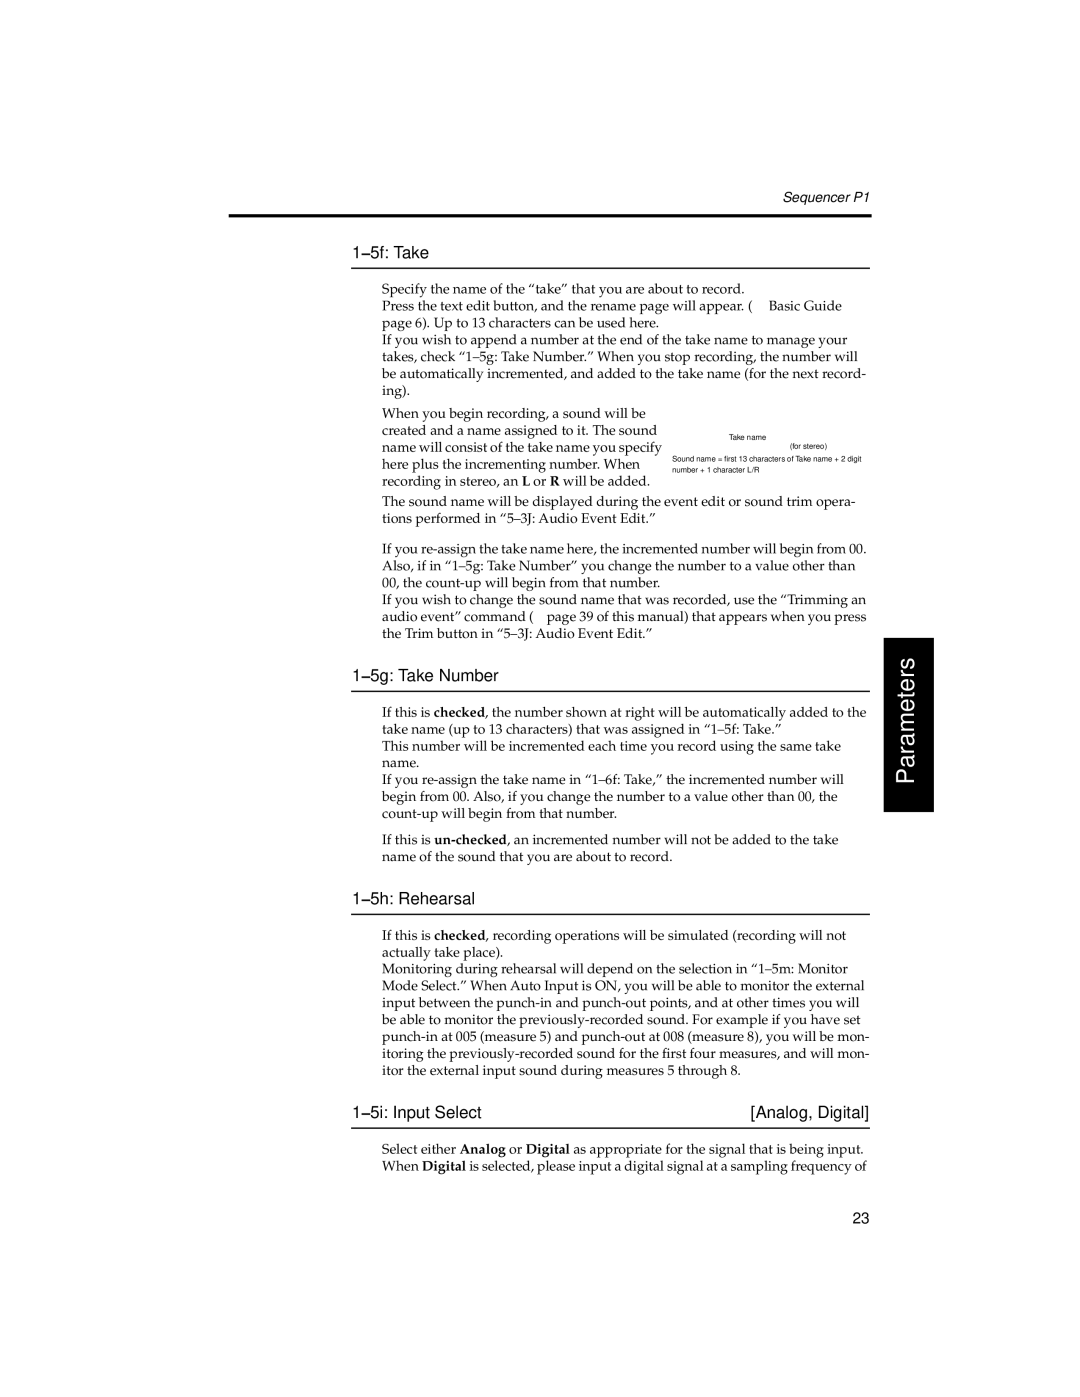
When you begin recording, a sound will be |
|
| |
created and a name assigned to it. The sound | Take name | ||
name will consist of the take name you specify | |||
(for stereo) | |||
|
|
| |
here plus the incrementing number. When | Sound name = first 13 characters of Take name + 2 digit | ||
number + 1 character L/R |
| ||
recording in stereo, an L or R will be added. |
|
| |
|
| ||
The sound name will be displayed during the event edit or sound trim opera- tions performed in
If you
If you wish to change the sound name that was recorded, use the “Trimming an audio event” command (☞ page 39 of this manual) that appears when you press the Trim button in
Introduction
Operation
1–5g: Take Number
If this is checked, the number shown at right will be automatically added to the take name (up to 13 characters) that was assigned in
This number will be incremented each time you record using the same take name.
If you
If this is
1–5h: Rehearsal
If this is checked, recording operations will be simulated (recording will not actually take place).
Monitoring during rehearsal will depend on the selection in
| [Analog, Digital] |
|
|
Select either Analog or Digital as appropriate for the signal that is being input. When Digital is selected, please input a digital signal at a sampling frequency of
Parameters
Appendix
23