Administrative support
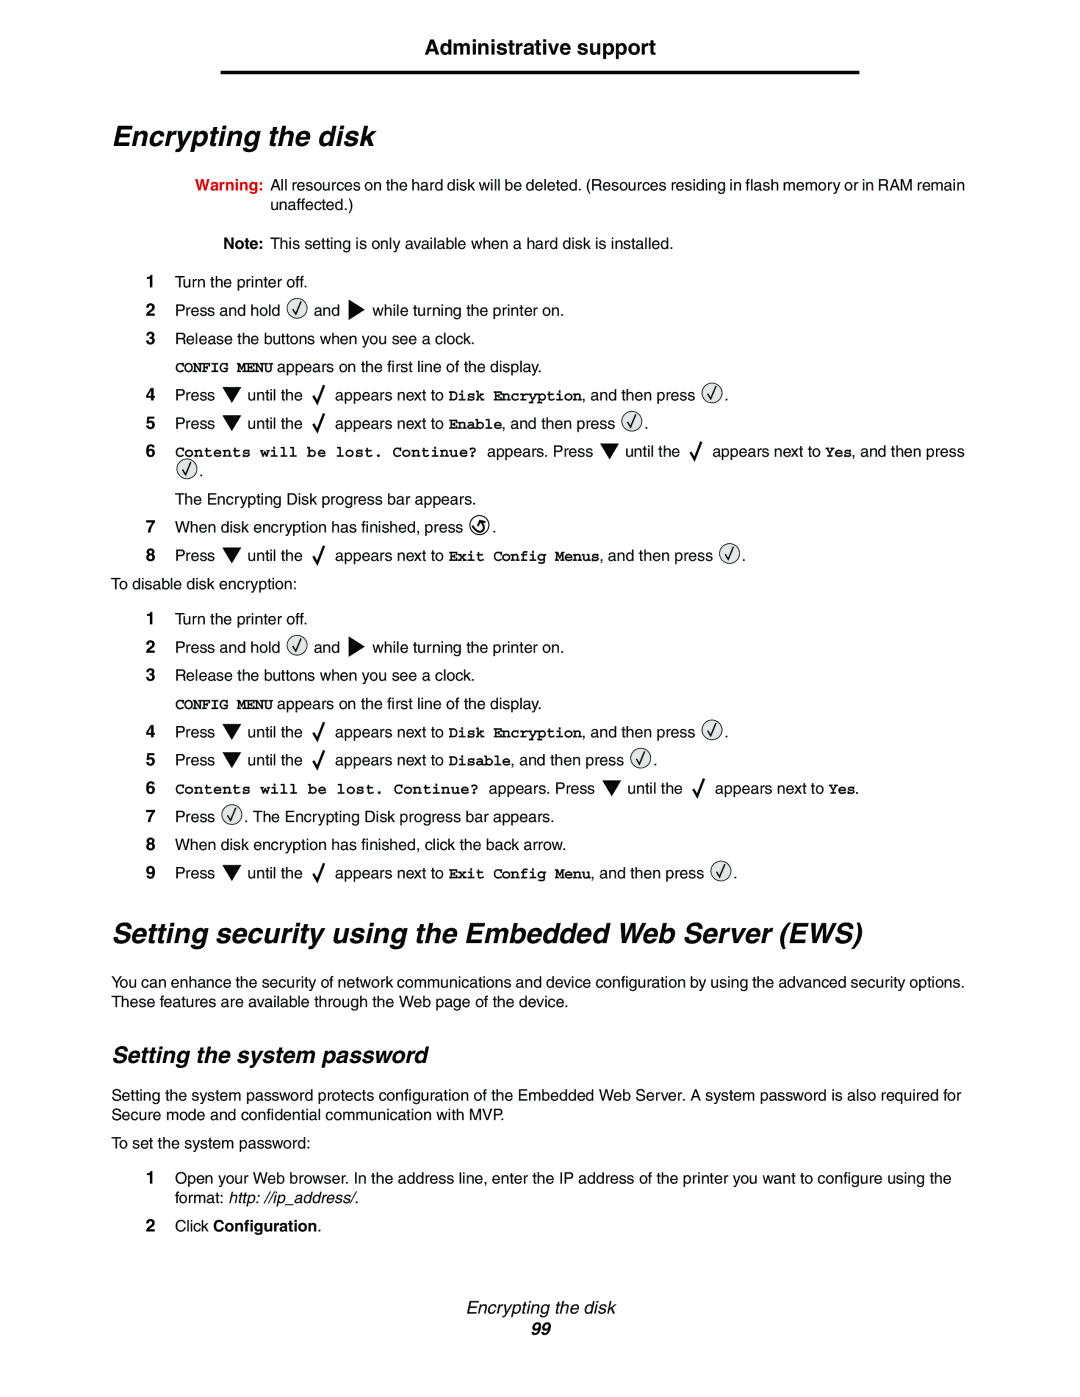
Encrypting the disk
Warning: All resources on the hard disk will be deleted. (Resources residing in flash memory or in RAM remain unaffected.)
Note: This setting is only available when a hard disk is installed.
1Turn the printer off.
2Press and hold ![]() and
and ![]() while turning the printer on.
while turning the printer on.
3Release the buttons when you see a clock.
CONFIG MENU appears on the first line of the display.
4Press ![]() until the
until the ![]() appears next to Disk Encryption, and then press
appears next to Disk Encryption, and then press ![]() .
.
5Press ![]() until the
until the ![]() appears next to Enable, and then press
appears next to Enable, and then press ![]() .
.
6Contents will be lost. Continue? appears. Press ![]() until the
until the ![]() appears next to Yes, and then press
appears next to Yes, and then press
![]() .
.
The Encrypting Disk progress bar appears.
7When disk encryption has finished, press ![]() .
.
8Press ![]() until the
until the ![]() appears next to Exit Config Menus, and then press
appears next to Exit Config Menus, and then press ![]() .
.
To disable disk encryption:
1Turn the printer off.
2Press and hold ![]() and
and ![]() while turning the printer on.
while turning the printer on.
3Release the buttons when you see a clock.
CONFIG MENU appears on the first line of the display.
4Press ![]() until the
until the ![]() appears next to Disk Encryption, and then press
appears next to Disk Encryption, and then press ![]() .
.
5Press ![]() until the
until the ![]() appears next to Disable, and then press
appears next to Disable, and then press ![]() .
.
6Contents will be lost. Continue? appears. Press ![]() until the
until the ![]() appears next to Yes.
appears next to Yes.
7Press ![]() . The Encrypting Disk progress bar appears.
. The Encrypting Disk progress bar appears.
8When disk encryption has finished, click the back arrow.
9Press ![]() until the
until the ![]() appears next to Exit Config Menu, and then press
appears next to Exit Config Menu, and then press ![]() .
.
Setting security using the Embedded Web Server (EWS)
You can enhance the security of network communications and device configuration by using the advanced security options. These features are available through the Web page of the device.
Setting the system password
Setting the system password protects configuration of the Embedded Web Server. A system password is also required for Secure mode and confidential communication with MVP.
To set the system password:
1Open your Web browser. In the address line, enter the IP address of the printer you want to configure using the format: http: //ip_address/.
2Click Configuration.
Encrypting the disk
99
