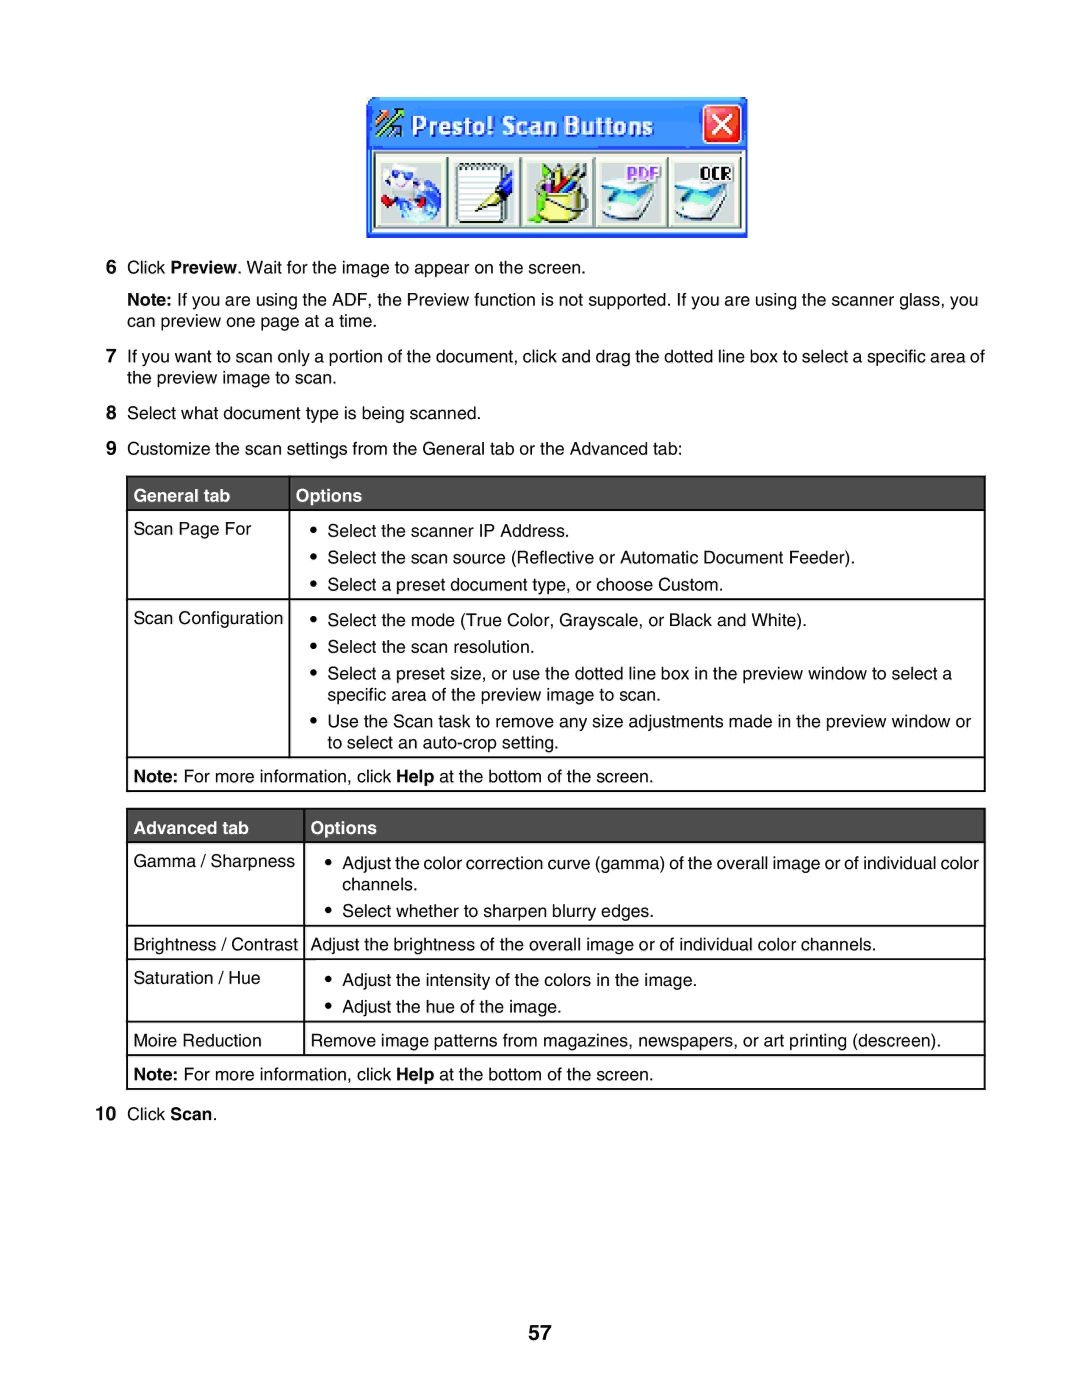
6Click Preview. Wait for the image to appear on the screen.
Note: If you are using the ADF, the Preview function is not supported. If you are using the scanner glass, you can preview one page at a time.
7If you want to scan only a portion of the document, click and drag the dotted line box to select a specific area of the preview image to scan.
8Select what document type is being scanned.
9Customize the scan settings from the General tab or the Advanced tab:
General tab
Scan Page For
Scan Configuration
Options
•Select the scanner IP Address.
•Select the scan source (Reflective or Automatic Document Feeder).
•Select a preset document type, or choose Custom.
•Select the mode (True Color, Grayscale, or Black and White).
•Select the scan resolution.
•Select a preset size, or use the dotted line box in the preview window to select a specific area of the preview image to scan.
•Use the Scan task to remove any size adjustments made in the preview window or to select an
Note: For more information, click Help at the bottom of the screen.
Advanced tab
Gamma / Sharpness
Brightness / Contrast
Saturation / Hue
Moire Reduction
Options
•Adjust the color correction curve (gamma) of the overall image or of individual color channels.
•Select whether to sharpen blurry edges.
Adjust the brightness of the overall image or of individual color channels.
•Adjust the intensity of the colors in the image.
•Adjust the hue of the image.
Remove image patterns from magazines, newspapers, or art printing (descreen).
Note: For more information, click Help at the bottom of the screen.
10Click Scan.
57