4Connect a second telephone cord from the telephone to the computer modem.
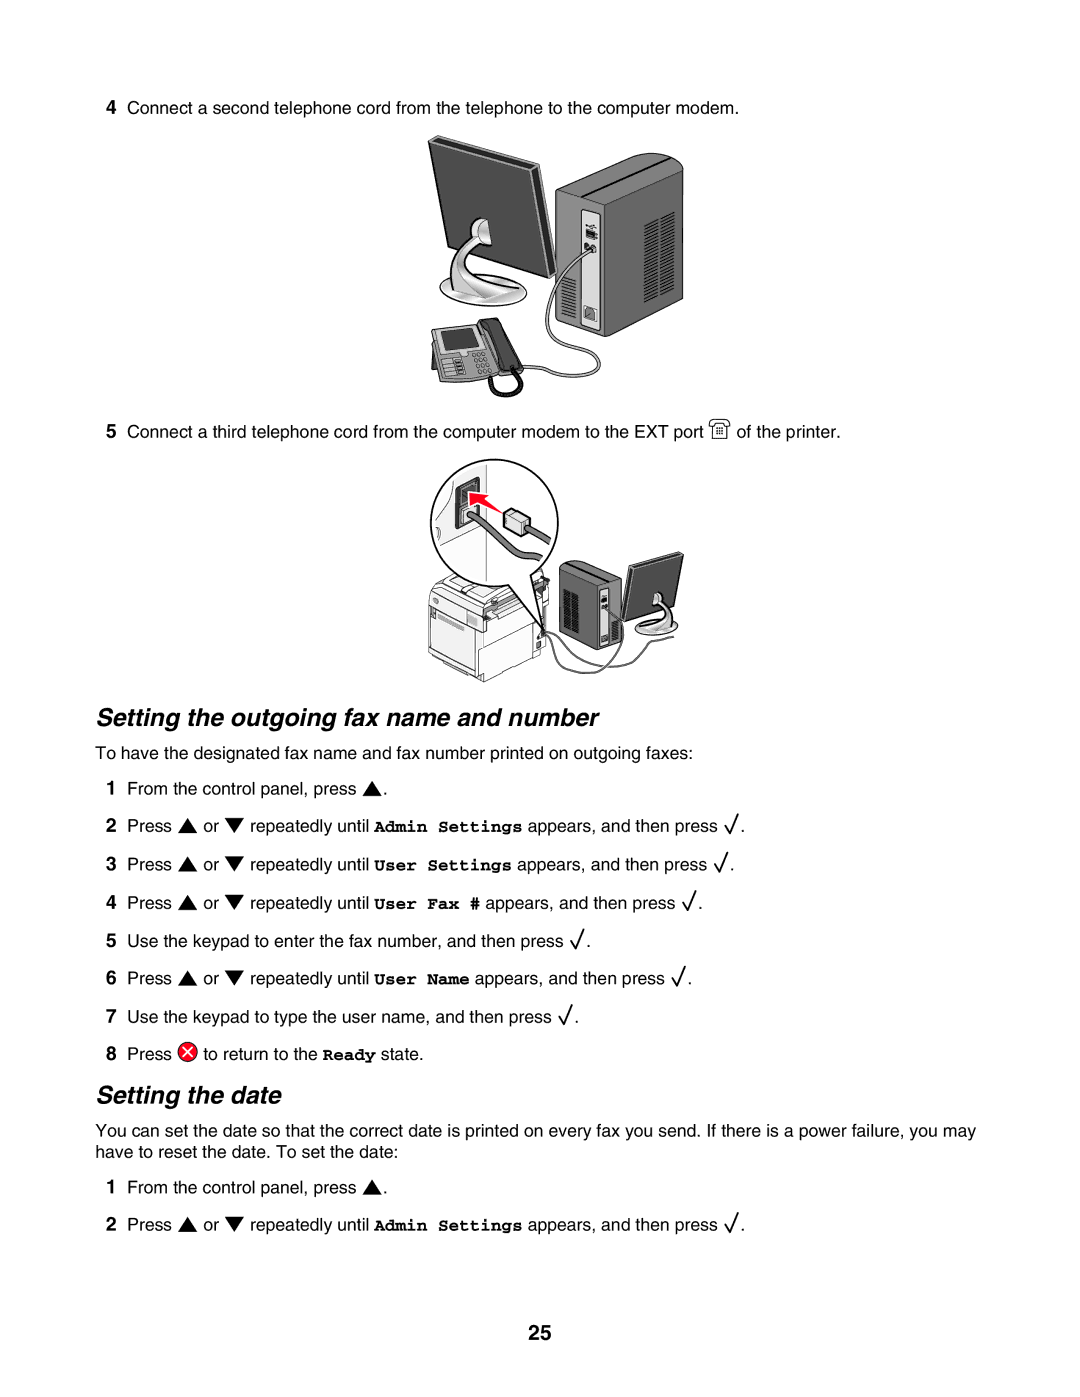
5Connect a third telephone cord from the computer modem to the EXT port ![]() of the printer.
of the printer.
Setting the outgoing fax name and number
To have the designated fax name and fax number printed on outgoing faxes:
1From the control panel, press ![]() .
.
2 Press ![]() or
or ![]() repeatedly until Admin Settings appears, and then press
repeatedly until Admin Settings appears, and then press ![]() .
.
3Press ![]() or
or ![]() repeatedly until User Settings appears, and then press
repeatedly until User Settings appears, and then press ![]() .
.
4Press ![]() or
or ![]() repeatedly until User Fax # appears, and then press
repeatedly until User Fax # appears, and then press ![]() .
.
5Use the keypad to enter the fax number, and then press ![]() .
.
6Press ![]() or
or ![]() repeatedly until User Name appears, and then press
repeatedly until User Name appears, and then press ![]() .
.
7Use the keypad to type the user name, and then press ![]() .
.
8Press ![]() to return to the Ready state.
to return to the Ready state.
Setting the date
You can set the date so that the correct date is printed on every fax you send. If there is a power failure, you may have to reset the date. To set the date:
1From the control panel, press ![]() .
.
2Press ![]() or
or ![]() repeatedly until Admin Settings appears, and then press
repeatedly until Admin Settings appears, and then press ![]() .
.
25